My Matching Mouse – Fun Logitech Inspired Design


Mouse 1Mouse 2Mouse 3I’m fortunate enough to have a job where I can 1. Wear polish 2. Wear outrageous polish or colors 3. Have co-workers and bosses who like to look at and compliment my outrageous polish and 4. Have a boss who buys things to match my polish!

Recently the head honcho got everyone new wireless mouses (meese, whatever) and was considerate enough to get me a “special” mouse that has a great trendy pattern on it “to match my patterned nails”.  It took me a couple weeks, but I did finally get around to doing a wireless mouse inspired matching mani.  The response at my office today was great – one coworker jumped and gave me an uncontrollable enthusiastic high five (the one who had actually picked out the mouse), my boss grabbed my hand, gasped and then called her boss over, and one coworker exclaimed he couldn’t believe I painted the pattern. Success!

1 coat of Sally Hansen White On

then

1 coat of Sally Hansen Satin Slipper

then

a combination of Essie Good Morning Hope, Ulta Plum Perfect and Sally Hansen Coral Reef painted with a fine brush to make the colorful splash pattern atop the white.  Seche Vite Base Coat and Orly Sec’n Dry Top Coat.  Again, I need to re-iterate that I’m less pleased with this new top coat over the Seche Vite Top Coat I was using until it ran out.

Mouse colors 2

Mouse Colors 1


Beach Bum Thumb

Beach Bum

Beach Bum

I live in Sunny California, but sadly Northern Sunny California does not have the warm sandy beaches of my childhood in Los Angeles and San Diego.  Northern Sunny California has foggy, rocky, icy cold, windy, overcast beaches for the majority of the year; so even though I live about half an hour away from the beach, it’s not really a bikini kind of trip.  I’ve painted a Beach Bum (pun intended) in honor of the hot summer days we’ve been experiencing where I’m dreaming of warm sand!

This design is done with polish for the background beach colors of yellow and blue and acrylic craft paint for the actual body.  I tried the Orly topcoat first, but it was so-so…so I added another thick layer of Seche Vite (which I think is still in the lead right now).  Both coats had some micro bubbles in them.  I’m not quite sure how long she took me since I got in “the zone”, but it wasn’t a quick 5 minute job.  Hopefully she’ll keep me entertained while I’m working hard preparing for a meeting I have this weekend.  A girl can dream.

What’s your favorite beach you’ve been to?

Mine is on the shores of the Grand Cayman Islands!

I Won I Won! Sally Hansen’s Take it Off, Show it Off Contest

I’m so excited to announce that I won the Sally Hansen’s Take it Off, Show it Off Contest for Fourth of July style (along with 4 other lucky gals).  The hardest part was having to wait to announce it until Sally Hansen officially posted the winners.  So what does this mean?  It means I get $100 of free Sally Hansen’s products and yes I am planning on passing along some of those items to my readers in the near future!  I’ll be sure to post when the box arrives so I can share more of my excitement…it’s like waiting for Christmas or my birthday now!  Here’s the original post I did about the Fourth of July manis.  Thank you Sally Hansen, the first nail polish I ever owned!

Screen Shot 2013-07-24 at 7.25.14 PM

Recycle, Reuse, Reduce – A Manicure Refresh

The polish from my “Holo Racing Stripe” manicure stayed on so well after five days that I decided to just do some stamping on top to give it a fresh look.  I’m not sure whether it lasted so well because of the polish, the topcoat, my “Making Your Mani Last” procedure or the perfect storm of all three.  Each hand is a little different, but I think they both turned out fun.  The two colors I used for stamping are Pure Ice “Silver Mercedes” and Sally Hansen’s “Sonic Bloom” – both work really well with stamping, although the Sonic Bloom stamping on the glitter accent came out textured.  The stamping plate I used was the Cheeky Jumbo Plate A.  No topcoat on these bad boys.

Left Refresh

Left Refresh

Right Refresh

Right Refresh

Super Sparkle Thumb With Dots

Super Sparkle Thumb With Dots

What do you do to “refresh” your manicures?

Did You Know? Nail and Polish Facts and Tips

  1. IMG_8958Dark nail polish may take longer to dry than light polish colors because of denser pigmentation.  Give an extra couple minutes dry time between layers for dark colors to get the best wear.  The thickness (viscosity) of the polish affects drying time as well, thicker = longer dry time.

  2. Creme style polishes are more likely to apply unevenly or “streaky”.  You may be inclined to try a thick coat, but you are better off combatting uneven color with 3 thin coats.  When you apply one thick layer of polish not only does it take forever to dry (and inevitably gets smudged) it is also more likely to peel off faster.

  3. Glitter polishes will hold onto your nails like baby monkeys.  To make this process a whole lot easier use the same method for removing gel nails.  Soak a small piece of cotton with acetone and place on each nail.  Wrap a small piece of aluminum foil to hold the cotton in place and give it about two minutes; everything will wipe right off.

  4. If you get gels or acrylics and have problems with the nails lifting quickly it could be for more than one reason.  You may have heard of “oily nail beds”, but this is rarely the cause of lifting; more likely there is small debris or oil residue on your nails that prevents adhesion or creates air pockets.  Make sure your manicurist does a thorough prep, including cuticle pushing/cleaning, gentle buffing and oil removal.  Clammy hands can cause issues as well, so if this is a known concern for you make sure your manicurist drys your hands directly before application.

  5. Your nail health can indicate everything from thyroid problems, infections, lung disease, to nutrient deficiencies.  If you have dry, weak, cracked, soft or splitting nails there may be more than one culprit.  It could simply be exposure to harsh environmental conditions or using too much acetone, which can be drying to the nail bed, but also consider how often you wash your hands per day or what your regular diet is.  Unhealthy nails are best repaired with a combination of external and internal adjustments.

    1. Externally, apply a cuticle oil or balm 1-3+ times per day (best to do without polish, however you will still get benefits if you apply to polished nails); a great time to do this is after you wash your hands because soap removes your natural skin oils.  I find oil during the day and a balm before bed at night.  Also switch from drying antibacterial/synthetic soap to one made from natural oils.

    2. Internally, start by drinking more water!  Maybe you have multiple cups of coffee or soda per day?  These drinks have caffeine, a diuretic, so you’ll need to increase your water consumption to counterbalance the effects.  If you’re not eating a diet full of vegetables, fruits and whole foods (meaning you’re eating a lot of processed/convenience foods) you may end up with a nutrient deficiency.  Iron, zinc, vitamin A, B Complex vitamins, vitamin C, calcium, folic acid, and essential oil deficiencies can call manifest through poor nail health.  Increase your consumption of leafy greens, fruits, nuts, seeds, beans and cold water fish to start.  Don’t ignore the signs your nails are sending you about your health; if you’re nail beds are any other color than pink, are extremely thick or falling apart see a doctor!

What are your fun facts, tips and tricks for fabulous nails?

Bonus tip – did you know if you follow my “Making Your Mani Last” recommendations your nails can look this great 5 days later (no this is not the original photo, this is a new one!)

5 Days after initial manicure!!

5 Days after initial manicure!!


Trip to Point Reyes CA – Nails Matched the local Red Alga and Lichen

This past weekend my family came to visit from Sacramento.  We decided on a day trip out to Point Reyes, which I would highly recommend if you enjoy scenic drives and the option for hiking or (cold) beaches.  On the short hike to the lighthouse we discover a local Red Alga growing on the rocks next to green lichen that matched my mani so Stepdad Greg snapped a shot.  Apparently we picked the perfect day to go because there was little wind and fog, both of which the lighthouse is famous for – they have records of winds over 100 mph.  We were even lucky enough to see a whale, albeit from pretty far away!  A beautiful weekend (with beautiful nails to match)!

IMG_2476

Nails matching the local Red Alga and lichen.


Never a dull moment in Bay Area site seeing!

Never a dull moment in Bay Area site seeing!

Point Reyes Shorline

The Point Reyes Shorline.

Emma with family

The fam and me.

Point Reyes Lighthouse

The Point Reyes Lighthouse.


Hooray, Over 100 Visitors!

Clipart Illustration of a Bunch Of Floating Party Balloons With
Just a quick celebratory post to acknowledge that NailSmiles.com has reached it’s first milestone of 100 unique visitors! A big thanks to everyone who has stopped by so far; I’m excited to watch the site grow and appreciate all the support. Contests to come!

Holo Racing Stripe – Plus Seche Vite vs Orly Sec ‘n Dry

Holo Racing Stripe

I feel like I should go drive a fast car right now! The original plan for this set was to do stamping on top of the colors, but I liked the simple look so much that I stopped while I was ahead. I feel like the racing stripe on the thumb really makes this manicure pop and I can’t stop staring!

Also, I’m officially in love with holographic nail polish and now I know I’m going to want more. I picked up this LA Splash “Sparkling Torpedo” at Bed Bath and Beyond on a whim to get my order up so I could use a $5 off coupon. It was fairly solid at 2 coats, but I did a third for good measure. Well worth the $3! The coral-reddish color is 3 coats of Milani “Just Peachy”, which I found at the dollar store – totally worth it, this color is fabulous. It’s super shimmery and applied really smooth (not thick), but doesn’t dry super glossy so use a topcoat for extra shine.

My Seche Vite topcoat is almost out so on the same trip I picked up Orly’s Sec ‘n Dry to see how it compares. I used Orly on most of my fingers, but the pinky’s got the dregs of the Seche. I think the Seche drys slightly faster, is also slightly glossier, but thicker so potentially more difficult to apply. The Orly polish is toulene free (it still smelled strong) and applied smoothly. I bumped a nail probably 10-20 minutes after application and got a small smudge, so for now I will say that I think Seche probably still does a better job. I’ll keep an open mind since I have only tried the Sec ‘n Dry once.

Which fast dry topcoat do you prefer?

Summer Brights – A Neon Adventure

Glow

This mani was both fun and frustrating.  The fun part is that I love the design and I love the colors; the frustrating part is that I used some no-name brands, which resulted in difficulty painting as well as the polish rippling once I added the top coat.

The green nails are painted with 3 coats of Summer Brights Pastel Collection “Light Creme Green Mint” (a bottle I picked up at CVS).  I have to say I’m in love with this green; the camera just doesn’t capture how the color softly glows and I love that it’s bright without being obnoxious.  It applied a little uneven so it took the three coats to get a solid look.  It’s topped with dots of blue Expressions “Mint” and purple China Glaze “Neon Flying Dragon.  Seche Vite base and topcoats.

Sally Hansen Coral Reef, Sonic Bloom, China Glaze New Dragon (Neon), Expressions MintIMG_9673

The orange nails have a Sally Hansen “White On” base, then two coats of the orange-scented Ross-obtained Expressions “Orange”.  They’re topped with dots in Sally Hansen’s “Sonic Bloom” and “Coral Reef”.  PSA – Don’t ever buy the Expressions brand polish – actually, if you want to buy it for a little girl I’m sure that would be great because they’re cheap and scented with pretty simple ingredients, but the polish didn’t apply evenly and when the top coat was applied it became horrible mess…it never really dried completely.

To do this design all you need is something to make dots with.  You can either drop a couple dollars for an actual dotting tools set or if you’re like me and not willing to spend the $1.50, just stick some pins into the eraser end of a pencil or grab some toothpicks.

Homemade Dotting Tools

The design reminds me of something, but I can’t quite put my finger on it, maybe cartoon dinosaur eggs?  Even with the cheap no name polish issues I’m still happy with the way this turned out.

What’s your favorite cheap polish?

Making Your Mani Last

DAY 1

DAY 5

DAY 1

There are few things more frustrating than a beautifully painted set of nails that are chipped in less than 24 hours.  In fact, at one point this was so frustrating that I just stopped painting my nails.  Obviously gels or acrylics are a great way to extend the wear of your nail set, but for those times when you aren’t able to make it into the salon this can be your savior.

After research and experimentation I have down a tested nail prep ritual that’s guaranteed to give you nails that will last up to over a week!  The steps below may look long, but it’s really only a few minutes worth of effort.

Longer Lasting Lacquer!

  1. Clean – Thoroughly remove old nail polish color with acetone or polish remover.

  2. Trim – Trim nails to the shape and length you prefer and file down any rough or uneven edges.

  3. Push cuticles – Gently push back your cuticles with a tool or wooden stick.  If you don’t have a tool you can use the nail on your alternate hand as a cuticle pusher!  You do this step because if polish covers the cuticle you will have air pockets that will start to peel or chip.

  4. Buff – Use a medium to fine grit buffer/file to slightly roughen the top of your nail.  You should not have large scratches in the nail, just a nice matte finish.  Work towards the base of the nail where new ridges and cuticle form.  This is a critical step, but don’t spend too much time here because you don’t want to thin/weaken your nails.

  5. Exfoliate – Apply a large dollop of exfoliant to your hands and scrub vigorously for a minute.  I use a facial exfoliant I got that is fragranced to heavily for me to apply to my face; any basic scrub should do the trick.  Make sure to focus on the cuticle area, you are removing dead skin and excess oils.; this will make your hands feel nice, but will also make the manicure look more professional and last.  Rinse with water.

  6. Scrub – Use a nail brush or toothbrush with soap on it to scrub around each nail, again, work around the cuticle area, but also underneath each nail tip so you’re extra clean!  Rinse with water.

  7. Moisturize – Optional Step:  Apply a cuticle oil (I usually use Burt’s Bees or Argan Oil) and let soak in for 5-10 minutes.  Follow by thoroughly washing with soap and water.  Give your hands a few minutes to dry, the nails can absorb some of the water and change shape when they dry, which can affect how long your polish stays on.

  8. Swipe – When your hands are dry swipe the top of each nail with either acetone or distilled white vinegar.  This is critical to remove any oils, which can cause your polish to peel prematurely.  Some polish removers have moisturizers that may have a similar effect so I recommend pure acetone or vinegar.

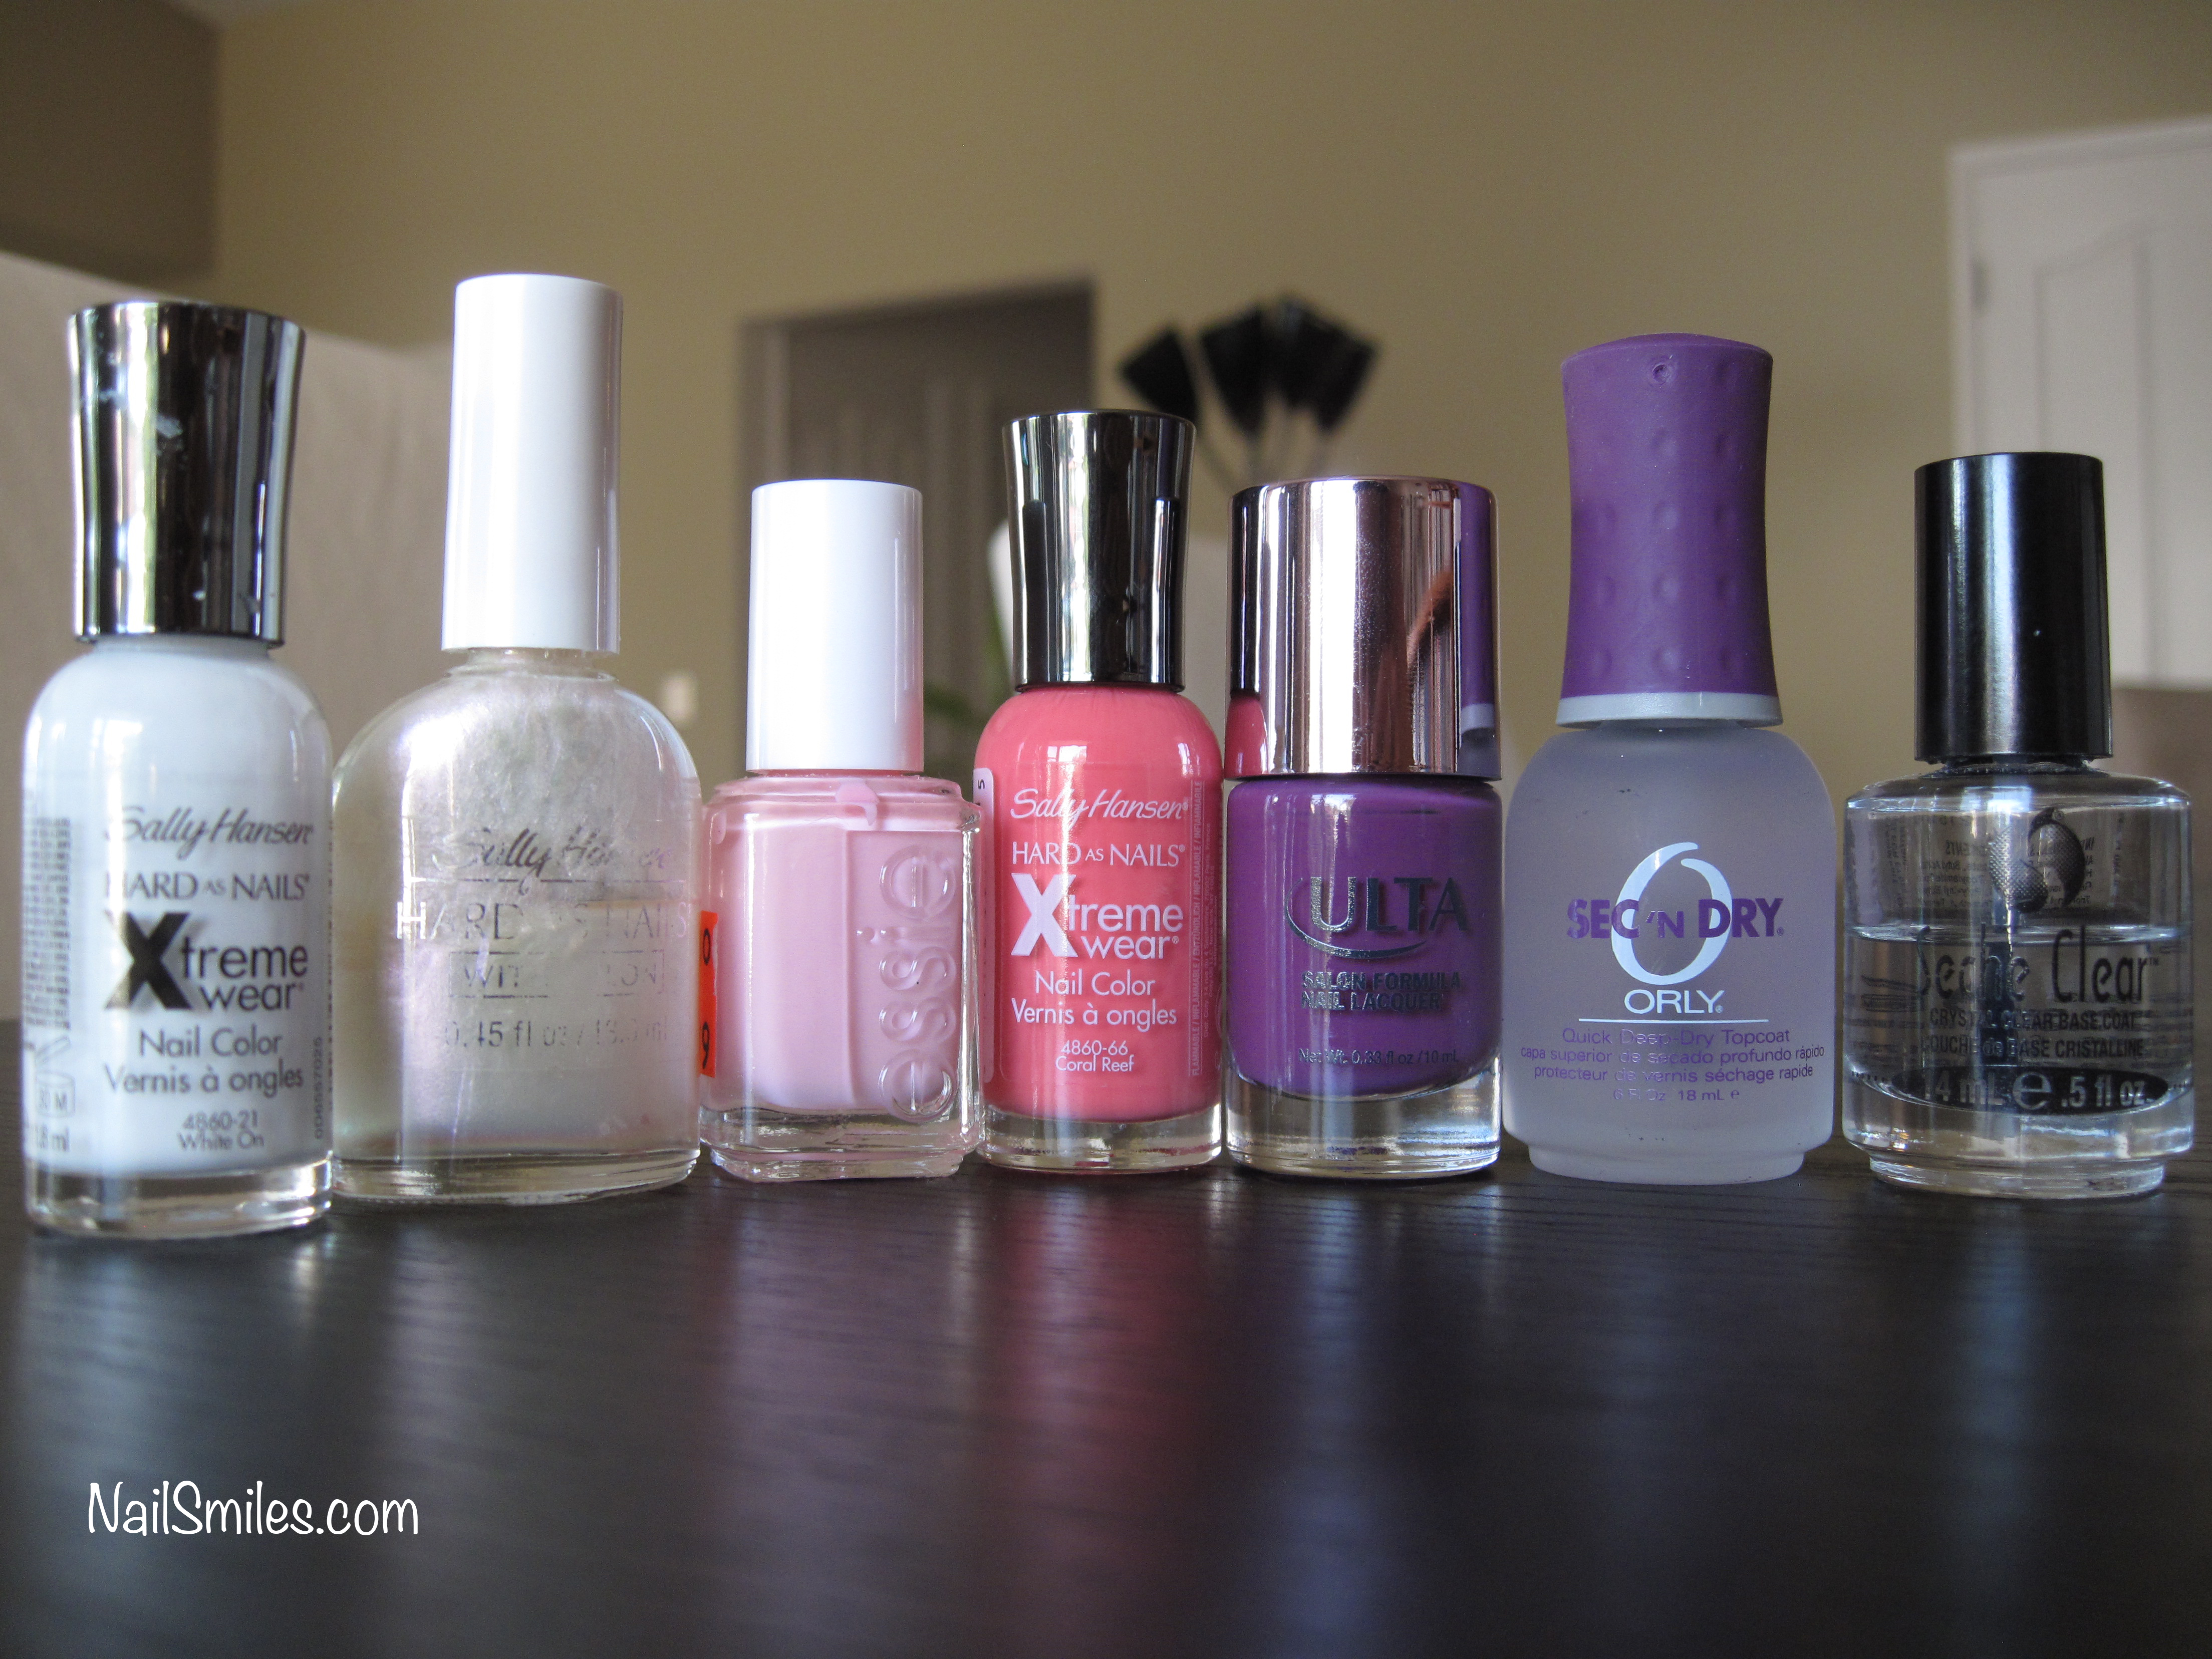
  9. Base Coat – Apply a base coat – these are designed to hold the polish on your nail longer, prevent potential staining and they sometimes have nail strengthening properties.  The brand I currently use and love is Seche Vite Crystal Base Coat, but some other highly recommended options include OPI’s Natural Nail Base Coat, Orly Bonder (In Style’s best base coat of 2012), CND Stickey, Essie’s First Base, and Posche Fast Drying Base Coat.  Experiment to find what works best for you.

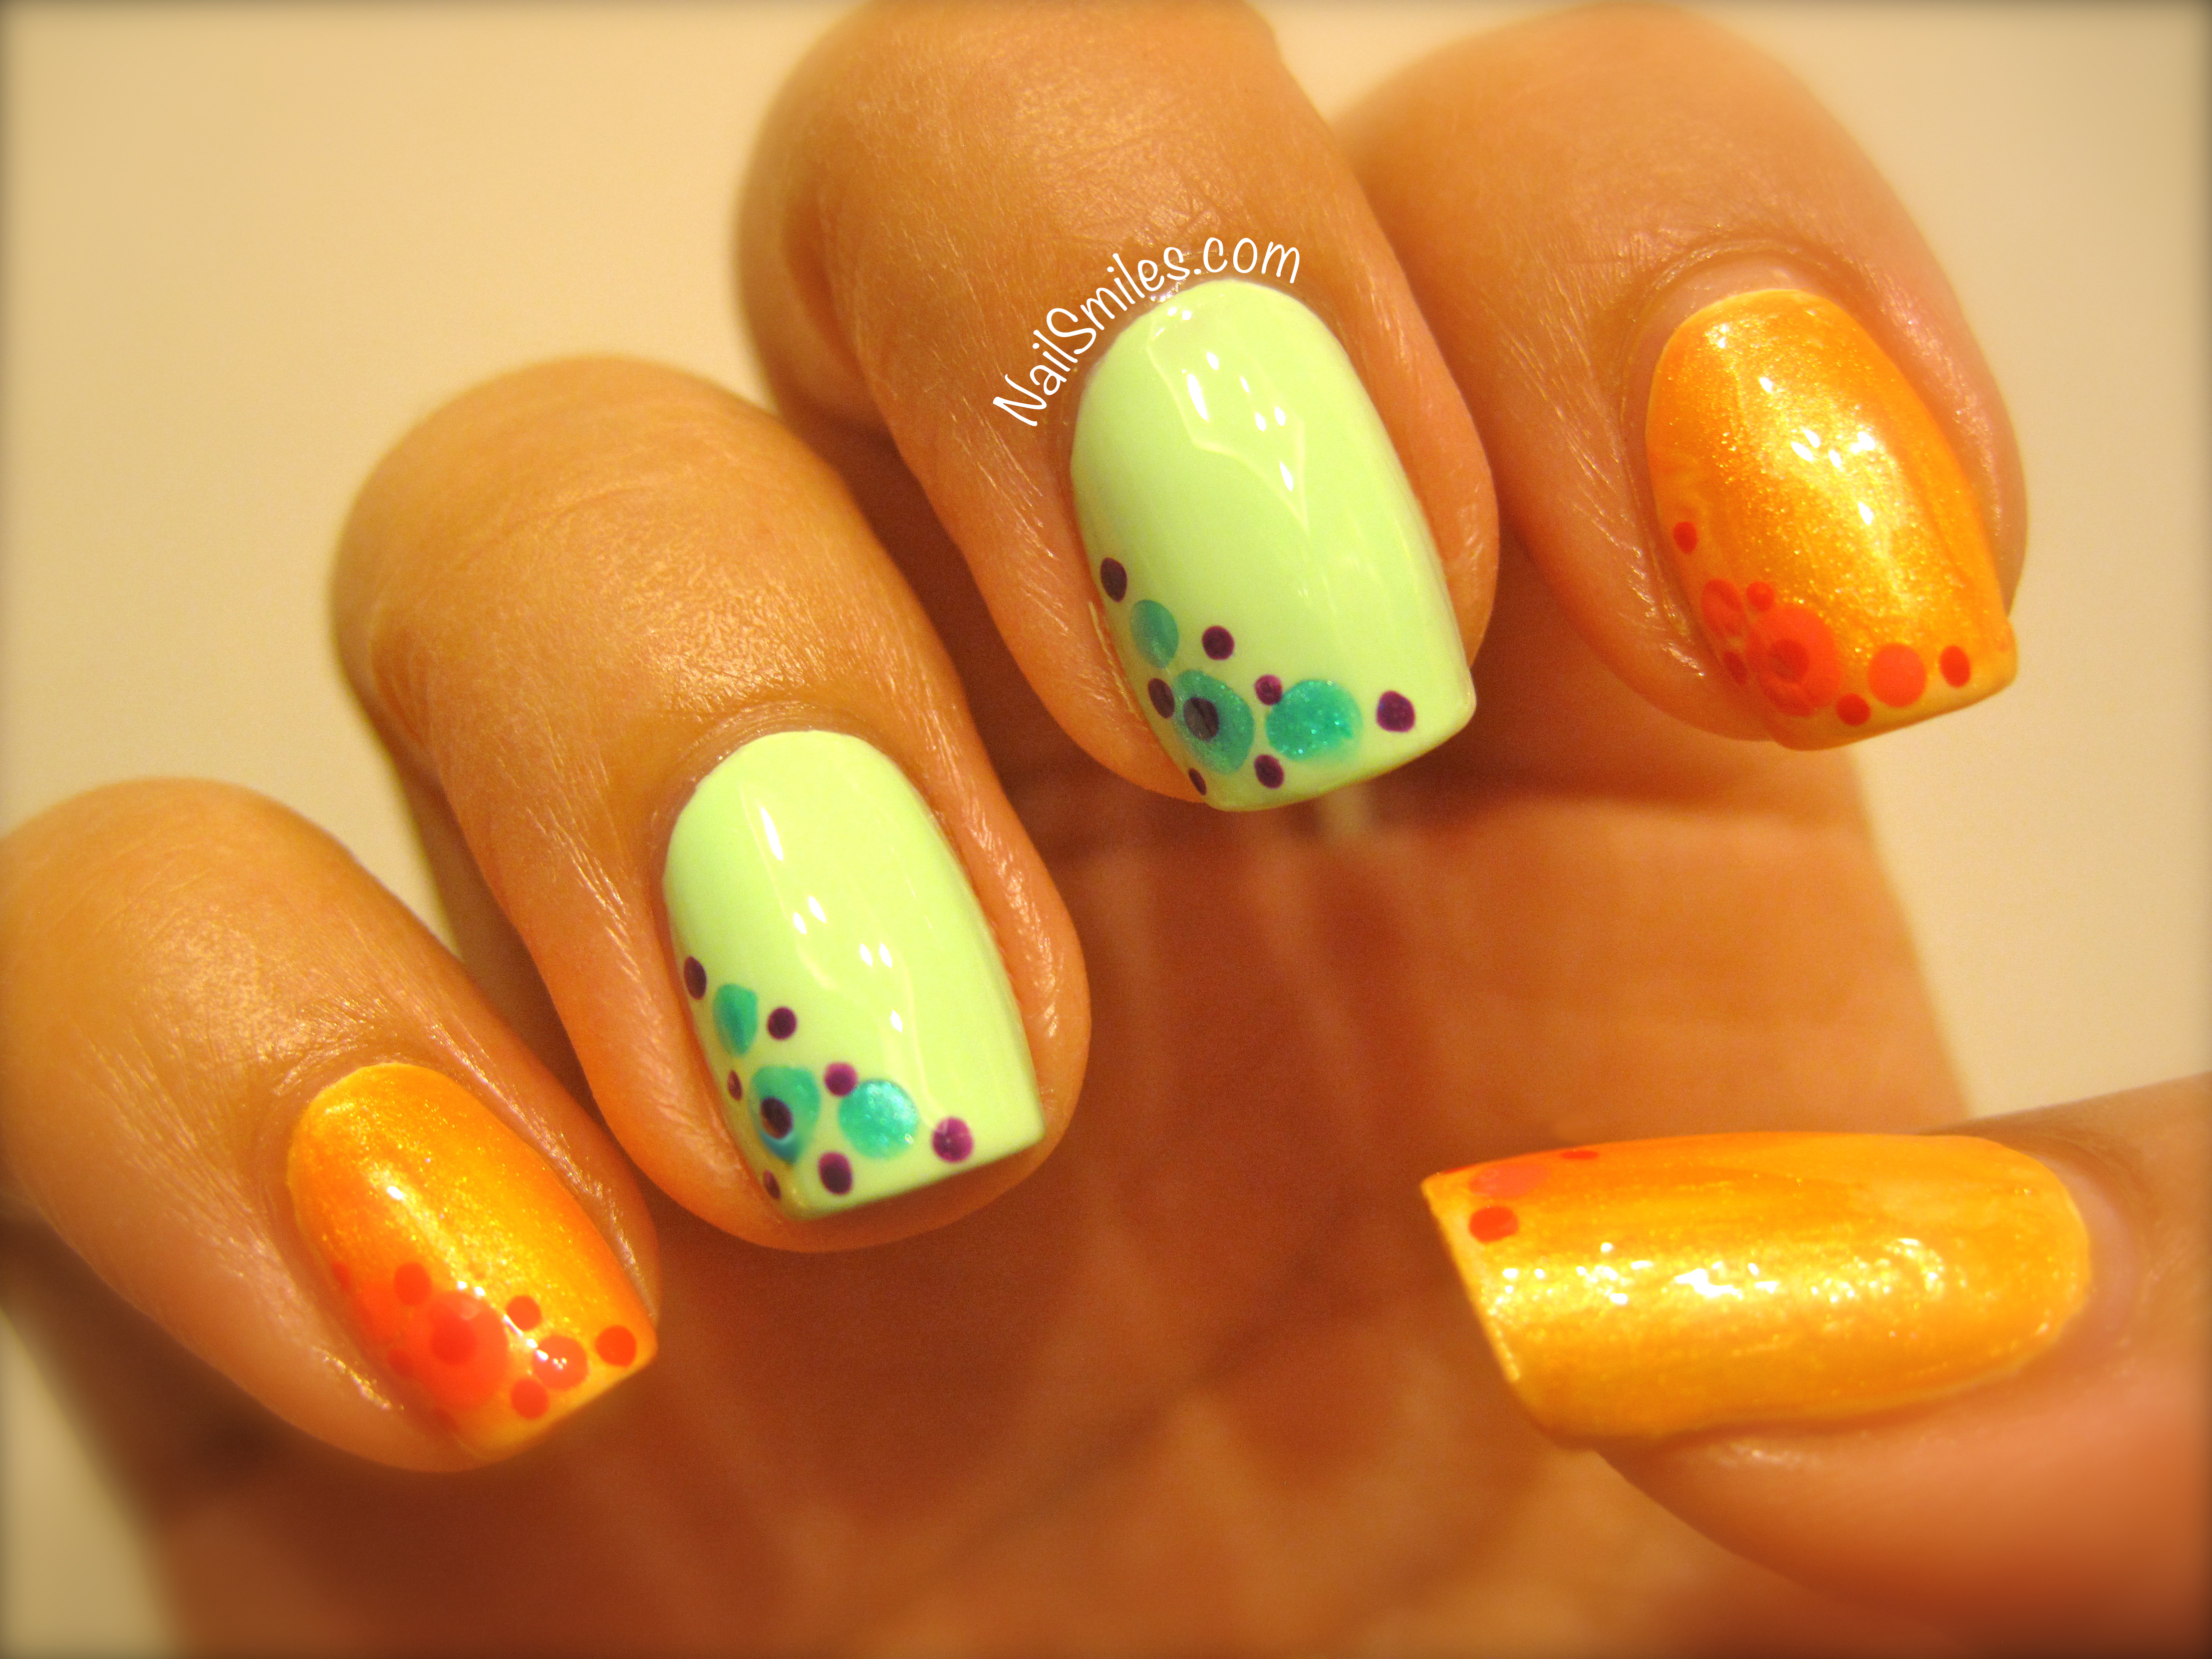
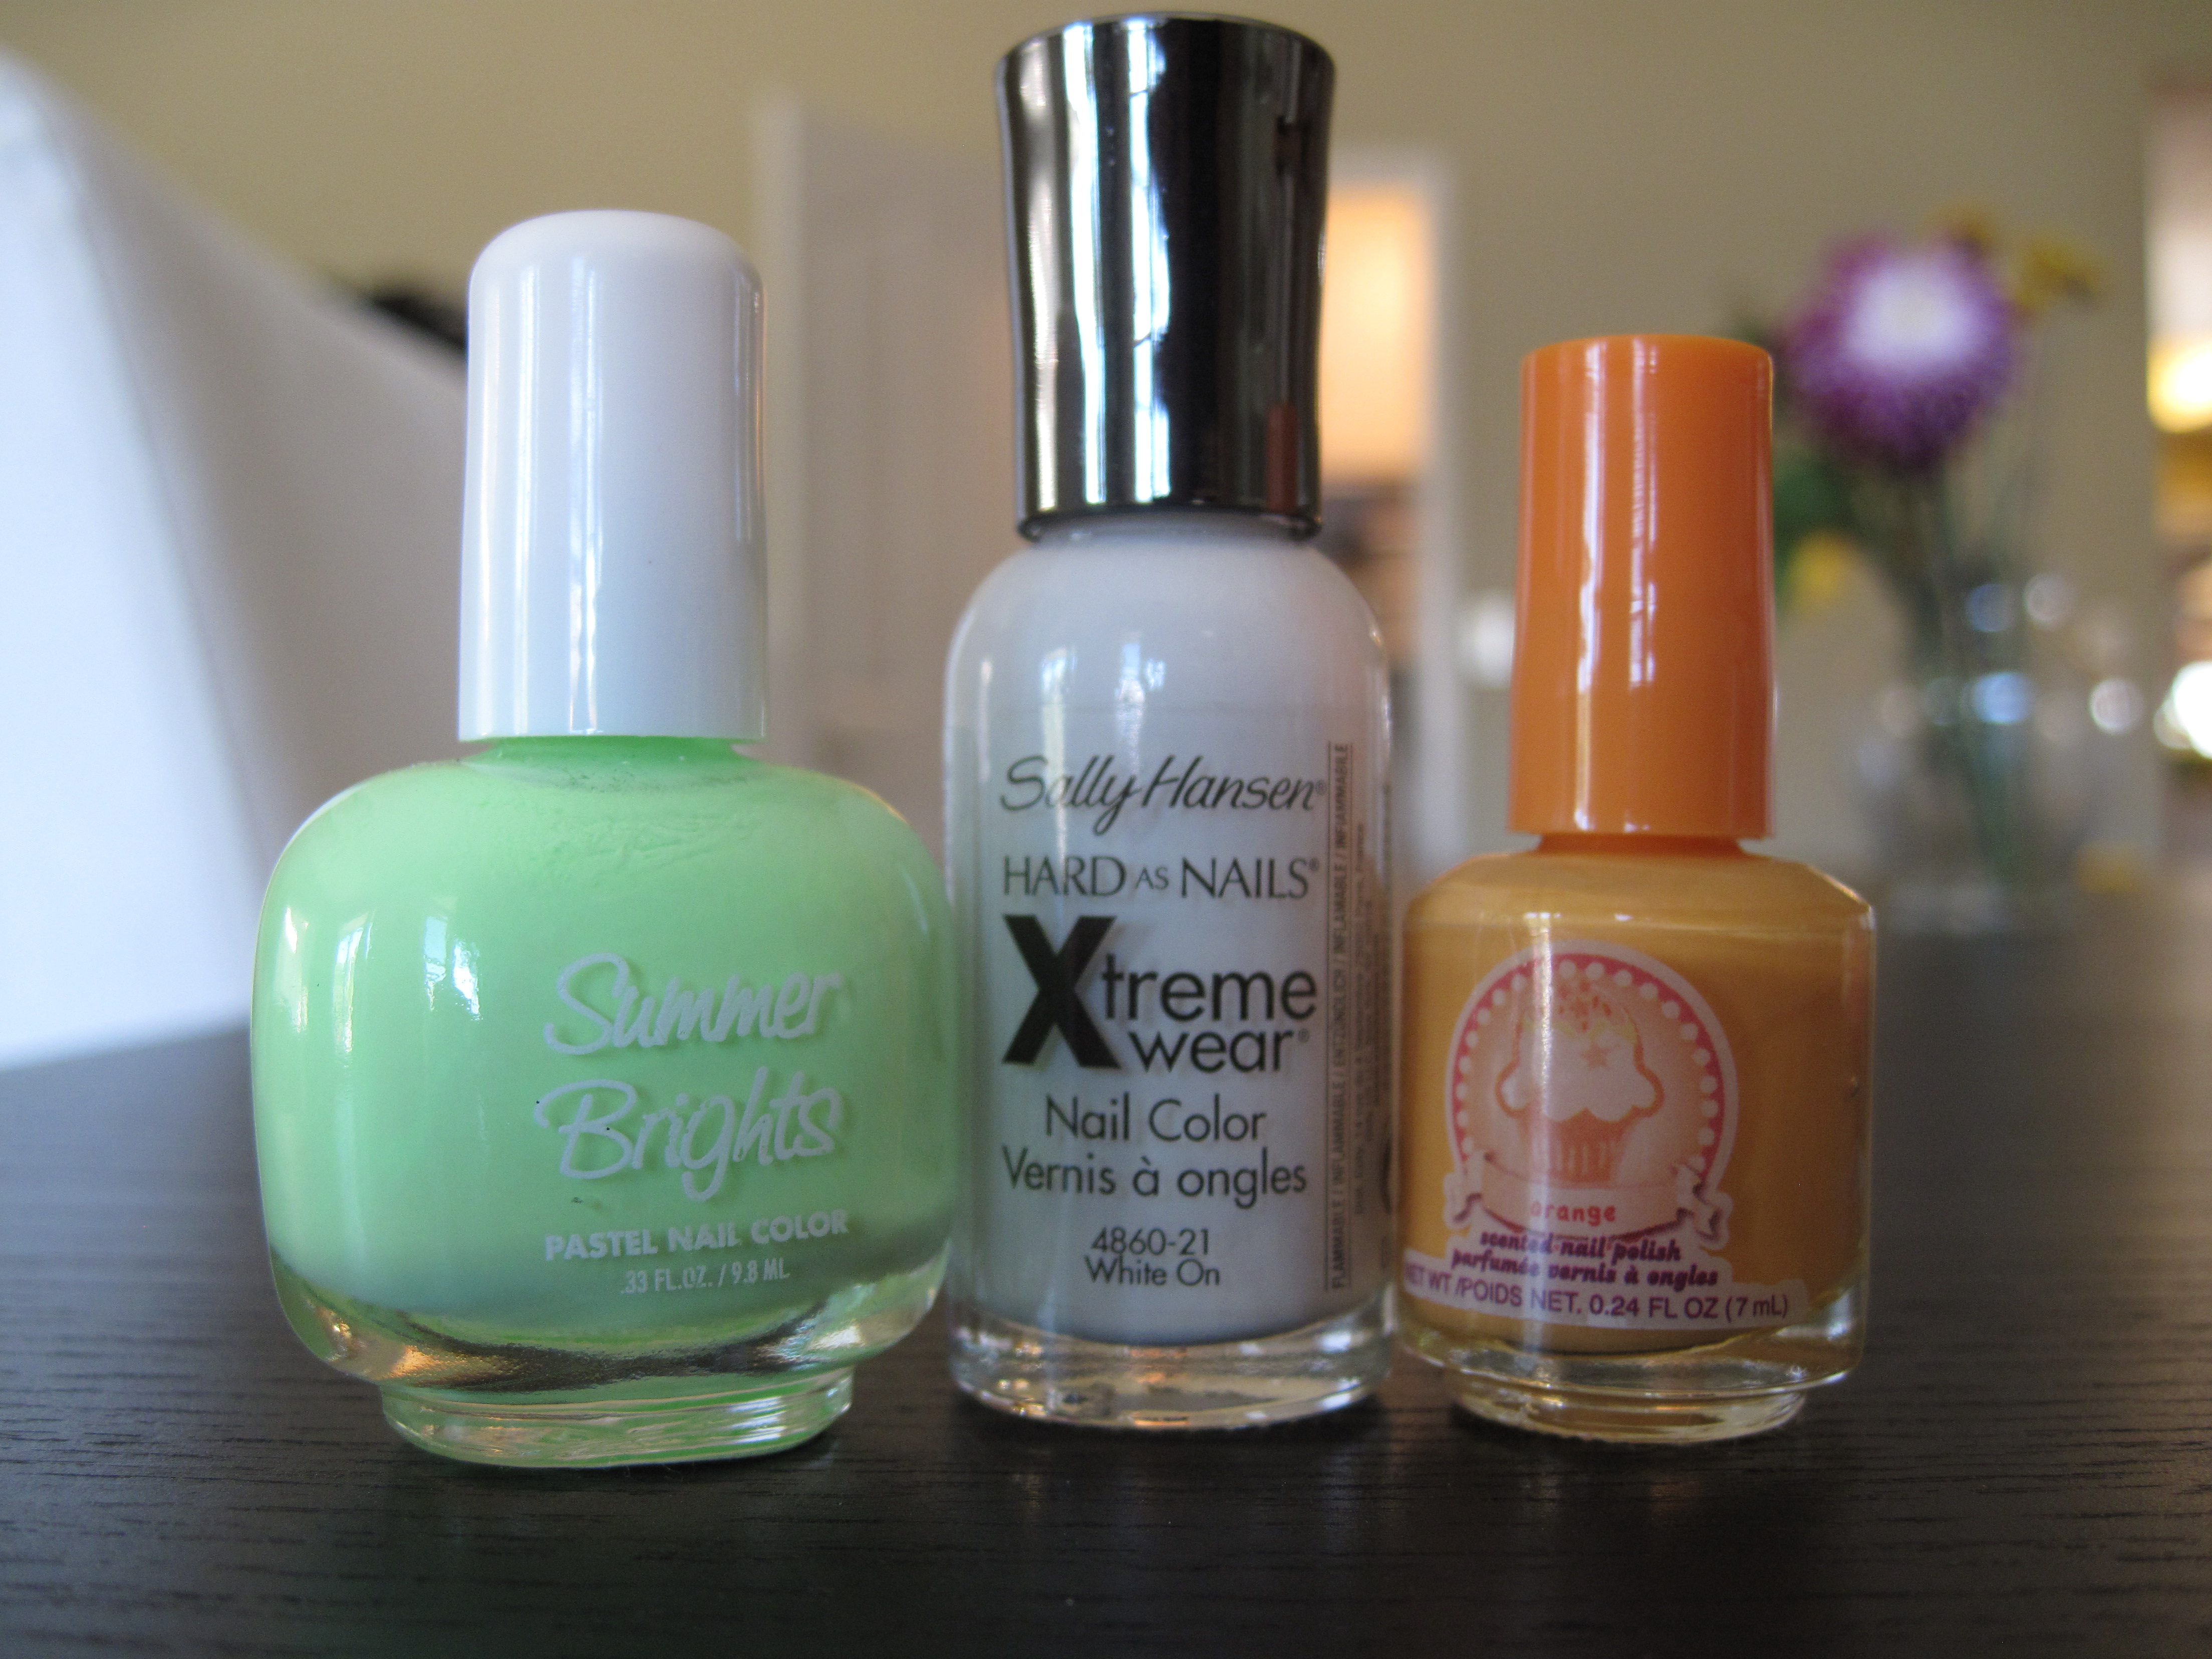
  10. Color – Go to town with your favorite colors, but keep in mind that sometimes brands do make a difference.  OPI, China Glaze, Orly, Essie and Sally Hansen have all been in the business for a long time and are reliable options, but don’t be afraid to try a different brand if you love the color.  One coat is good, but if you really want your nails to last you should focus on two to three thin coats depending on the color.  Glitter colors naturally adhere to your nail longer (sometimes too long!).  The other important thing when painting is to “wrap the tips” – after painting the top of the nail swipe the color along the edge at the tip of the nail.  This will prevent initial chipping on top of the nail.

  11. Top Coat– Again, find a quality topcoat that works best for you.  The top contenders include Seche Vite Top Coat (my current personal choice), Sally Hansen Insta-Dri Anti-Chip Top Coat, OPI RapiDry Top Coat, Deborah Lippmann Addicted to Speed Top Coat, Orly Sec’n Dry Top Coat, Posche Super Fast Drying Top Coat and Essie’s No Chips Ahead . I have to say that having a fast drying topcoat has changed my nail world and I can’t recommend the fast drying options enough!

Maintenance

Our hands get used a ton throughout the day so wear is unavoidable, but doing a few things like wearing gloves when you do the dishes or clean will make a huge difference.  I love to cook and I’m notorious for washing my hands every two seconds while preparing food – great for sanitation, not so great for manis; to combat this use warm/cool water instead of scalding with a mild soap and dry hands immediately after washing versus letting the water sit on your hands.  If you have the time, you can do a quick clear coat every couple of days to make the polish last and keep it shiny.  If all else fails, get your partner to do everything around the house, that’ll save your nails for sure!

What do you do to make your mani last?

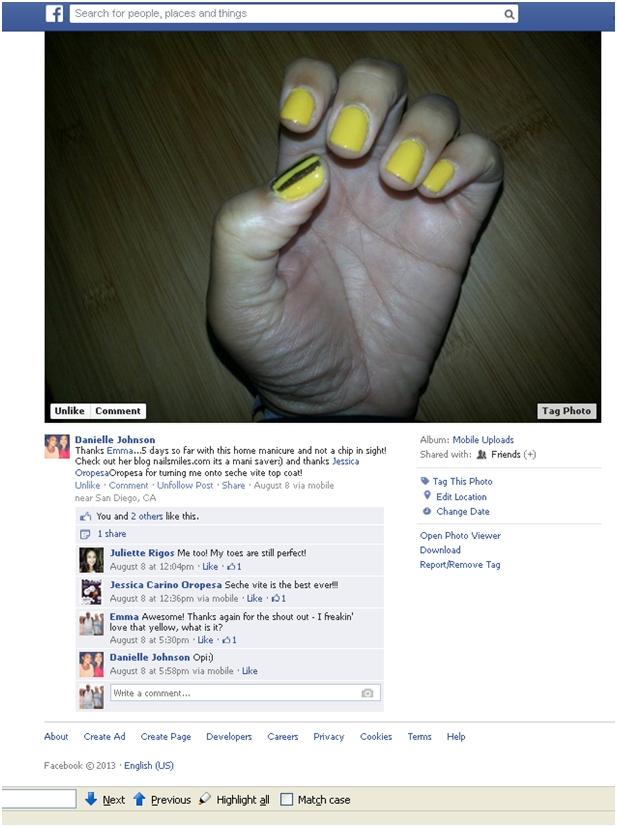
EDIT:  Thanks to Danielle for the Facebook shout out about this post!

Danielle's FB Shoutout Danielle's FB Shoutout 2