Nude Lace Nails – Delicate and Feminine

Nude Lace Nails


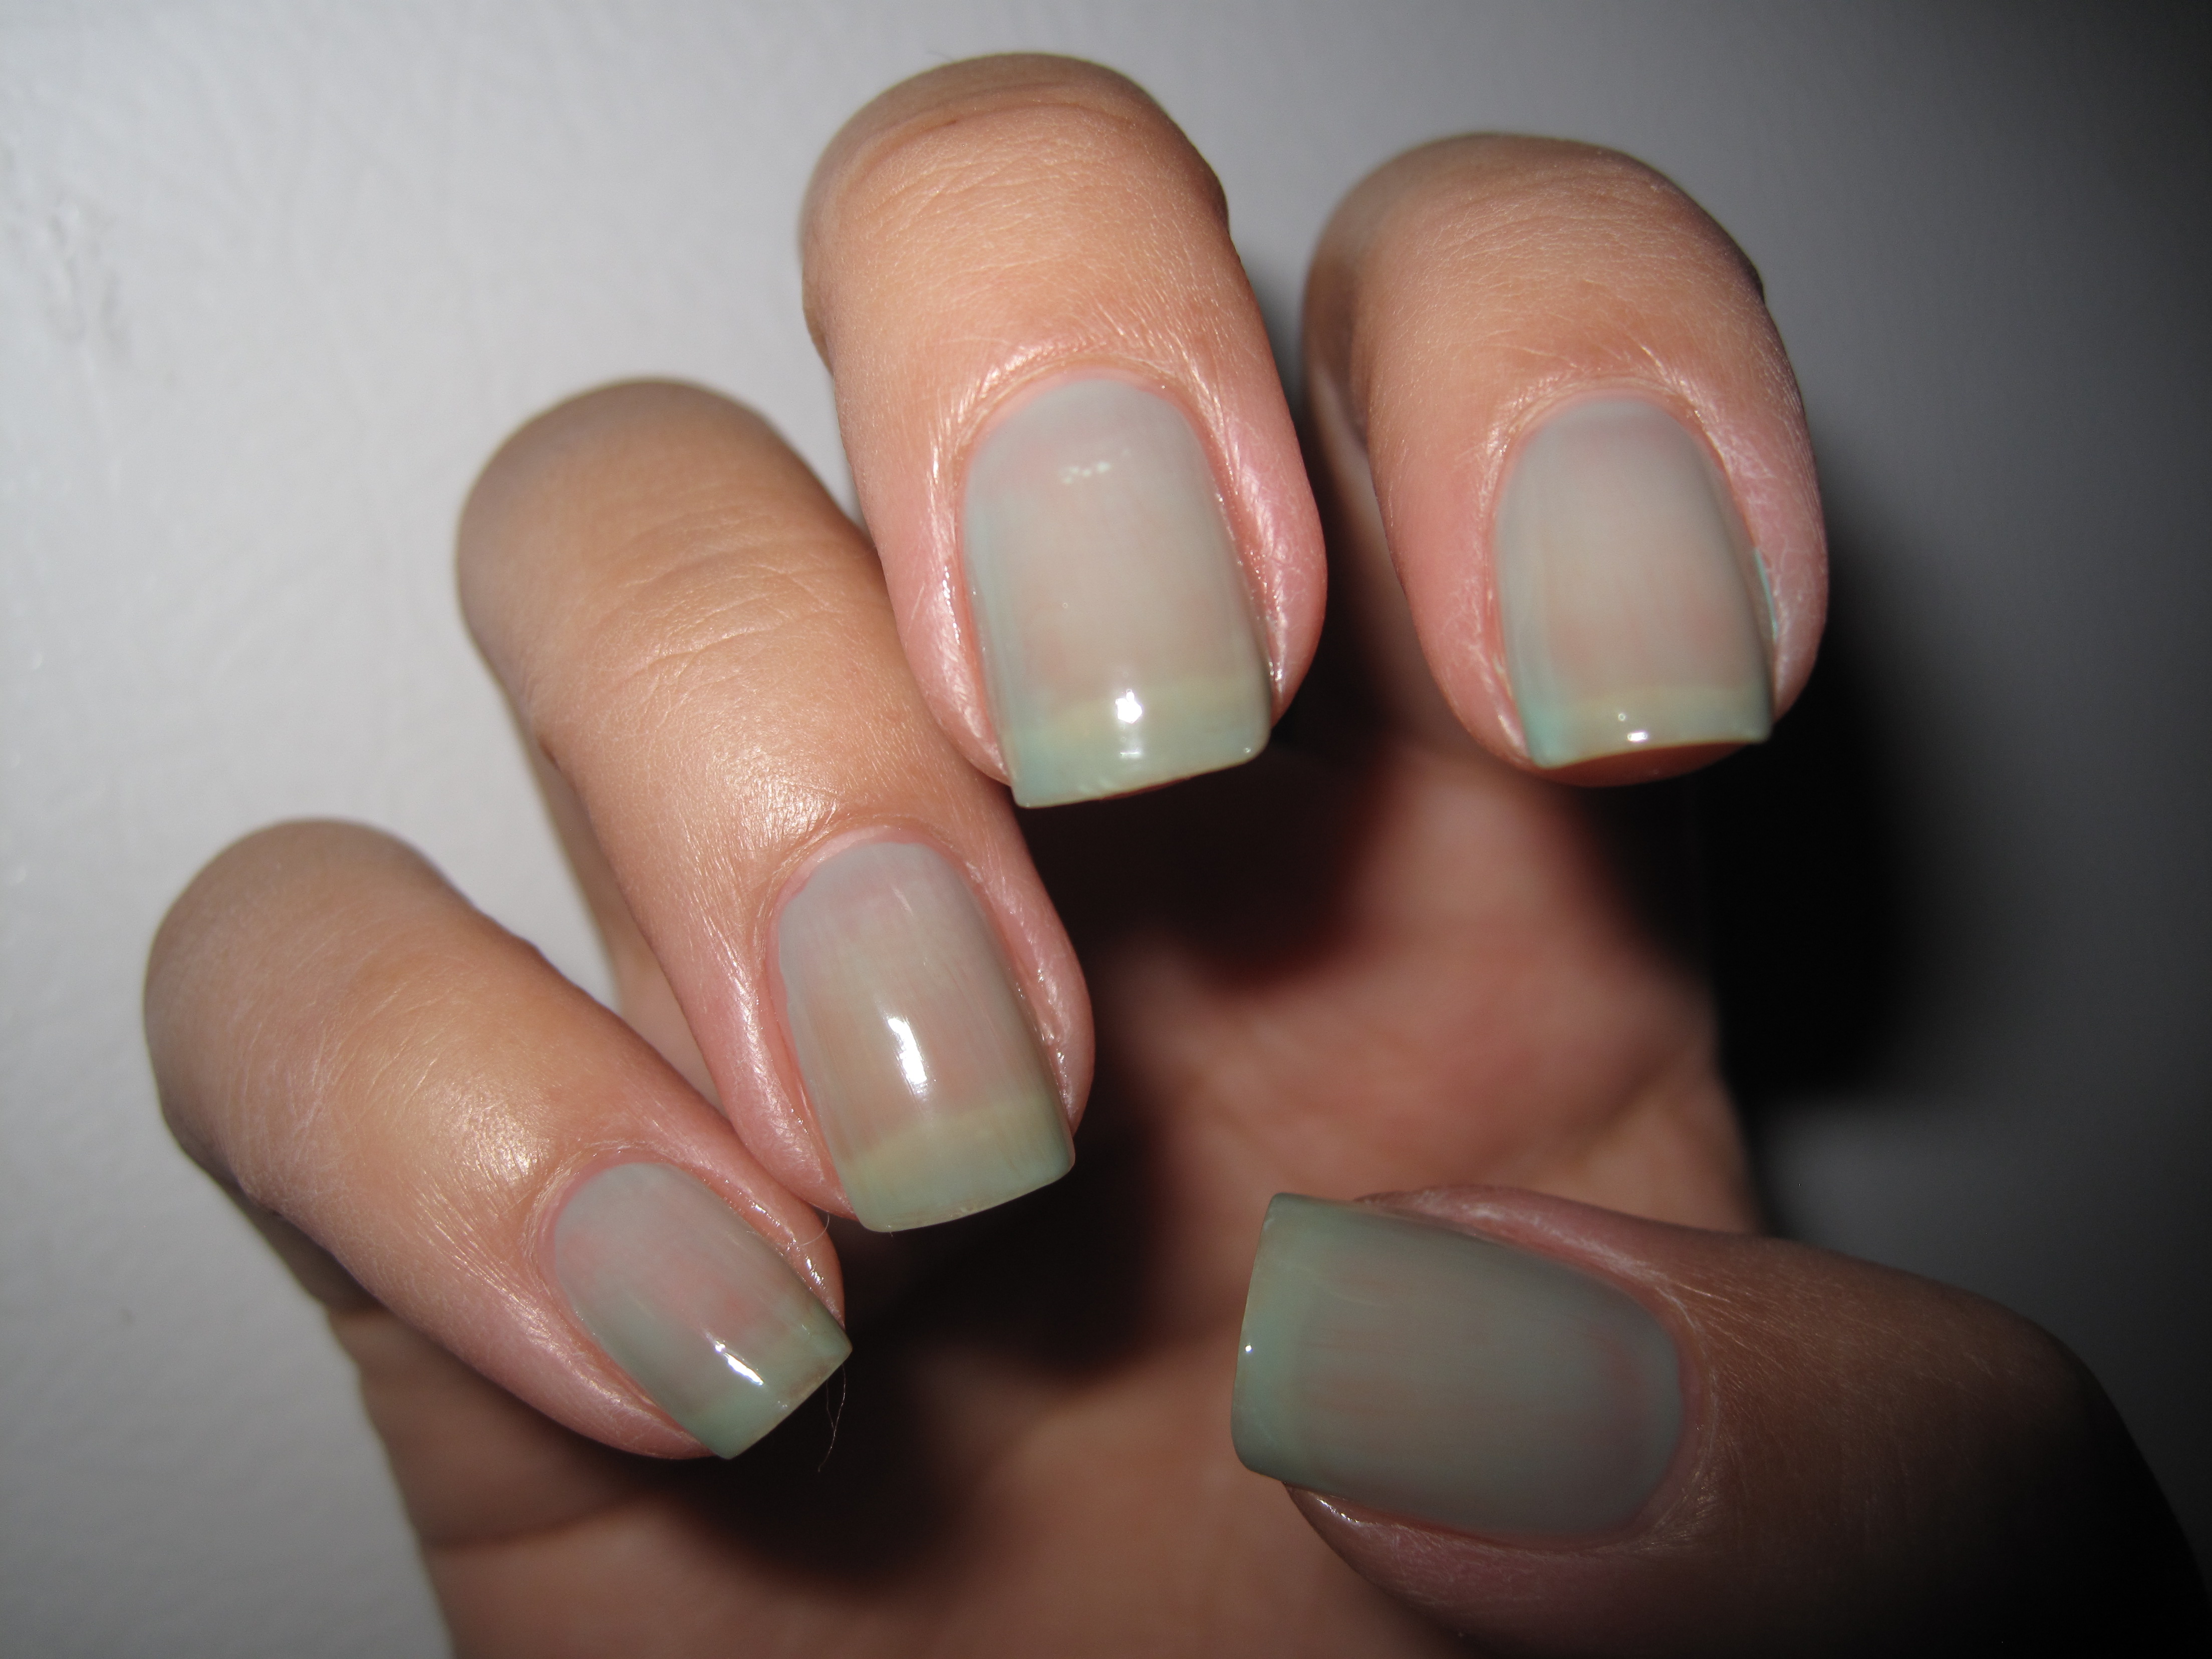
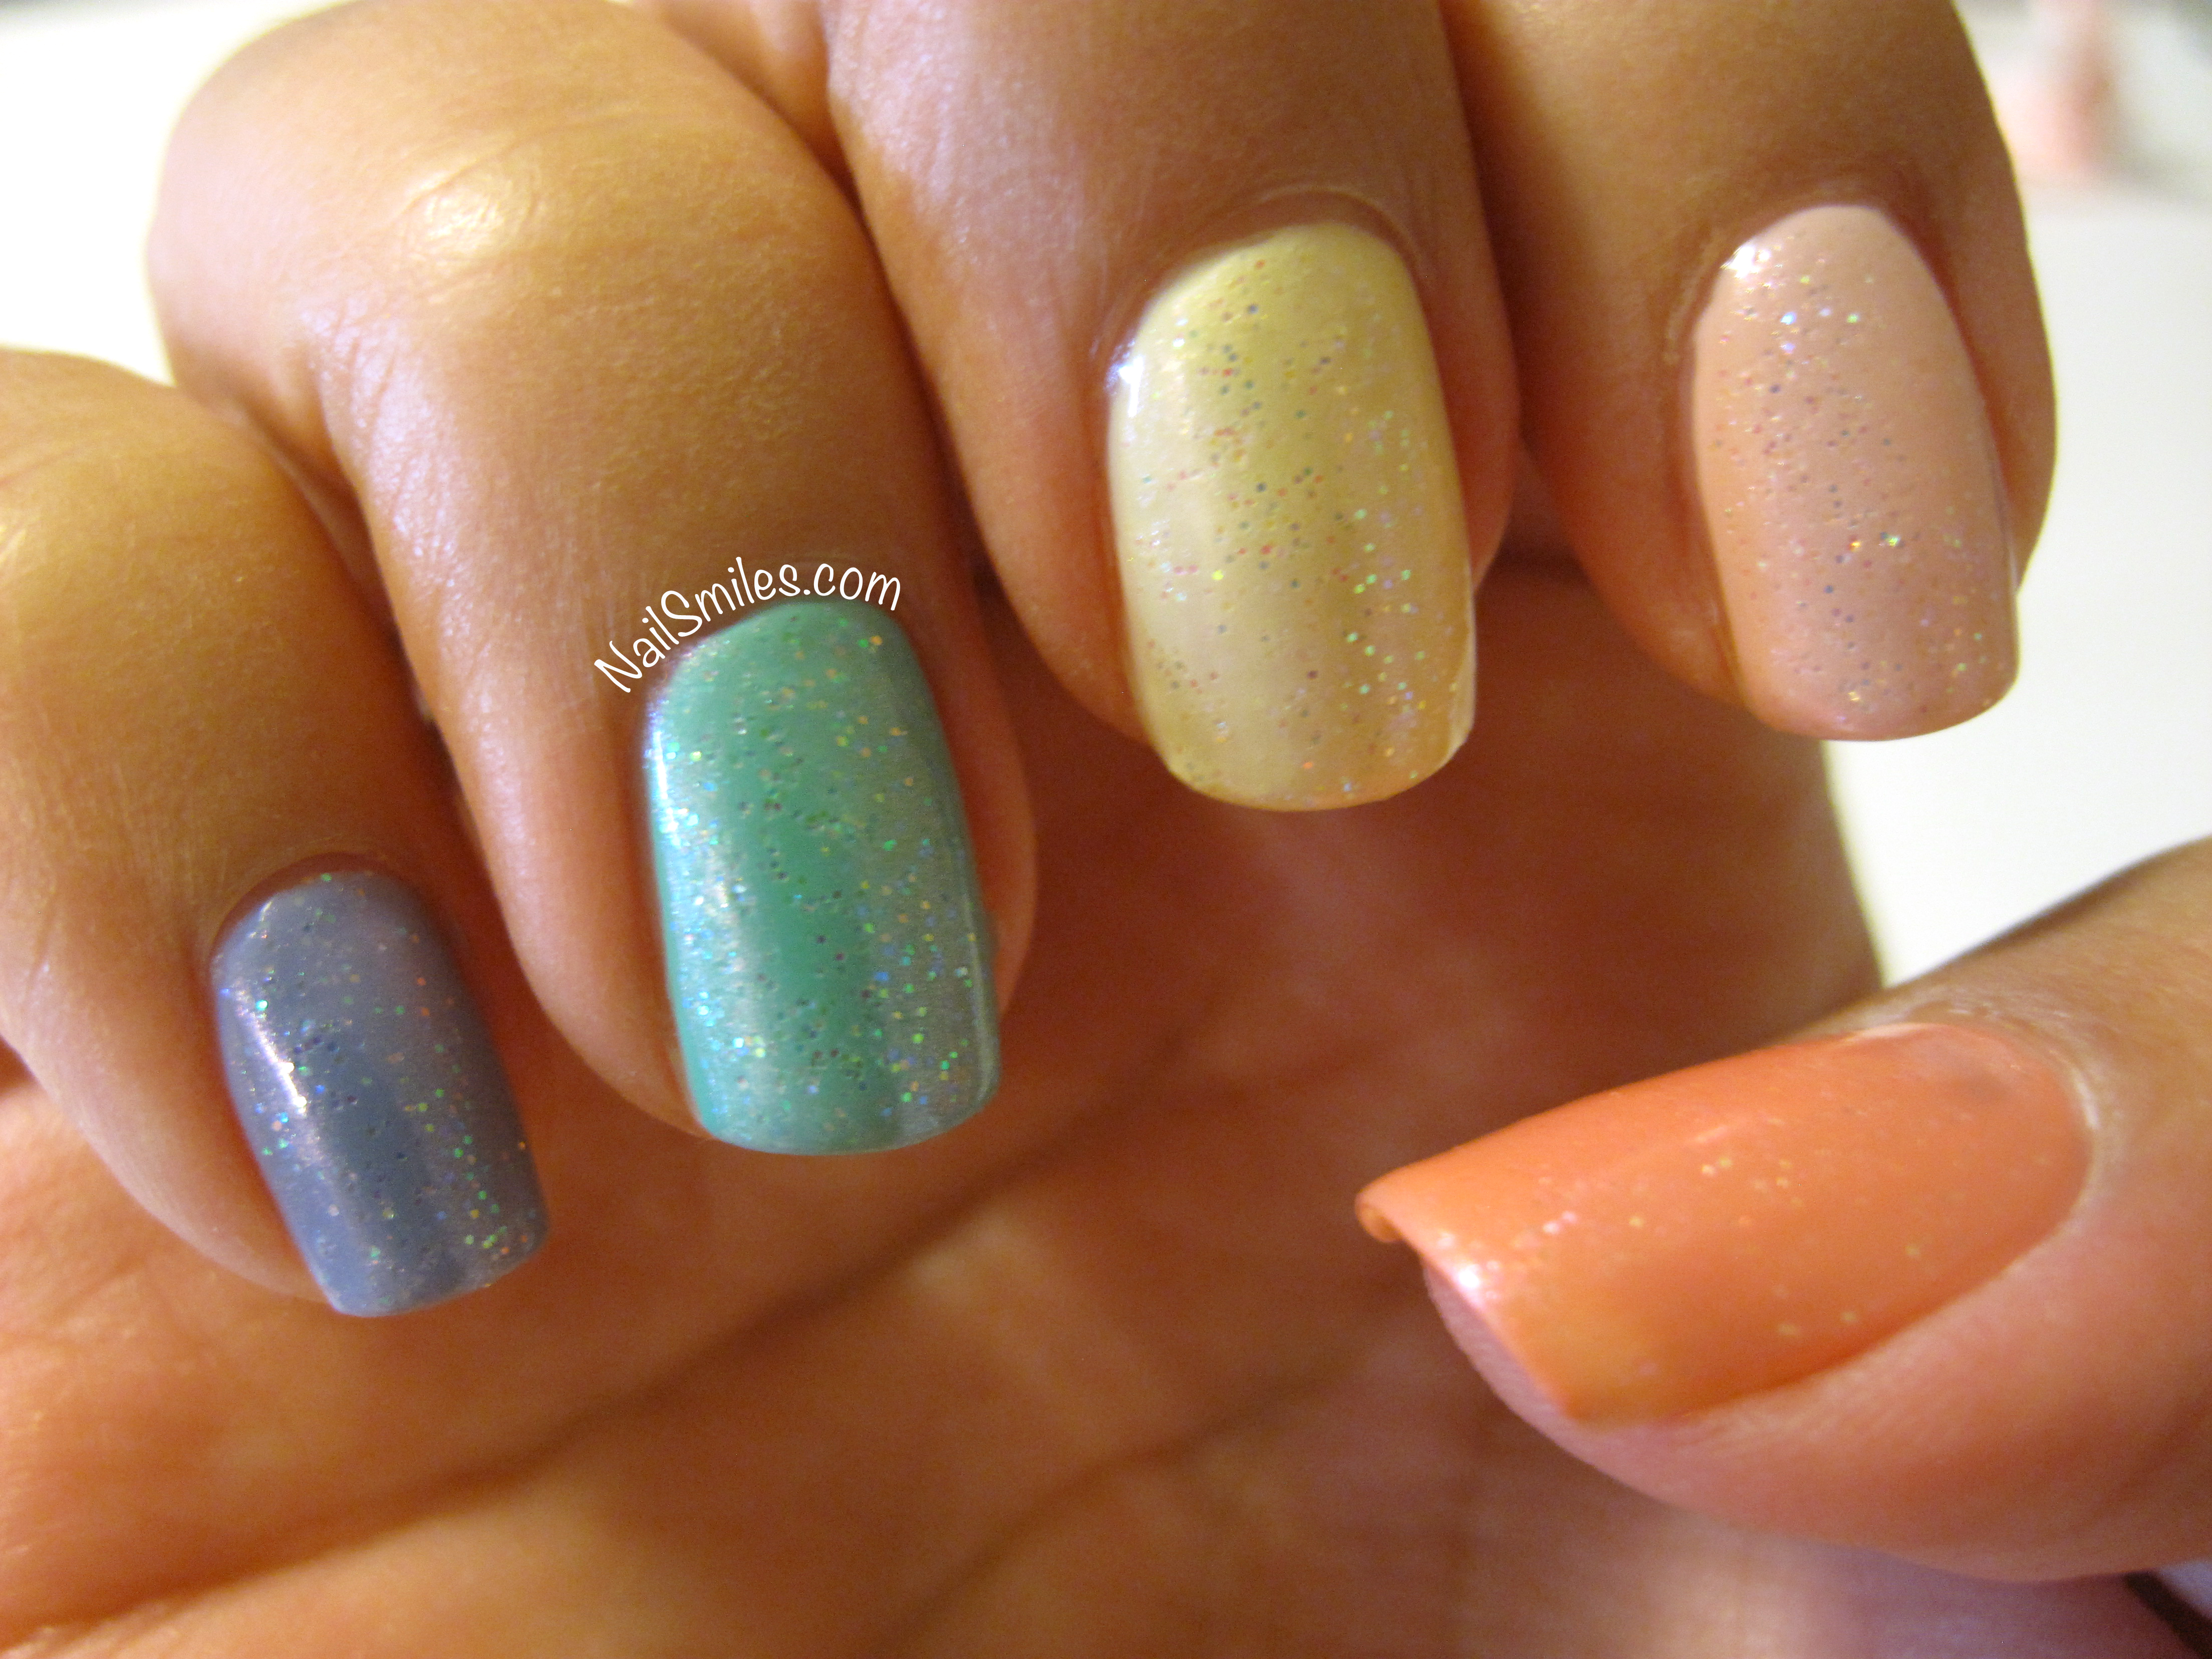
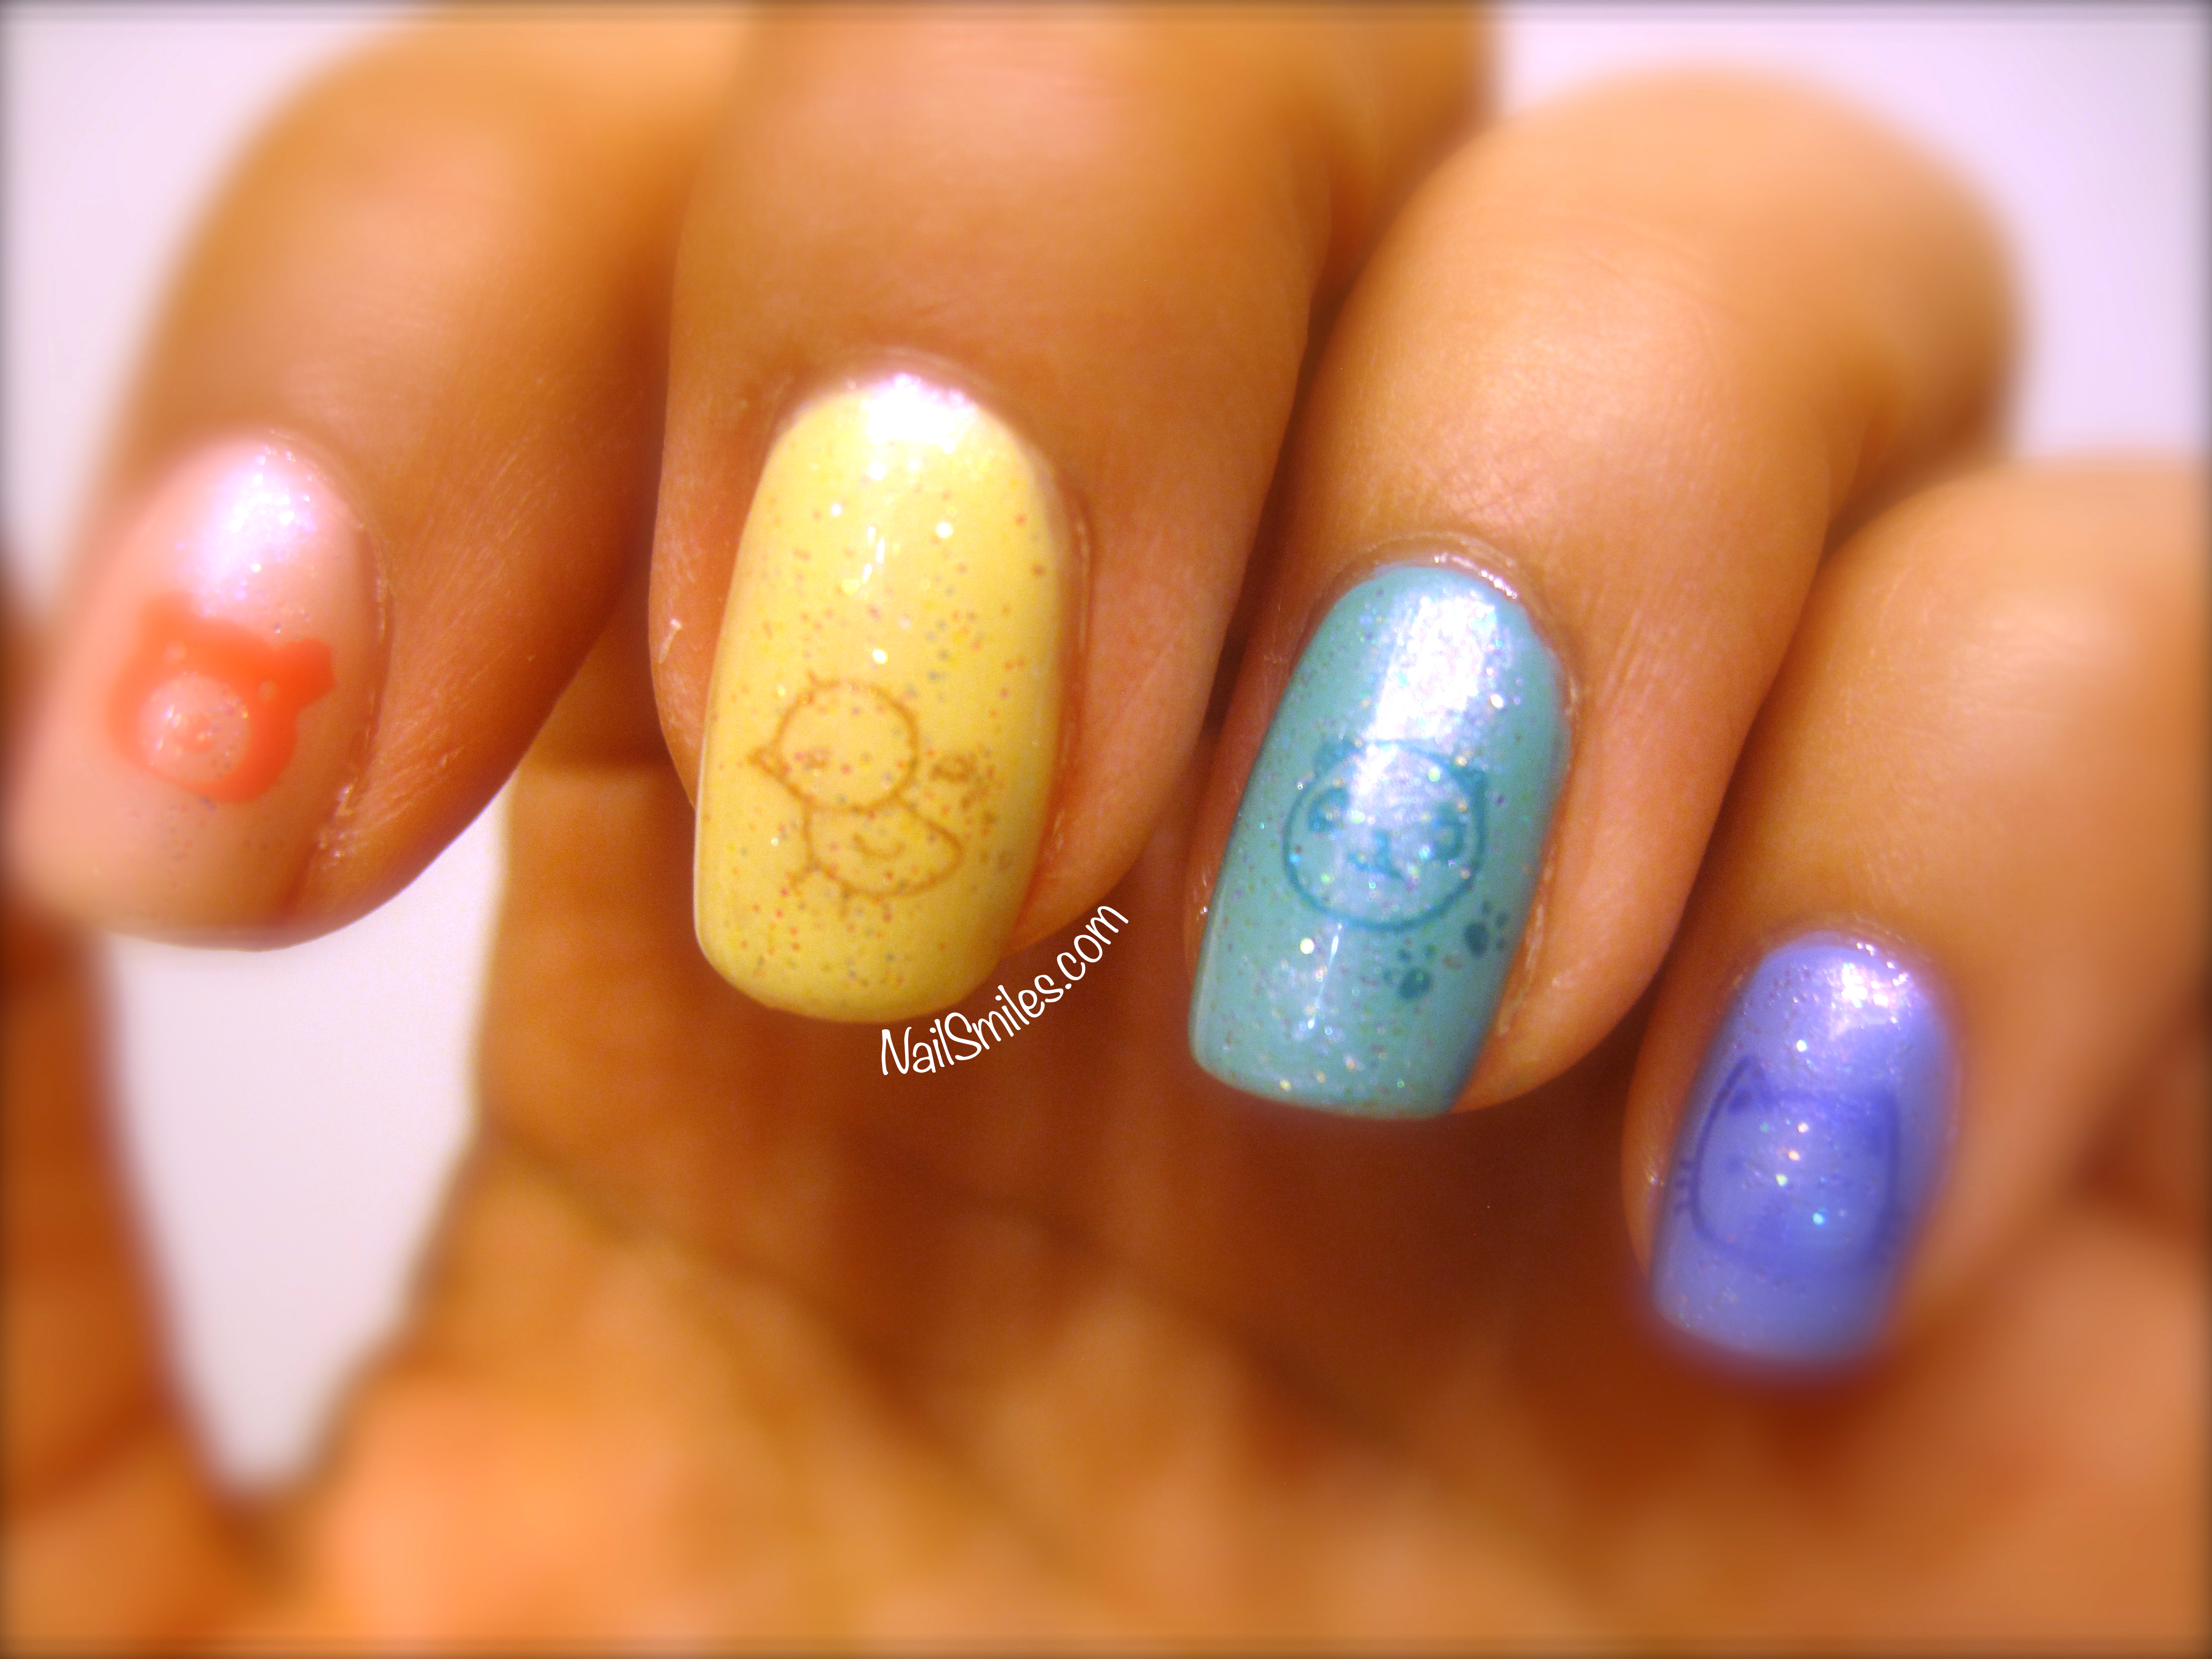
After the bright green of my St. Paddy’s Day manicure, I needed my next design to be toned down to balance things out.  I’ve seen a few other examples of white stamping over nude colored nails and decided that would be the perfect combination of subtle yet playful I was craving…also, I have a meeting coming up at work so super jazzy nails wouldn’t cut it (even though my bosses love my nail art for meetings with visitors I like to tone things down).

I’m really pleased with how the designed came out.  The Sephora by OPI Bare To Be Different polish was very translucent.  The first coat was so clear that I decided to switch to Milani Creme Brulee for the second coat.  On my ring finger I used Sally Hansen Nail Prisms South Sea Pearl, which is a duochrome (color shifting) topcoat, but it didn’t photograph well.  The color adds a green shimmer that can shift to pink depending on the lighting, but the photo just shows glare :\.  Apparently it also looks fantastic over black, so I’ll share when I attempt that.

The stamping plate is QA65 from BornPrettyStore.com, which I got on sale for only 99 cents, regular price is $2.99, but keep an eye out because they regularly have amazing sales.  The plate stamped clean and all of the images are great designs, I can’t wait to try the others.  As you can see in the photo my nails are currently short, the images were large enough to cover my nails, one of my thumbs I had to double stamp for full coverage.  If you have long nails you will probably need to double stamp with these images which are under an inch long.

Originally, my ring finger was just going to have a single diamond pattern, but since I stamped it on my nail REALLY off-center I decided to just stamp it all around and make a pattern.  As Bob Ross would say, there are no mistakes, just happy little accidents.  Or as I would say, it’s a mistake, but also an opportunity to get creative!

Either way I love it!  I think the stamped pattern would also look really pretty in green with little flowers added or stamped and staggered in two different colors.  Have you tried stamping over nude?  How’d it turn out?


Nude Lace Nails Milani


  1. Sally Hansen Double Duty Base and Top Coat
  2. 1 Coat Sephora by OPI Bare To Be Different
  3. 1 Coat Milani Creme Brulee
  4. 1 Coat Sally Hansen Prisms South Sea Pearl on ring finger
  5. Stamping with Sally Hansen Xtremewear White On  (note, my bottle is older and thicker, stamps better than when brand new, but new still stamps well)
  6. 1 Coat INM Out The Door Top Coat and another coat after stamping
  7. Stamping plate QA65 from BornPrettyStore.com

Rainbow Fuzzy Nails – Contest Winnings Arrived!

Fuzzy Coat PolishesSo, I’m a little back-logged on posts, but better late than never!  A while back I did a small post about winning a contest from Janella at boldnbeautifulmakeup.blogspot.com.  She did follow through on sending the prizes (all the way from Canada!) and I was so excited that I wanted to use most of the colors all in one mani.

What does that mean?  Rainbows of course!  This was my last summer manicure before my Fall/Halloween transition (also look for a massive post coming up about Fall nails).

Fuzzy Rainbow Nails 3For this manicure I used Color Club’s Take Wing as the base, two coats each, then coordinated the fuzzy coat colors on each finger.

Polishes Used:

  1. Seche Vite Base Coat
  2. Pink – Color Club Wing Fling with Wool Lite
  3. Orange – Sparkle and Soar with Peach Fuzz
  4. Yellow – Daisy Does It with Fuzzy Fantasy
  5. Green – Fly With Me with Fuzz-Sea
  6. Blue-Green – Metamorphosis with Tight Knit
  7. Purple – Milani Totally Cool with Tweedy
  8. Poshe Top Coat

Take Wing RightTake Wing Left
Fuzzy Nails Right
Fuzzy Nails Left

Fuzzy Rainbow Nails 2 Fuzzy Rainbow NailsSo long summer nails, welcome Fall!

Welcome October! Early Halloween Inspiration Black and Orange Mani

Jacko and Black Crackle

I couldn’t wait!  October 1st and I had to usher in Autumn and the month of Halloween with a neon orange and black crackle mani.  I just wish the photo could show how neon the orange is, my fingers are almost glowing.

I decorated my desk at work last week and my coworkers started asking if Halloween was my favorite holiday.  It’s hard not to scream say YES!  It’s a holiday where you get FREE candy, you get to dress up and not be considered crazy, and you get to worship Satan all in one…okay maybe not that last part.

Anyway, this set didn’t actually take that long to do.  The orange Sinful Colors Summer Peach color dries very fast and is actually a matte polish.  I put a fast dry top coat on the orange before applying the crackle; I don’t know if it allows the crackle spread better, but my theory is that it helps.  The crackle coat also dries super quick and is in between glossy and matte.  I did not apply a topcoat over the crackle.

On the accent finger I just used a small paint brush to apply the design.  Yes, the face is inspired by one of my favorite movie protagonists, Jack Skellington (even though it’s on orange and not white).  It is a cross between a jack-o-lantern and Jack Skellington and I’m quite pleased.  I can’t wait to do more themed nails this month!!

JackSkellington

Polishes Used:

  1. Seche Vite Base Coat
  2. 2 coats Sinful Colors Summer Peach 
  3. 1 coat Poshe Top Coat (on orange, before the crackle coat)
  4. 1ish coat Nicole By OPI Black Texture crackle
  5. Face detail in Sally Hansen Black Out

Sakura Cherry Blossom Nails with Matte Green Base

Sakura Cherry Blossom Nails

Happy Monday.  I’m submitting this post a little out of order because after I wrote my draft I somehow didn’t save it properly so I have to reeeewwwrrrriiittteee it.  Anyway, Arizona Iced Tea anyone?  I can’t say this mani was inspired by the drink of my childhood, however, it definitely is reminiscent of their old can.  I did also have someone tell me it reminded them of a porcelain teacup.

Polish Performance

This manicure was my first attempt at using a matte top coat as well as my first time using Sally Hansen’s Complete Salon Manicure line.  I will say I now know why this line runs for around $8 versus the the $2-3 you’ll pay for their Xtremewear line.  The brush is amazing!  I had to do ZERO clean up on this manicure because I had so much control with the brush and polish.  It’s very soft and it has a rounded shape that fit the curve of my cuticles perfectly.

I was quite surprised at how thin one coat of the polish is…so surprised that I took a photo.

1 Coat of Sally Hansen Jaded

1 Coat of Sally Hansen Jaded

I used two coats, but really I think this polish would be best with 3 or 4 if you want full opacity.  I definitely like the color of it too and I will say that these photos don’t do it justice (the pics look a little more grey and less green).

The matte topcoat did what it said, it turned super shiny polish into a smooth flat matte finish.  I did notice some micro bubbles and I’m not sure whether it was from the top coat or from not letting the colored polish below dry long enough.  I was on the fence about matte manicures for a long time, but this experiment has definitely changed my mind and I look forward to playing with more options!

Techniques:

The branches were just a simple few lines drawn with a fine paint brush and the flowers involved using one of my jenky homemade dotting tools (read: a sewing needle stuck into the pink eraser of a pencil).

Place 5 dots of polish in a circle and then place the needle in the center of each circle and drag a line towards the center.  This will create the look of dimensional petals.  I put a dot of CG Fairy Dust in the center of each flower for extra pop.  You can always use a different number of dots to get a variety of flower patterns.

Polishes Used:

  1. Seche Vite Base Coat
  2. Green Base – 2 coats Sally Hansen Complete Salon Manicure Jaded
  3. China Glaze Matte Magic Top Coat
  4. Branches – Ulta Taupe On A Rope
  5. Flowers – Essie Luscious Lips
  6. Flower center accents and forefinger – China Glaze Fairy Dust

What are your favorite polish colors to make matte?

Weekend Wedding Nails Plus a Refresh

Wedding Nails Left Hand CG Pastel With Heart CG Pink Holo With HeartOne of my friends all the way back from high school had her wedding reception this past weekend so I decided to do a simple white pearl manicure with heart accents to honor the festivities.  I achieved the shimmery white by using one coat each of three different polishes listed below.  The adorable gold hearts are from the stud set I previously spoke about from BornPrettyStore.com.

Halfway through the week I opted to refresh the manicure by painting different China Glaze polishes on each hand. The left hand got two coats of CG Seashell while the right hand got two coats of CG’s Holographic Not in This Galaxy.  I love how Seashell looks; it is painted over the white so I’m not sure how that influenced the color, but it’s a “just right”  color for me….and it’s very shiny.

The other CG polish has very fine holographic particles so it is quite subtle (not really noticeable indoors, sunlight really does the trick for this one).  When inside, it looks more like a metallic polish, when outside you can see the full holo spectrum.

I have to say the consistency of both these polishes was great (not thick) and the brush was high quality and thin for accurate application.  Even though it’s September I feel like I have February Valentine nails going this week!

Polishes Used:

  1. Seche Vite Base Coat
  2. Sally Hansen Satin Slipper (for the original white manicure)
  3. Jesse’s Girl Firefly (for the original white manicure)
  4. Ulta Diva (for the original white manicure)
  5. China Glaze Seashell
  6. China Glaze Holographic Not In This Galaxy
  7. Poshe Top Coat

Color Bases

Wedding Whites

China Glaze Pinks

CONGRATULATIONS LIESA AND JOHN!  I WISH YOU MANY YEARS OF JOY AND HAPPINESS…and beautiful nails 🙂

IMG_0327What a beautiful bride!

335x280 Emma Arnold banner

Studded “Princess” Nails – Covergirl Timeless Rubies and BornPrettyStore Studs

Stud Princess 2

I feel like playing Mario Brothers after doing this manicure – am I dating myself?  This design makes me think of princesses, specifically Princess Peach; obviously the pinkish color contributes to the thought, but I think the gold studs (especially the diamond shaped stud) actually remind me of a crown.

https://nailsmiles.files.wordpress.com/2013/08/fdcbb-princess-peach_420_1194999440.jpg

What is Princess Peach doing in this photo?!

This manicure is done with Covergirl’s Timeless Rubies polish.  This is the first time I’ve bought their stuff and I’d say the color itself is great.  I don’t think these pictures do the color justice and it was such a busy week that I didn’t make the time to shoot photos in different lighting for the best effect (these photos were actually taken in the parking lot of my work).

It’s a combination of a shimmery look, a bit metallic and a bit of a duochrome as well.  Depending on the lighting orange and gold pops out from the pink, and even a bit of grayish blue?  The brush was fine and the polish was thin enough to control the two coats I did; not sure if a third coat would make much of a difference.  I didn’t get any big chunks chipping off, but the tips did start to wear pretty fast within the first few days.

Front Stud Princess

The studs I used are from BornPrettyStore.com and they’re a pretty good deal for over 200 pieces.  They have a bunch of other really cute stud options including a new set of colored dots.  When my set arrived it was a bit messed up from the transport so the tiny dots were everywhere (see below), but it actually only took a few minutes to fix and organize.

After almost a full week of wear all the studs are still stuck to my nails and they don’t get caught on anything.  I was impressed with how well the larger diamond shaped studs curved to fit my nail (which I’ve found can be an issue when attaching larger accessories).  I’m excited to play around with the other shapes and get some creative designs!  Use code EAG10 for 10% off an order at their online store!https://i0.wp.com/www.bornprettystore.com/images/ProPho/5003/1.jpgMixed Up Studs335x280 Emma Arnold banner

Polishes Used:

  1. Seche Vite Base Coat
  2. Covergirl Outlast Timeless Rubies (2 coats)
  3. Pinky tip has China Glaze Angel Wings (which is gorgeous/holographic and you can’t tell from the photo)
  4. Poshe Top Coat

Jody’s Gray and Green Nails with Maybelline Color Show

Jody Gray and Lime Dot Nails

My friend Jody purchased some new polishes last week and requested I give her a doticure with them.  How could I say no?

On a side note, this may be my signature style manicure since I’ve had it requested by multiple people.

It was time well spent because we got to hang out and while I was at her house I learned about an organic farm festival happening the following day, which I ended up going to.  I also found out Jody has a pear tree she doesn’t pick; I think pears for manicures is a fair exchange :).

The polishes used for this manicure:

  1. Maybelline Color Show Impeccable Greys as base color
  2. Maybelline Color Show Go Go Green as lime green dots
  3. Maybelline Color Show Green With Envy as mint dots
  4. Sally Hansen Xtremewear Celeb City as silver dots
  5. I don’t know what polish the gold dots are
  6. Sally Hansen Nail Treatment Insta-Dri Anti-Chip Top Coat

This was the first time I have used the Maybelline Color Show brand.  The brushes were workable and the colors are very current.  The gray definitely needs two coats to look good and you can see in the photo near the cuticles how it looks if there is only one coat.  The mint and green dots were opaque with one application and I think the glitters help tie the whole thing together.  I love this color combo and because we did the right prep her nails lasted all week!

Holy Holo! BornPrettyStore.com Holographic Polish Effect #9 Review

Holographic-Effect-#9IMG_9804Holo BPS #9 1 CoatHolo BPS #9 2 Coats

I have rainbows on my fingers; it’s a good day.  This lovely shimmery manicure is made possible by BornPrettyStore.com’s Holographic Polish Effect #9, and it’s a big wowwy wah woo for me. (Reminder use code EAG10 for 10% discount on their site).

I did a different base color on each of my nails and then painted one and two coats of the holographic polish on top.  I can’t decide how I like it more, because both styles are equally pretty.  My thumb has a white base, pointer has gray, middle finger has black, ring finger has fuchsia and my pinky has no base, just the holo polish.

At one coat the base colors show through quite nicely; the black really makes the rainbow shimmer from the polish pop and the white really highlights the purple hue, but really every color I tried worked with this holographic polish.  At two coats it is pretty opaque and only a bit of the base is even apparent.  I didn’t try three coats, but I’m sure at three coats the bases would not show at all.

It’s a small bottle, but I’m sure it would still last and the brush was very flexible and soft, plus a good workable size.  The polish itself is not thick, went on really smooth, and dried quickly.  It also wasn’t very smelly, which is always a plus!  I completely recommend this polish because I can’t stop staring at my nails!!

Polishes Used:

  1. Seche Vite Base Coat
  2. Sally Hansen White On Thumb + Holo
  3. Sally Hansen Wet Cement Pointer + Holo
  4. Sally Hansen Black Out Middle + Holo
  5. Ulta Plum Perfect Ring Finger + Holo
  6. Only Holographic Effect #9 on Pinky
  7. Poshe Top Coat

Disclaimer: I received the holographic polish as a free promotion, however all opinions expressed are my own!

Cute Animal Stamping Plate From BornPrettyStore.com Review

Stamping Plate Video Intro Page

From the time I was a little girl going into Hello Kitty stores to my adult life watching anime and visiting Japan I have always loved the kawaii (meaning cute in Japanese) culture and characters.

I recently got the S10 “Cute Rabbit Cat Animal Design Nail Art Stamp Template” from BornPrettyStore.com and using this adorable stamping plate was high on my priority list after a week long trip to visit my dad in Canada… it’s true, I was suffering some nail art withdrawals from being away :D.

The stamping plate has 7 different little characters on it – bunny, kitty, teddy bear, chick, panda, giraffe and the seventh is what I like to call the “mystery animal”; I think it’s a sheep?  My confusion lies in the fact that what would appear to be horns and ears look more like two sets of ears – I think it’s a cute character either way, but would love to hear your guesses!BPS Stamp Plate S10

Glitter Pastel RainbowI started out with a different color on each nail, all topped with the beautiful, glittery, pearlescent Ulta Diva (I love putting this over a bunch of different colored nails because it ties them all together and makes them look a little more pastel).

Each nail is also stamped with a different color, none of them are made specifically for stamping.  I used a combination of thick quick-dry polishes and thinner shimmers to see how both turned out.

The thin outline images on the plate (the chick, bunny, kitty, panda and mystery animal sheep thing) seemed to work better with the thin nail polishes.  When I tried to use the insta-dri polishes on the thin outline images they didn’t transfer well; I think this is because the lines are so fine that the thick polish dried almost instantly.  The Insta-Dri polish worked great on the bear (which doesn’t have thin lines) and pretty well on the giraffe where there are big spaces for polish to fill.

Kawaii Stamp Glitter Rainbow Better Kitty PinkyLeft Kawaii Stamp Rainbow Glitter

Overall I’m really pleased with the plate and for 99 cents and free shipping I don’t think it can be beat!

A total of 11 colors plus Seche Vite Base Cout and Poshe Top Coat

  1. Ulta Peach Parfait
  2. SH Insta-Dri Petal Pusher
  3. Ulta Cream of the Crop (on clearance in some stores)
  4. Ulta Mint Condition
  5. Ulta Bam-Blue-Zled
  6. Ulta Diva
  7. SH Insta-Dri Sonic Bloom
  8. SH Insta-Dri Snappy Sorbet
  9. Chi Razzle Dazzle
  10. Ulta Dance Teal Dawn
  11. Ulta Ultra Violet Femme

On a side note I’m really happy that I picked up the Poshe Top Coat, it’s very similar to Seche Vite, but without the toulene.  It didn’t smear the polish underneath, not much shrinkage and no chipping as of day 3.  Much better than the Orly Top Coat I recently purchased!

Rainbow Kawaii Polish 1Stamping Kawaii Polish 1Rainbow Kawaii Polish 2Stamping Kawaii Polish 2

If you get anything from their online store use the code EAG10 for a 10% discount.

As an exciting bonus if 10 people place orders with that code BornPrettyStore will sponsor a free giveaway contest for my website!  If it’s for free, it’s for me :D.

Coming up next will be holographic polish and nail stud reviews!

Disclaimer: I received the S10 stamping plate as a free promotion, however all opinions expressed are my own!

My recent BornPrettyStore goodies – Holo Polish, Metallic Studs and Cartoon Stamping Plate!

I just received some awesome products from bornprettystore.com today.  First, they arrived in just a week when I was told to expect 2-4 weeks, so you can image how happy that made me!  Second, the holographic polish is gorgeous, although I will admit that at first glance I was sad because I thought it wasn’t really holographic, that is, until I stepped outside into the sun and BAM!  Very holo rainbowy (yes I know that’s not a real word).  Third I love the metallic studs (my first!) and Fourth, the stamping plate I got is definitely going to be one of my favorites because the little Japanese style cartoons are ridiculously kawaii (just like everything in Japan I’ll add; let me know if you want to see photos from my trip).

I’m going to have a hard time deciding what to get next from them because they seriously have a million cute things for super cheap with free shipping.  Stay tuned for upcoming displays/reviews of the items I got below.  I would have done my nails tonight with some of this stuff if it wasn’t for the fact that I just did them!

Born Pretty Holographic Holo Glitter Nail Polish Varnish Hologram Effect 9#

Cute Rabbit Cat Animal Design Nail Art Stamp Template s10

Heart Square Round Star Stud Rhinestone Acrylic UV Gel Nail art w/ box

335x280 Emma Arnold banner