Removing Glitter Polish Like A Pro

In many cultures and civilizations there exist rights of passage where, upon completion, a member moves from one rank to another or is considered a more integral part of the group. I feel like in The Naildom (The Domain of Nails) having your first rage inducing hour-long session of removing glitter polish is a right of passage.

The problem is I don’t think this is a right of passage anyone should really endure, no matter how masochistic one may be.  I don’t think you need to have shreds of cotton balls stuck to all your sparkle coated fingers while you’re spewing profanities (totally not speaking from personal experience).Rainbow Glitter

I’m here to tell you there’s a better way.  I’m here to help you transcend from your lowly nail scrubbing practice to the magical world of tinfoil finger hats (<—what?).

Steps To Removing You Sparkle Nails

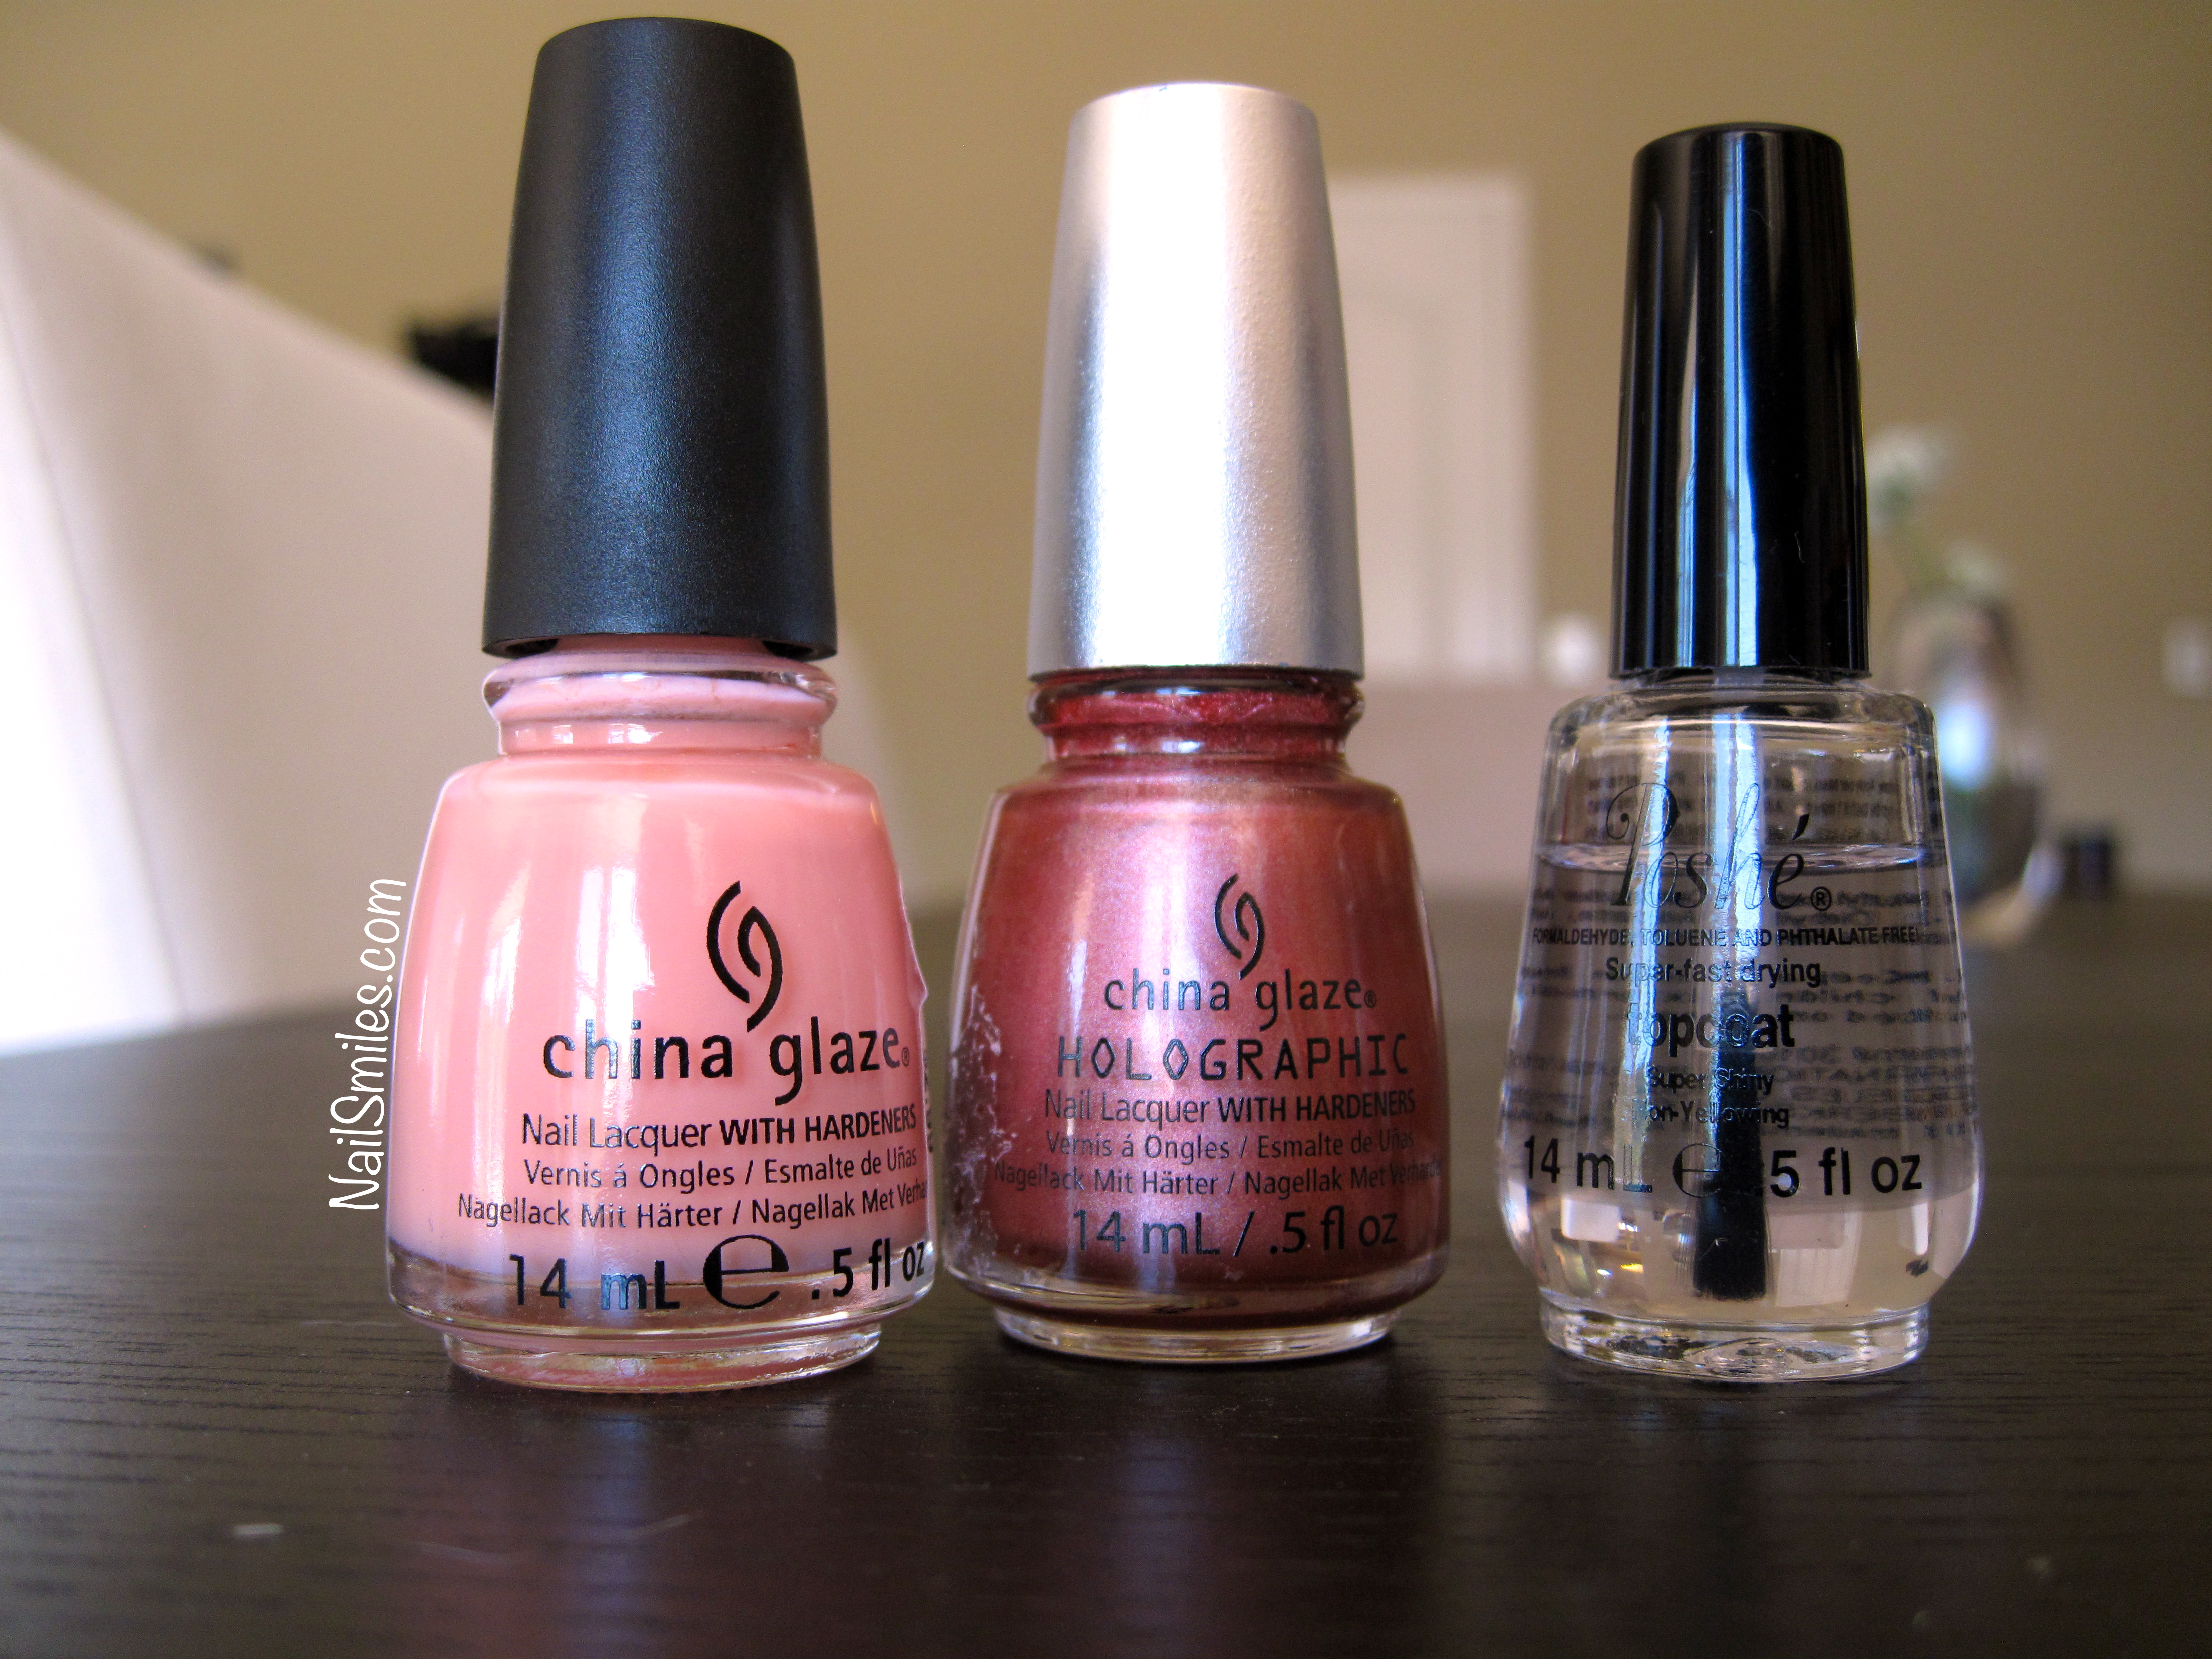
  1. Gather supplies – cotton balls or pads, tinfoil, scissors, polish remover (acetone works best, but is strong).IMG_0497

  2. Use scissors to cut tinfoil into 5 squares somewhere around 3×3″ – play around with the size that fits your fingers best.
  3. Put some polish remover on a cotton ball, place cotton ball on fingernail, then wrap tinfoil over fingertip and cotton ball together.
  4. Repeat with four other fingers and let sit for 2-3 minutes.  I like to do one hand at a time, but you can do all 10 fingers at once if you have the skill.  If you only do one hand at a time then you can reuse the foil and cotton balls on the opposite hand.IMG_0502
  5. Remove the foil/cotton ball from each finger, then reuse the cotton balls to EASILY swipe of the softened glitter polish.
  6. Repeat on other hand.
  7. I follow up this removal by scrubbing my hands/nails with a homemade coconut sugar scrub (mix sugar and coconut oil) which helps remove most of those leftover little glitter bits and also gives your nails/hands a punch of moisture and softness after soaking with the polish remover.
  8. Bask in the glory that you just took off your glitter polish in a few minutes versus a few hours.IMG_0510

Sakura Cherry Blossom Nails with Matte Green Base

Sakura Cherry Blossom Nails

Happy Monday.  I’m submitting this post a little out of order because after I wrote my draft I somehow didn’t save it properly so I have to reeeewwwrrrriiittteee it.  Anyway, Arizona Iced Tea anyone?  I can’t say this mani was inspired by the drink of my childhood, however, it definitely is reminiscent of their old can.  I did also have someone tell me it reminded them of a porcelain teacup.

Polish Performance

This manicure was my first attempt at using a matte top coat as well as my first time using Sally Hansen’s Complete Salon Manicure line.  I will say I now know why this line runs for around $8 versus the the $2-3 you’ll pay for their Xtremewear line.  The brush is amazing!  I had to do ZERO clean up on this manicure because I had so much control with the brush and polish.  It’s very soft and it has a rounded shape that fit the curve of my cuticles perfectly.

I was quite surprised at how thin one coat of the polish is…so surprised that I took a photo.

1 Coat of Sally Hansen Jaded

1 Coat of Sally Hansen Jaded

I used two coats, but really I think this polish would be best with 3 or 4 if you want full opacity.  I definitely like the color of it too and I will say that these photos don’t do it justice (the pics look a little more grey and less green).

The matte topcoat did what it said, it turned super shiny polish into a smooth flat matte finish.  I did notice some micro bubbles and I’m not sure whether it was from the top coat or from not letting the colored polish below dry long enough.  I was on the fence about matte manicures for a long time, but this experiment has definitely changed my mind and I look forward to playing with more options!

Techniques:

The branches were just a simple few lines drawn with a fine paint brush and the flowers involved using one of my jenky homemade dotting tools (read: a sewing needle stuck into the pink eraser of a pencil).

Place 5 dots of polish in a circle and then place the needle in the center of each circle and drag a line towards the center.  This will create the look of dimensional petals.  I put a dot of CG Fairy Dust in the center of each flower for extra pop.  You can always use a different number of dots to get a variety of flower patterns.

Polishes Used:

  1. Seche Vite Base Coat
  2. Green Base – 2 coats Sally Hansen Complete Salon Manicure Jaded
  3. China Glaze Matte Magic Top Coat
  4. Branches – Ulta Taupe On A Rope
  5. Flowers – Essie Luscious Lips
  6. Flower center accents and forefinger – China Glaze Fairy Dust

What are your favorite polish colors to make matte?

RAINBOW SPARKLES! 3 Color Glitter Gradient

So. Much. Sparkle

So. Much. Sparkle

Roses are red

Violets are blue

I love rainbows and sparkles

So look at my freaking nails!


Rainbow Glitter


Technique:

This is three coats of each color.  Basically I put gold at the base of each nail, then went back around and put green in the middle of each nail, then painted blue on the tip of each nail.  Rinse and repeat two more times.  These do not have a top coat currently, although I may add one on to see how it looks and to make the polish hold up.

Polishes Used:

  1. Seche Vite Base Coat
  2. Gold – Ulta Boogie Nights
  3. Green – Pure Ice Treasure Hunt
  4. Blue – Ulta Indigo-Go Girl

Weekend Wedding Nails Plus a Refresh

Wedding Nails Left Hand CG Pastel With Heart CG Pink Holo With HeartOne of my friends all the way back from high school had her wedding reception this past weekend so I decided to do a simple white pearl manicure with heart accents to honor the festivities.  I achieved the shimmery white by using one coat each of three different polishes listed below.  The adorable gold hearts are from the stud set I previously spoke about from BornPrettyStore.com.

Halfway through the week I opted to refresh the manicure by painting different China Glaze polishes on each hand. The left hand got two coats of CG Seashell while the right hand got two coats of CG’s Holographic Not in This Galaxy.  I love how Seashell looks; it is painted over the white so I’m not sure how that influenced the color, but it’s a “just right”  color for me….and it’s very shiny.

The other CG polish has very fine holographic particles so it is quite subtle (not really noticeable indoors, sunlight really does the trick for this one).  When inside, it looks more like a metallic polish, when outside you can see the full holo spectrum.

I have to say the consistency of both these polishes was great (not thick) and the brush was high quality and thin for accurate application.  Even though it’s September I feel like I have February Valentine nails going this week!

Polishes Used:

  1. Seche Vite Base Coat
  2. Sally Hansen Satin Slipper (for the original white manicure)
  3. Jesse’s Girl Firefly (for the original white manicure)
  4. Ulta Diva (for the original white manicure)
  5. China Glaze Seashell
  6. China Glaze Holographic Not In This Galaxy
  7. Poshe Top Coat

Color Bases

Wedding Whites

China Glaze Pinks

CONGRATULATIONS LIESA AND JOHN!  I WISH YOU MANY YEARS OF JOY AND HAPPINESS…and beautiful nails 🙂

IMG_0327What a beautiful bride!

335x280 Emma Arnold banner