Groove Is In The Heart Neon Nails with Stamping

IMG_1354

Where to begin?  You may have noticed that I haven’t posted in about 3 months and that my last post was something to the extent of “I don’t feel like writing, here are pictures”.  Well, when it rains it pours and unfortunately my father passed away from cancer along with another close family friend within a month of each other.  To top it off, these sad events happened during the holidays (I hosted Thanksgiving too)…oh yes, and I got a horrible full body rash (from stress I’m sure) that was unbearably itchy and horrendous and I would never wish it on my worst enemy!  I’m hopeful that the scarring will go away :\.

Point being, I fell off the bloggy wagon (even though I did continue to paint and photograph my nails) and so now I’m hopping back on, full speed ahead!

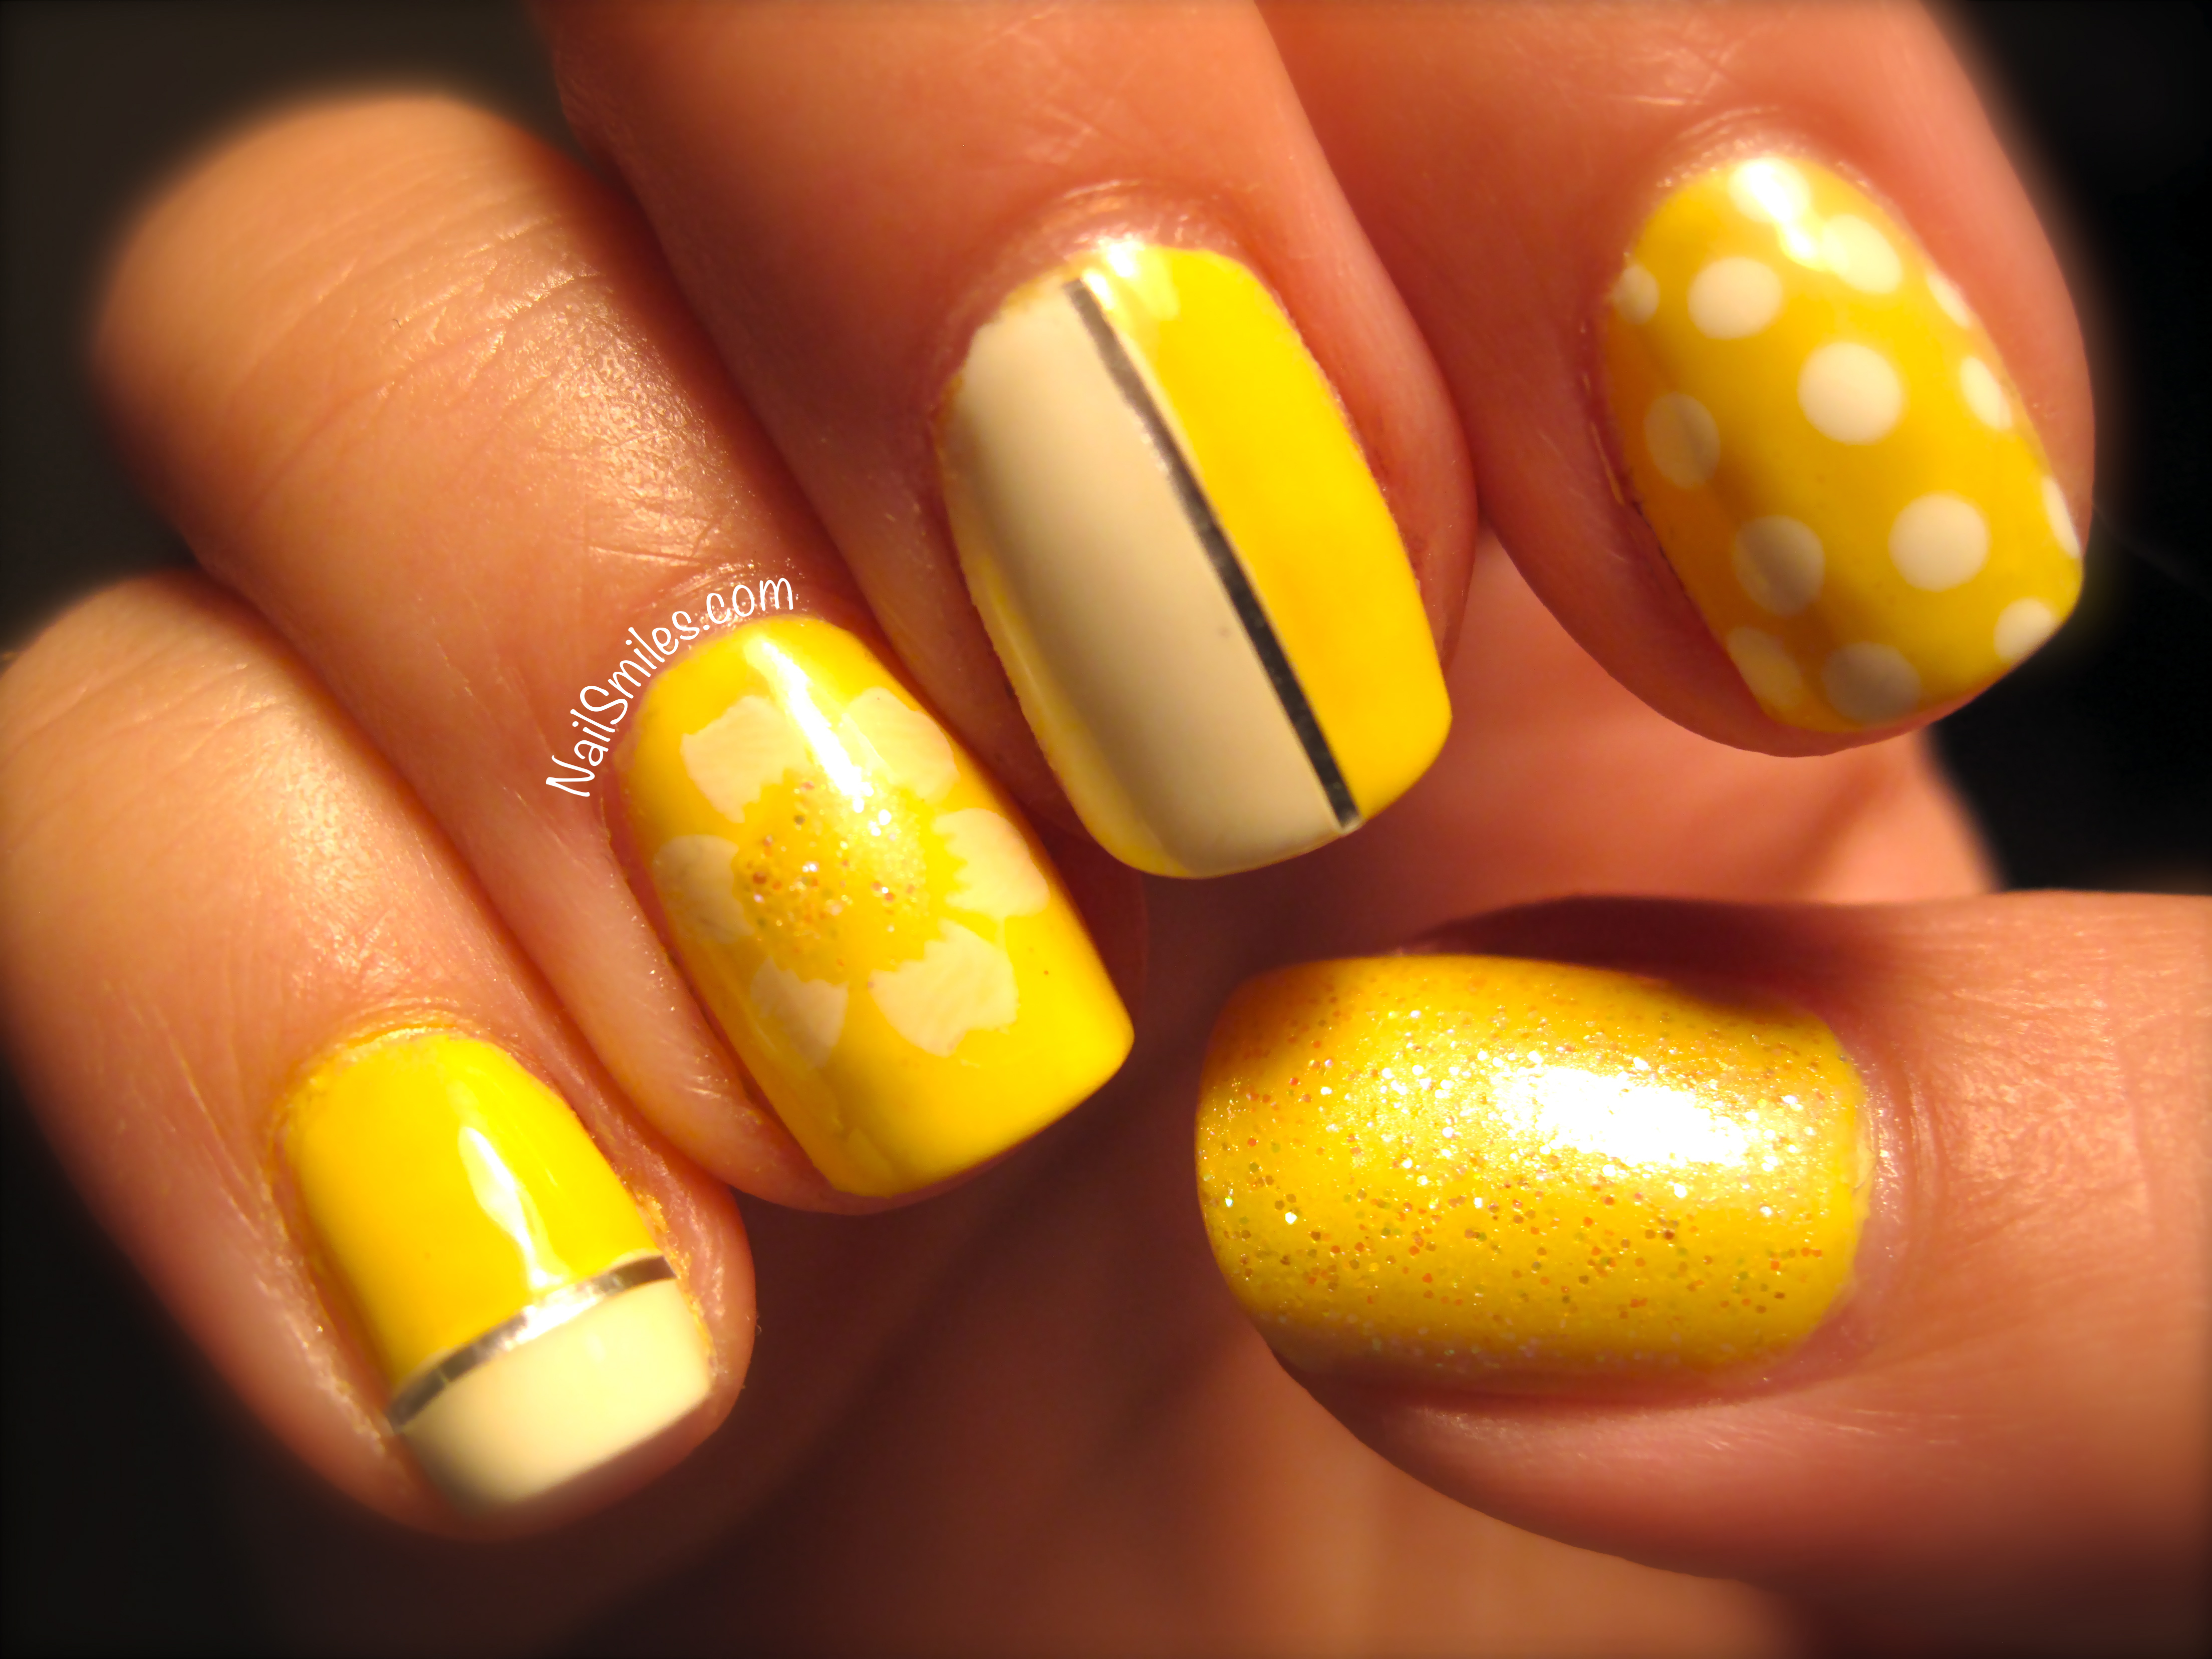
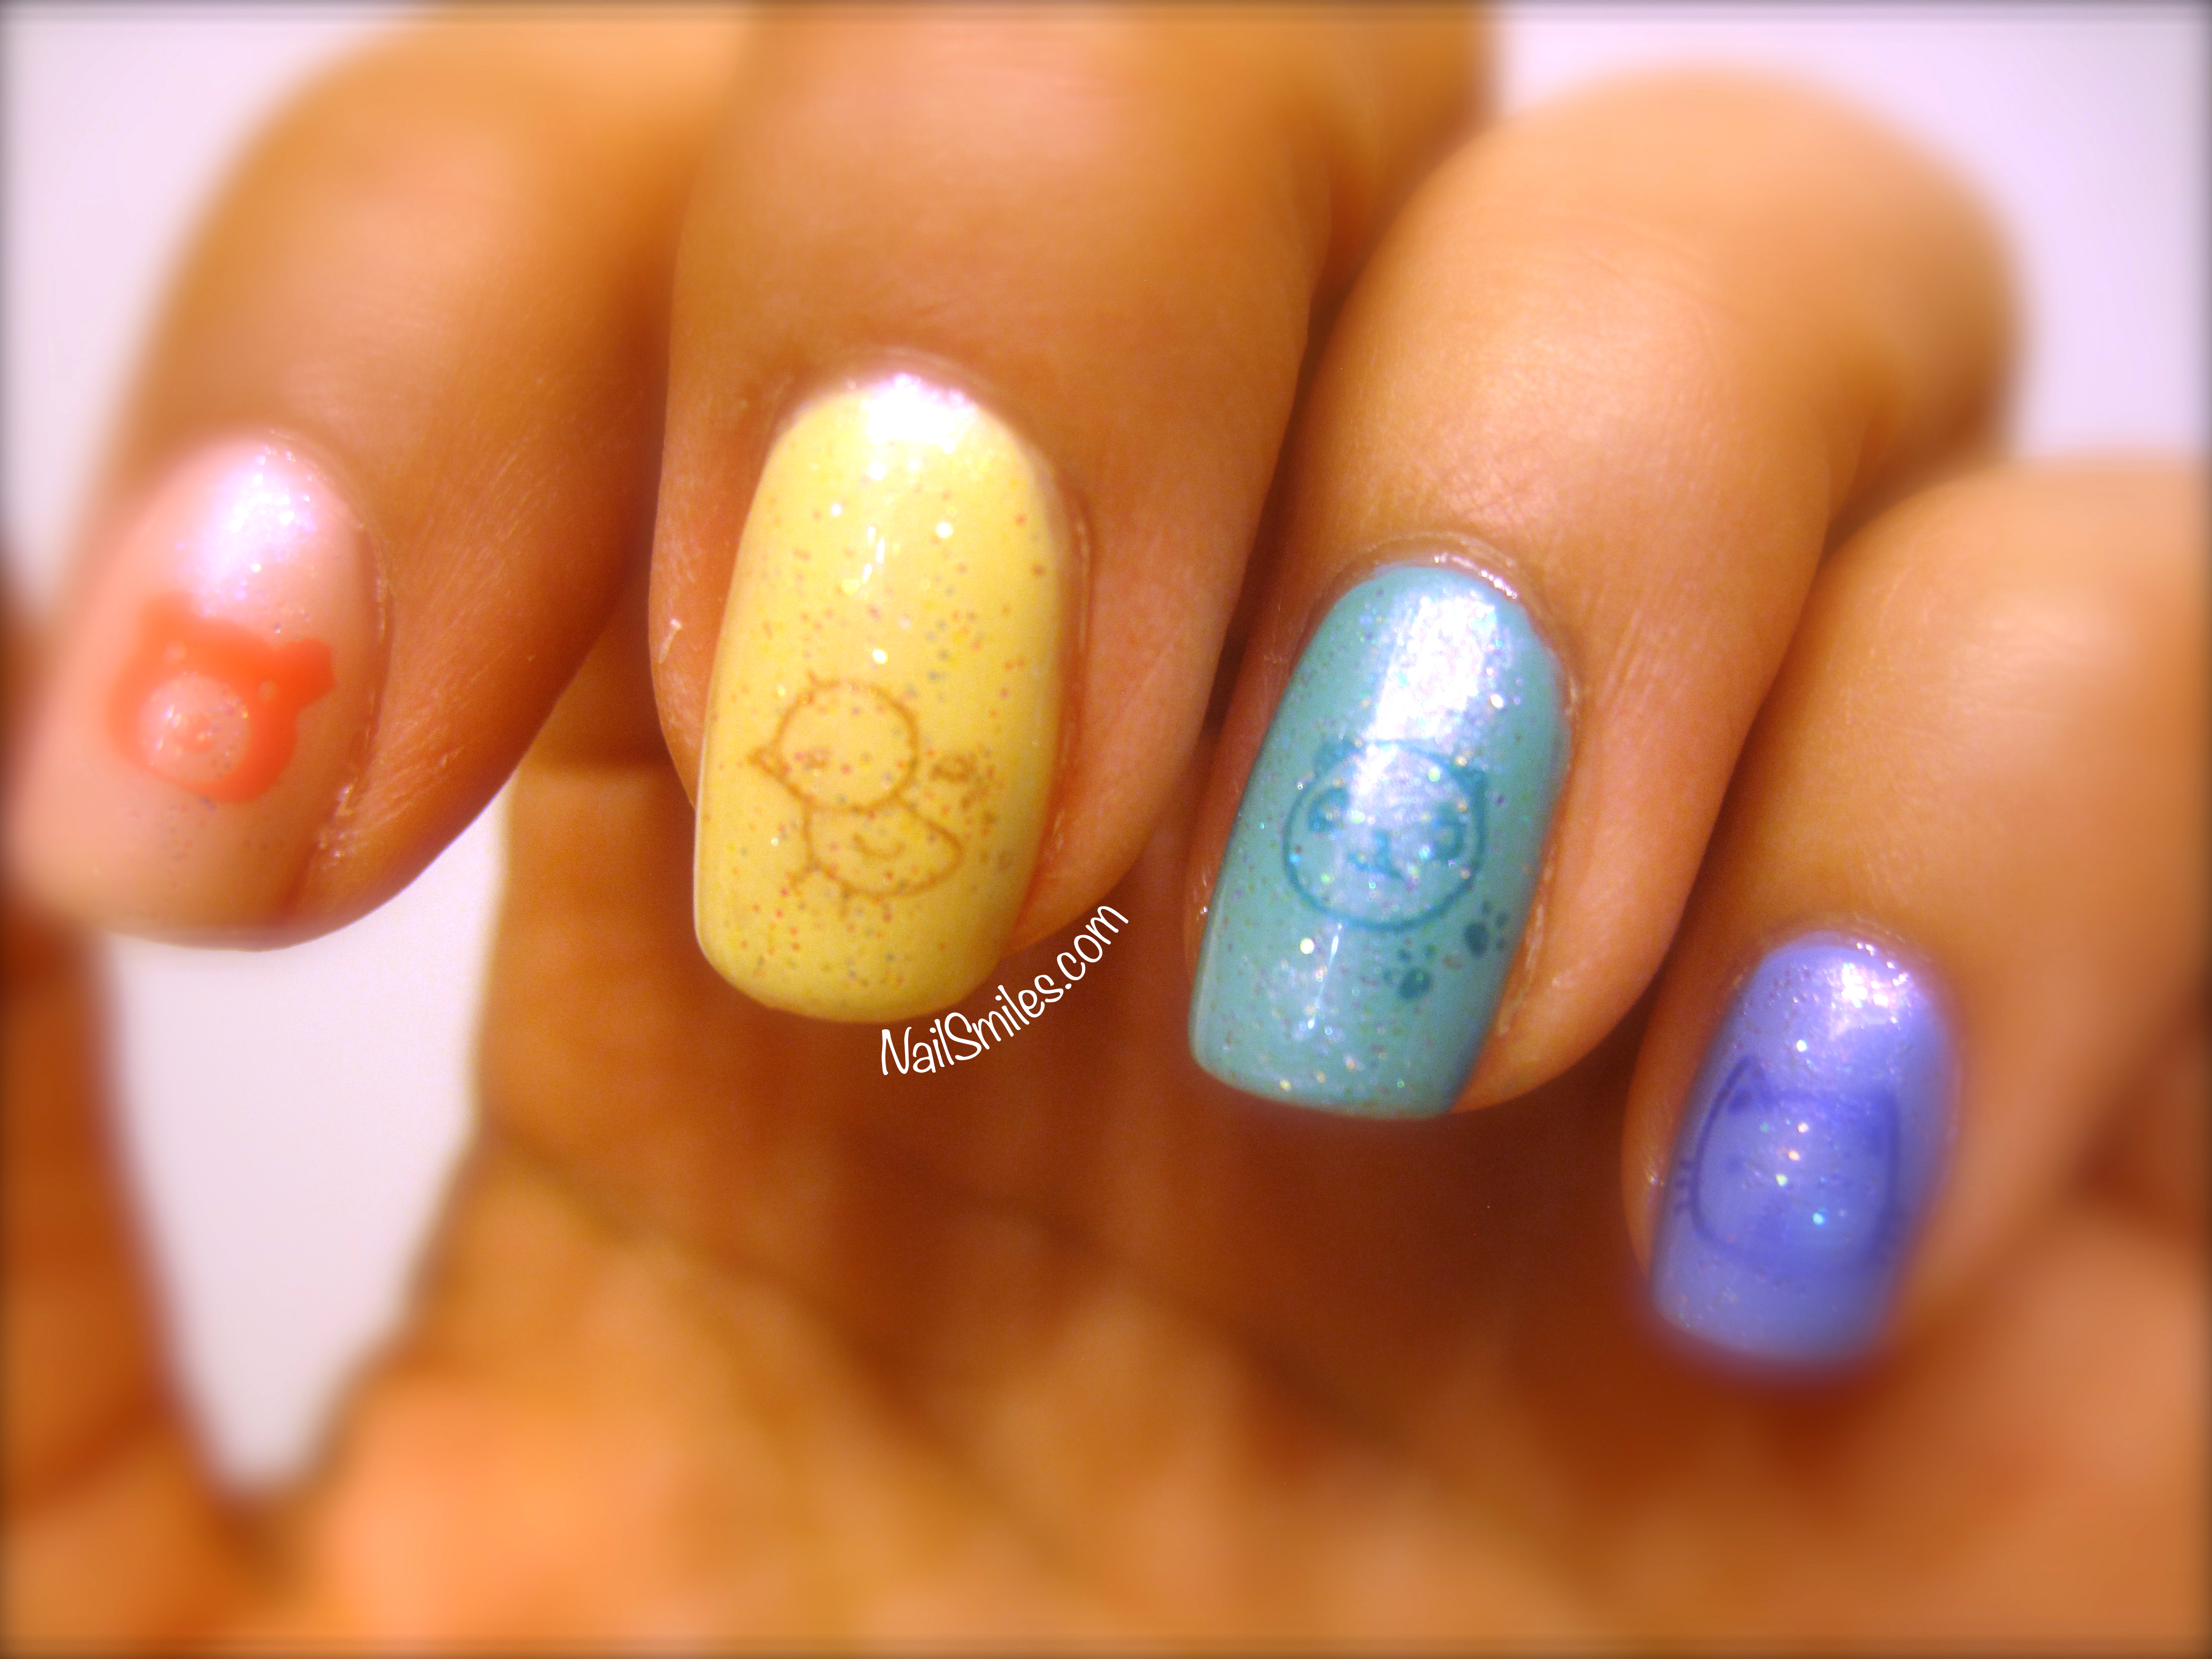
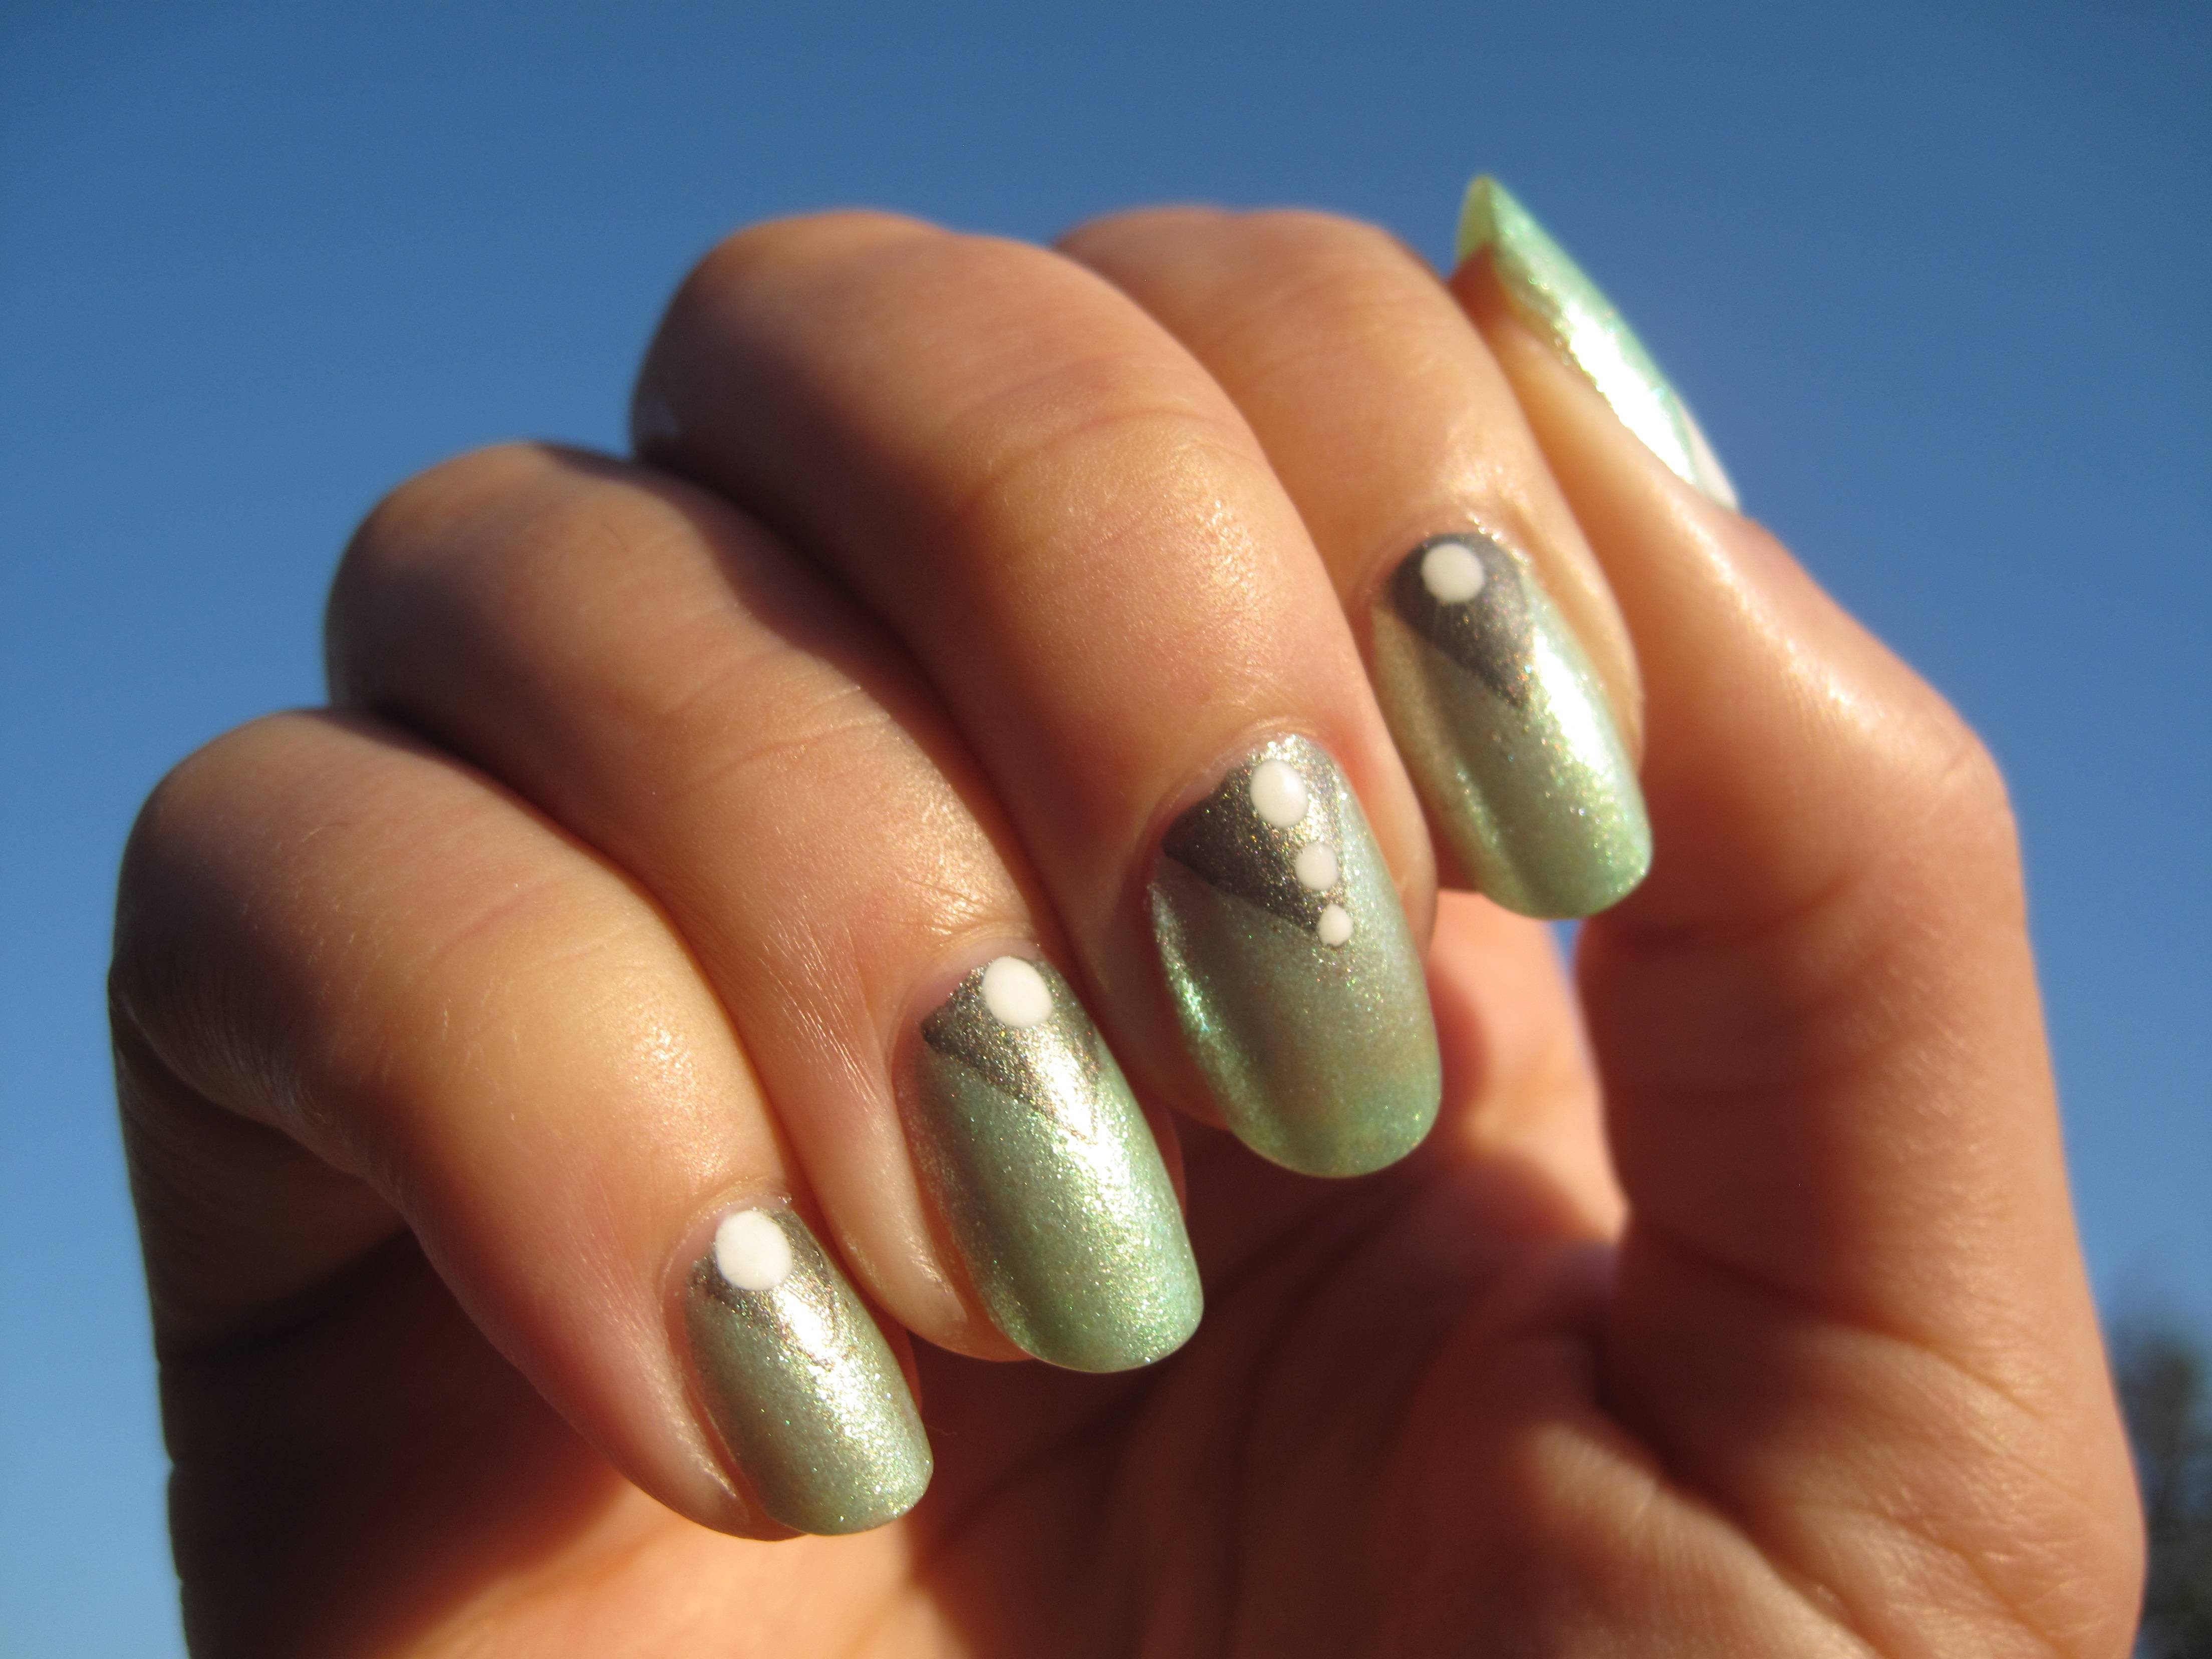
I’m jumping back in with a super bright manicure I did to match my dance performance costume.  I have been taking an adult hip hop class and this past weekend we had our performance – we danced to the song “Groove is in the Heart” by Deelite so I went for 60’s style bubbles with a heart on the accent finger.

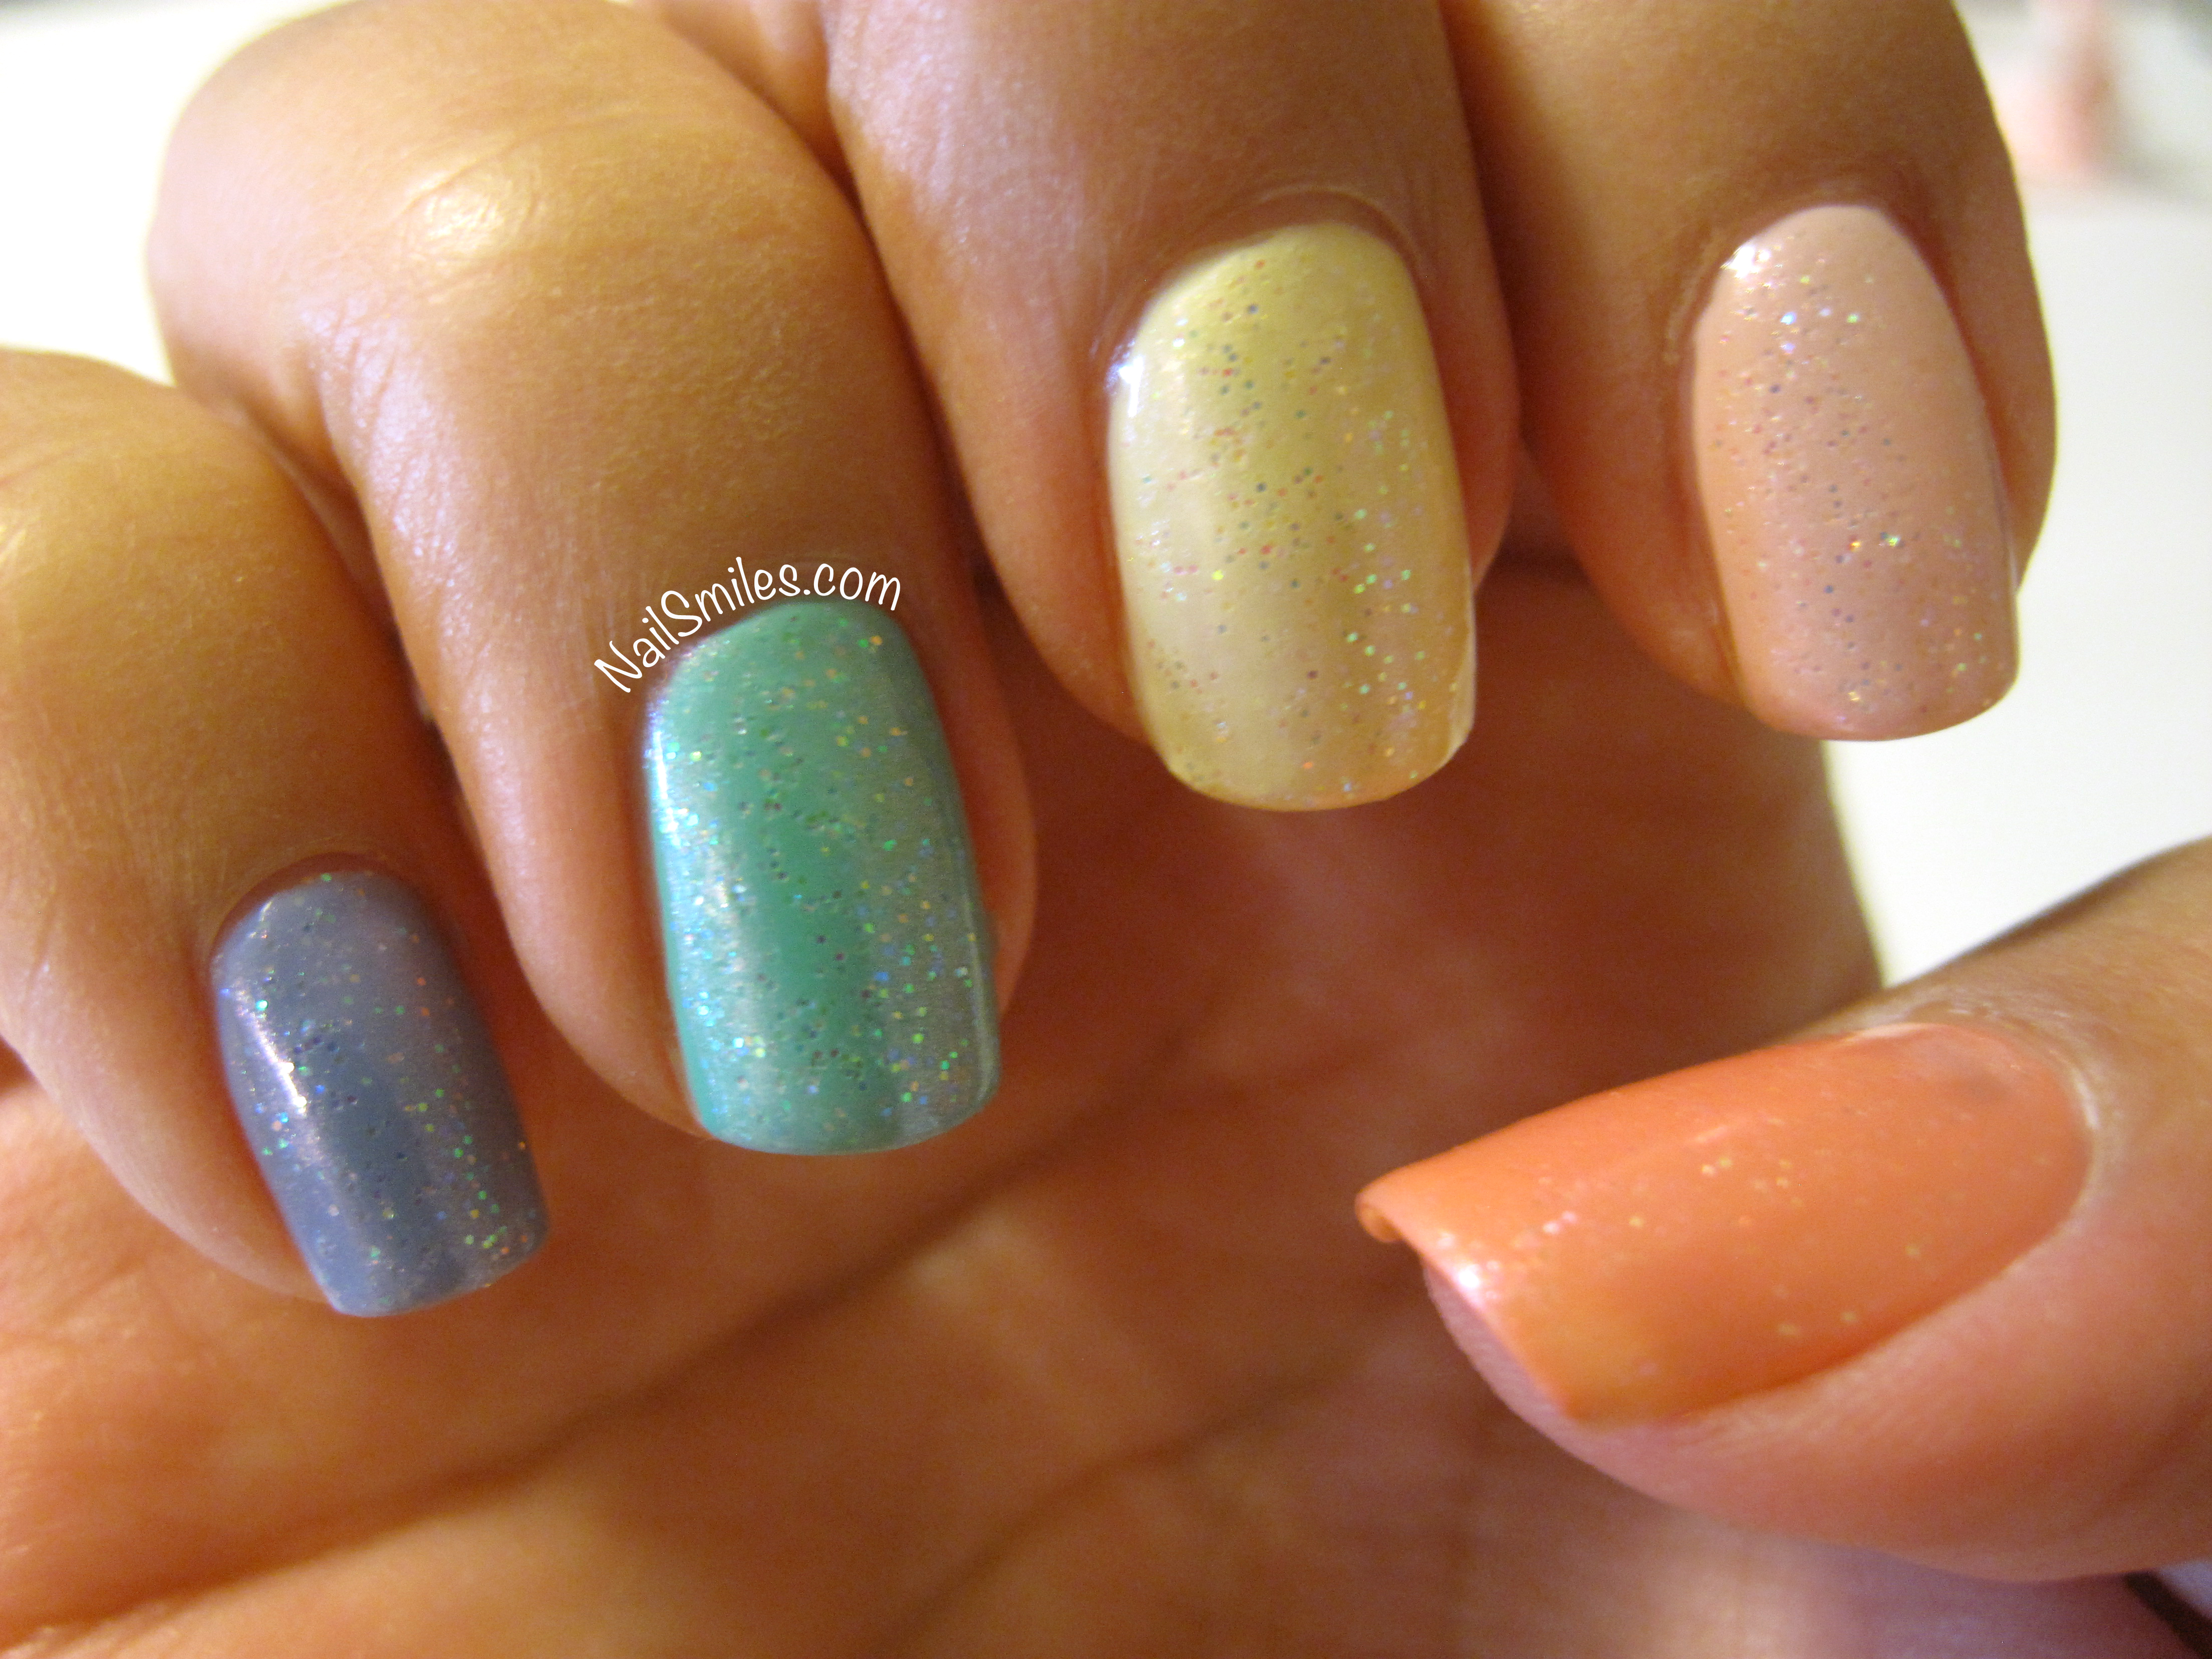
I did my nails on Monday so they’d be ready for both dress rehearsals (plus group photos) and figured I’d have to do them again before the performance.  Well guess what?  I didn’t, because they lasted for the whole week.  Look at how they held up, the photo below was taken on Sunday.

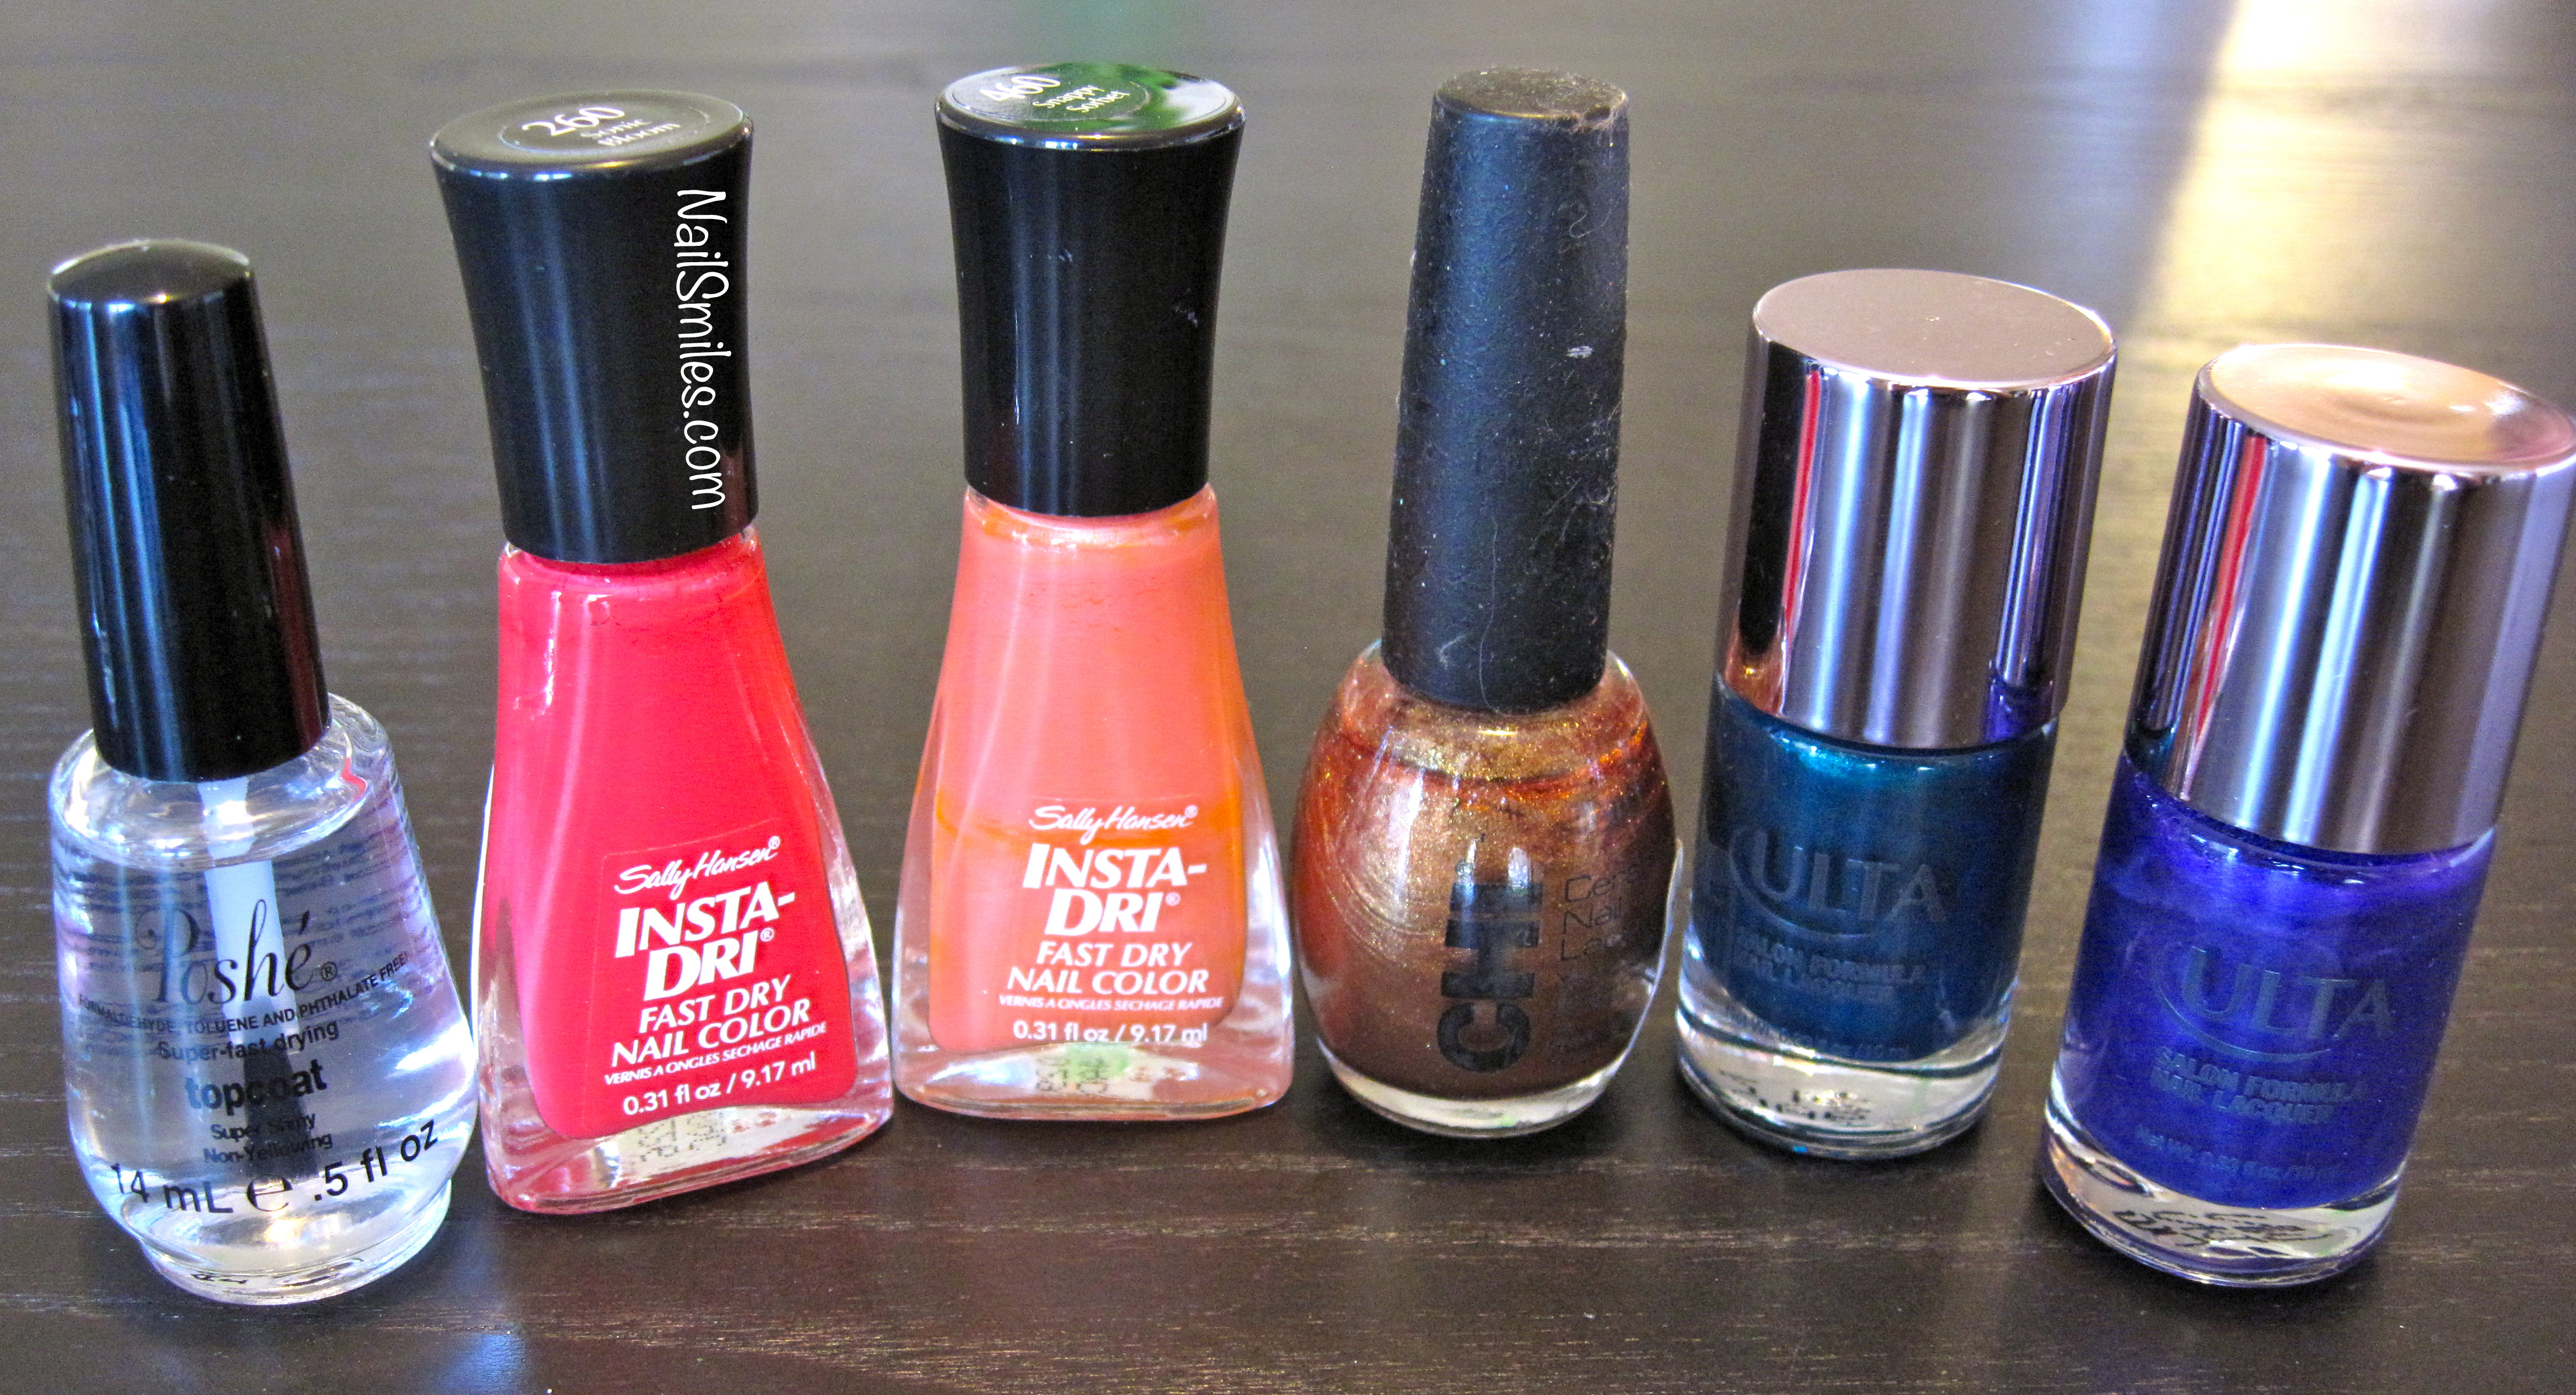
Not only do I give credit to my Making Your Mani Last techniques, but I’ve also been doing a newer process which makes a big difference.  Do a layer of topcoat in between each layer of color for extra wear time!  This mani was done with cheap LA Colors and Sally Hansen polishes, so it’s not that I was using some amazing expensive magic polish.  I will give credit to Poshe Top Coat, though, because I used a super thick layer on top, so I’m sure that helped too.

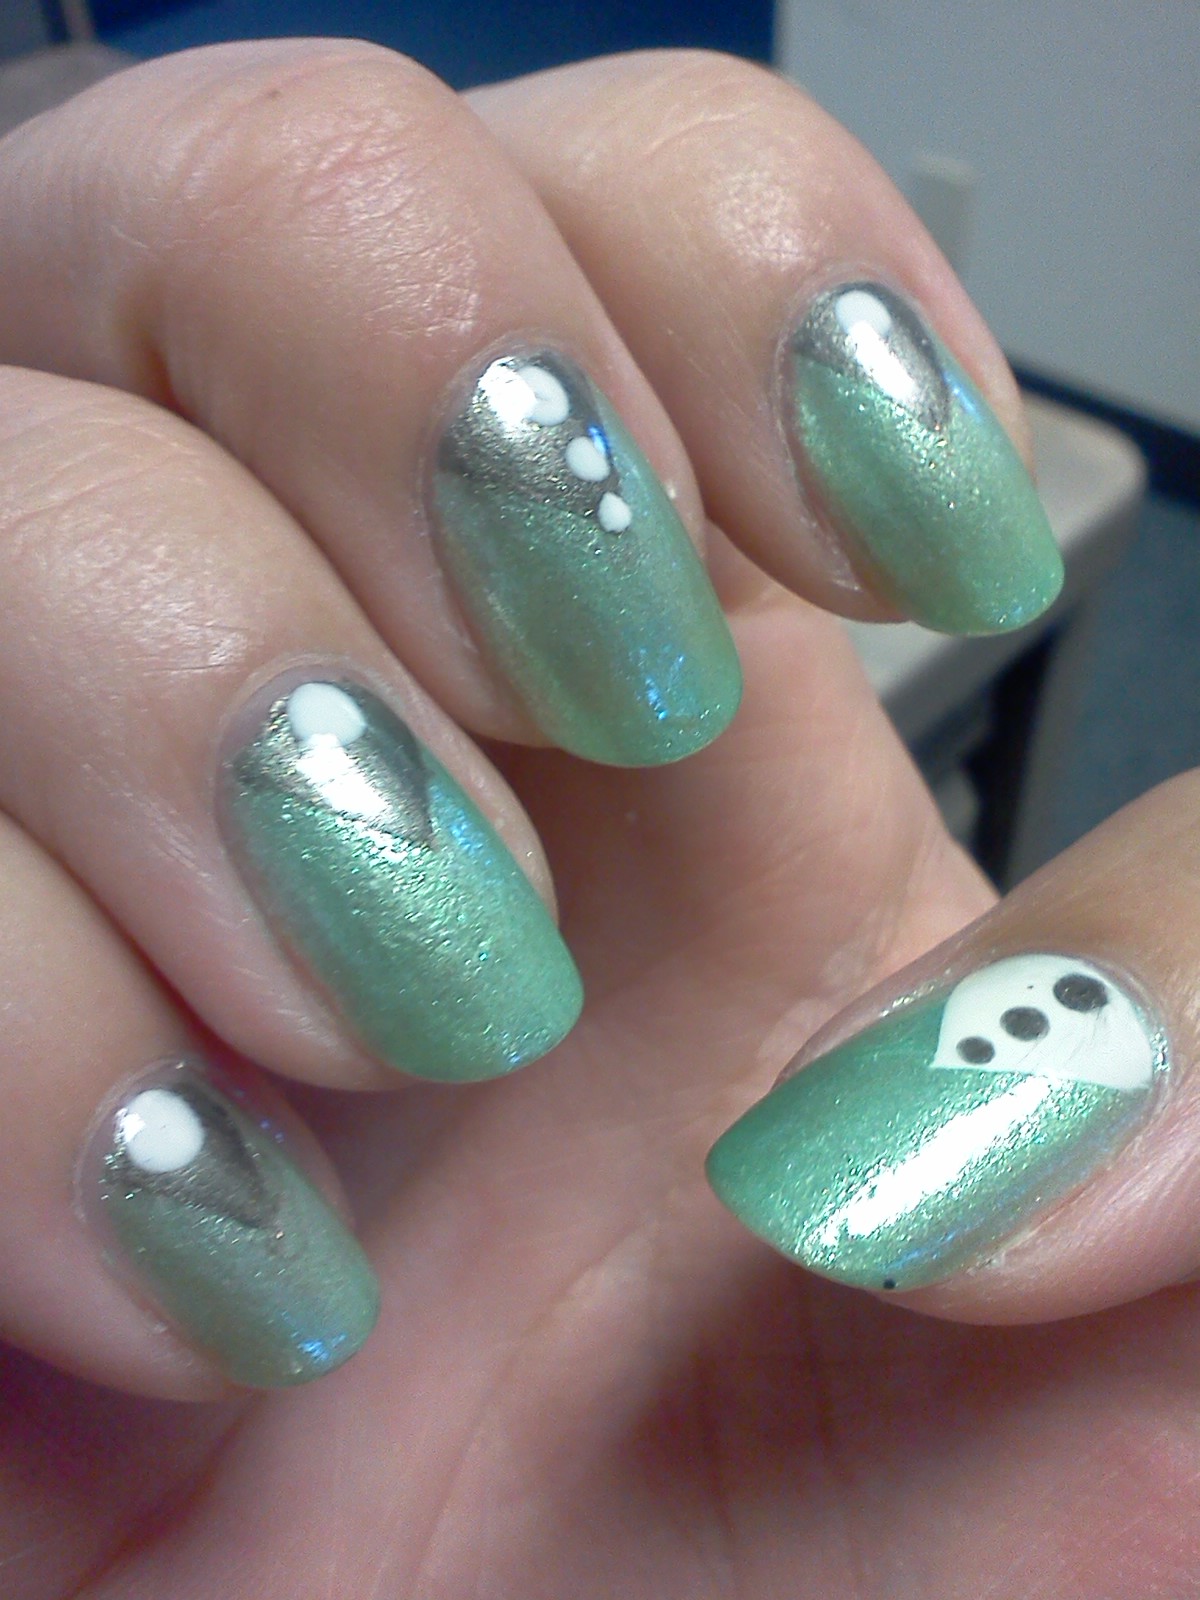
The process was one layer base coat, one layer white, two layers neon colors, one layer INM Out the Door top coat, stamping with black, glitter on accent nail, dotting tools for pink and white circles, 1 layer Black Tie Optional on thumb and then a thick layer of Poshe Top Coat.

IMG_1404

Sunday nails that were painted at the beginning of the week, look how they held up!

IMG_1412

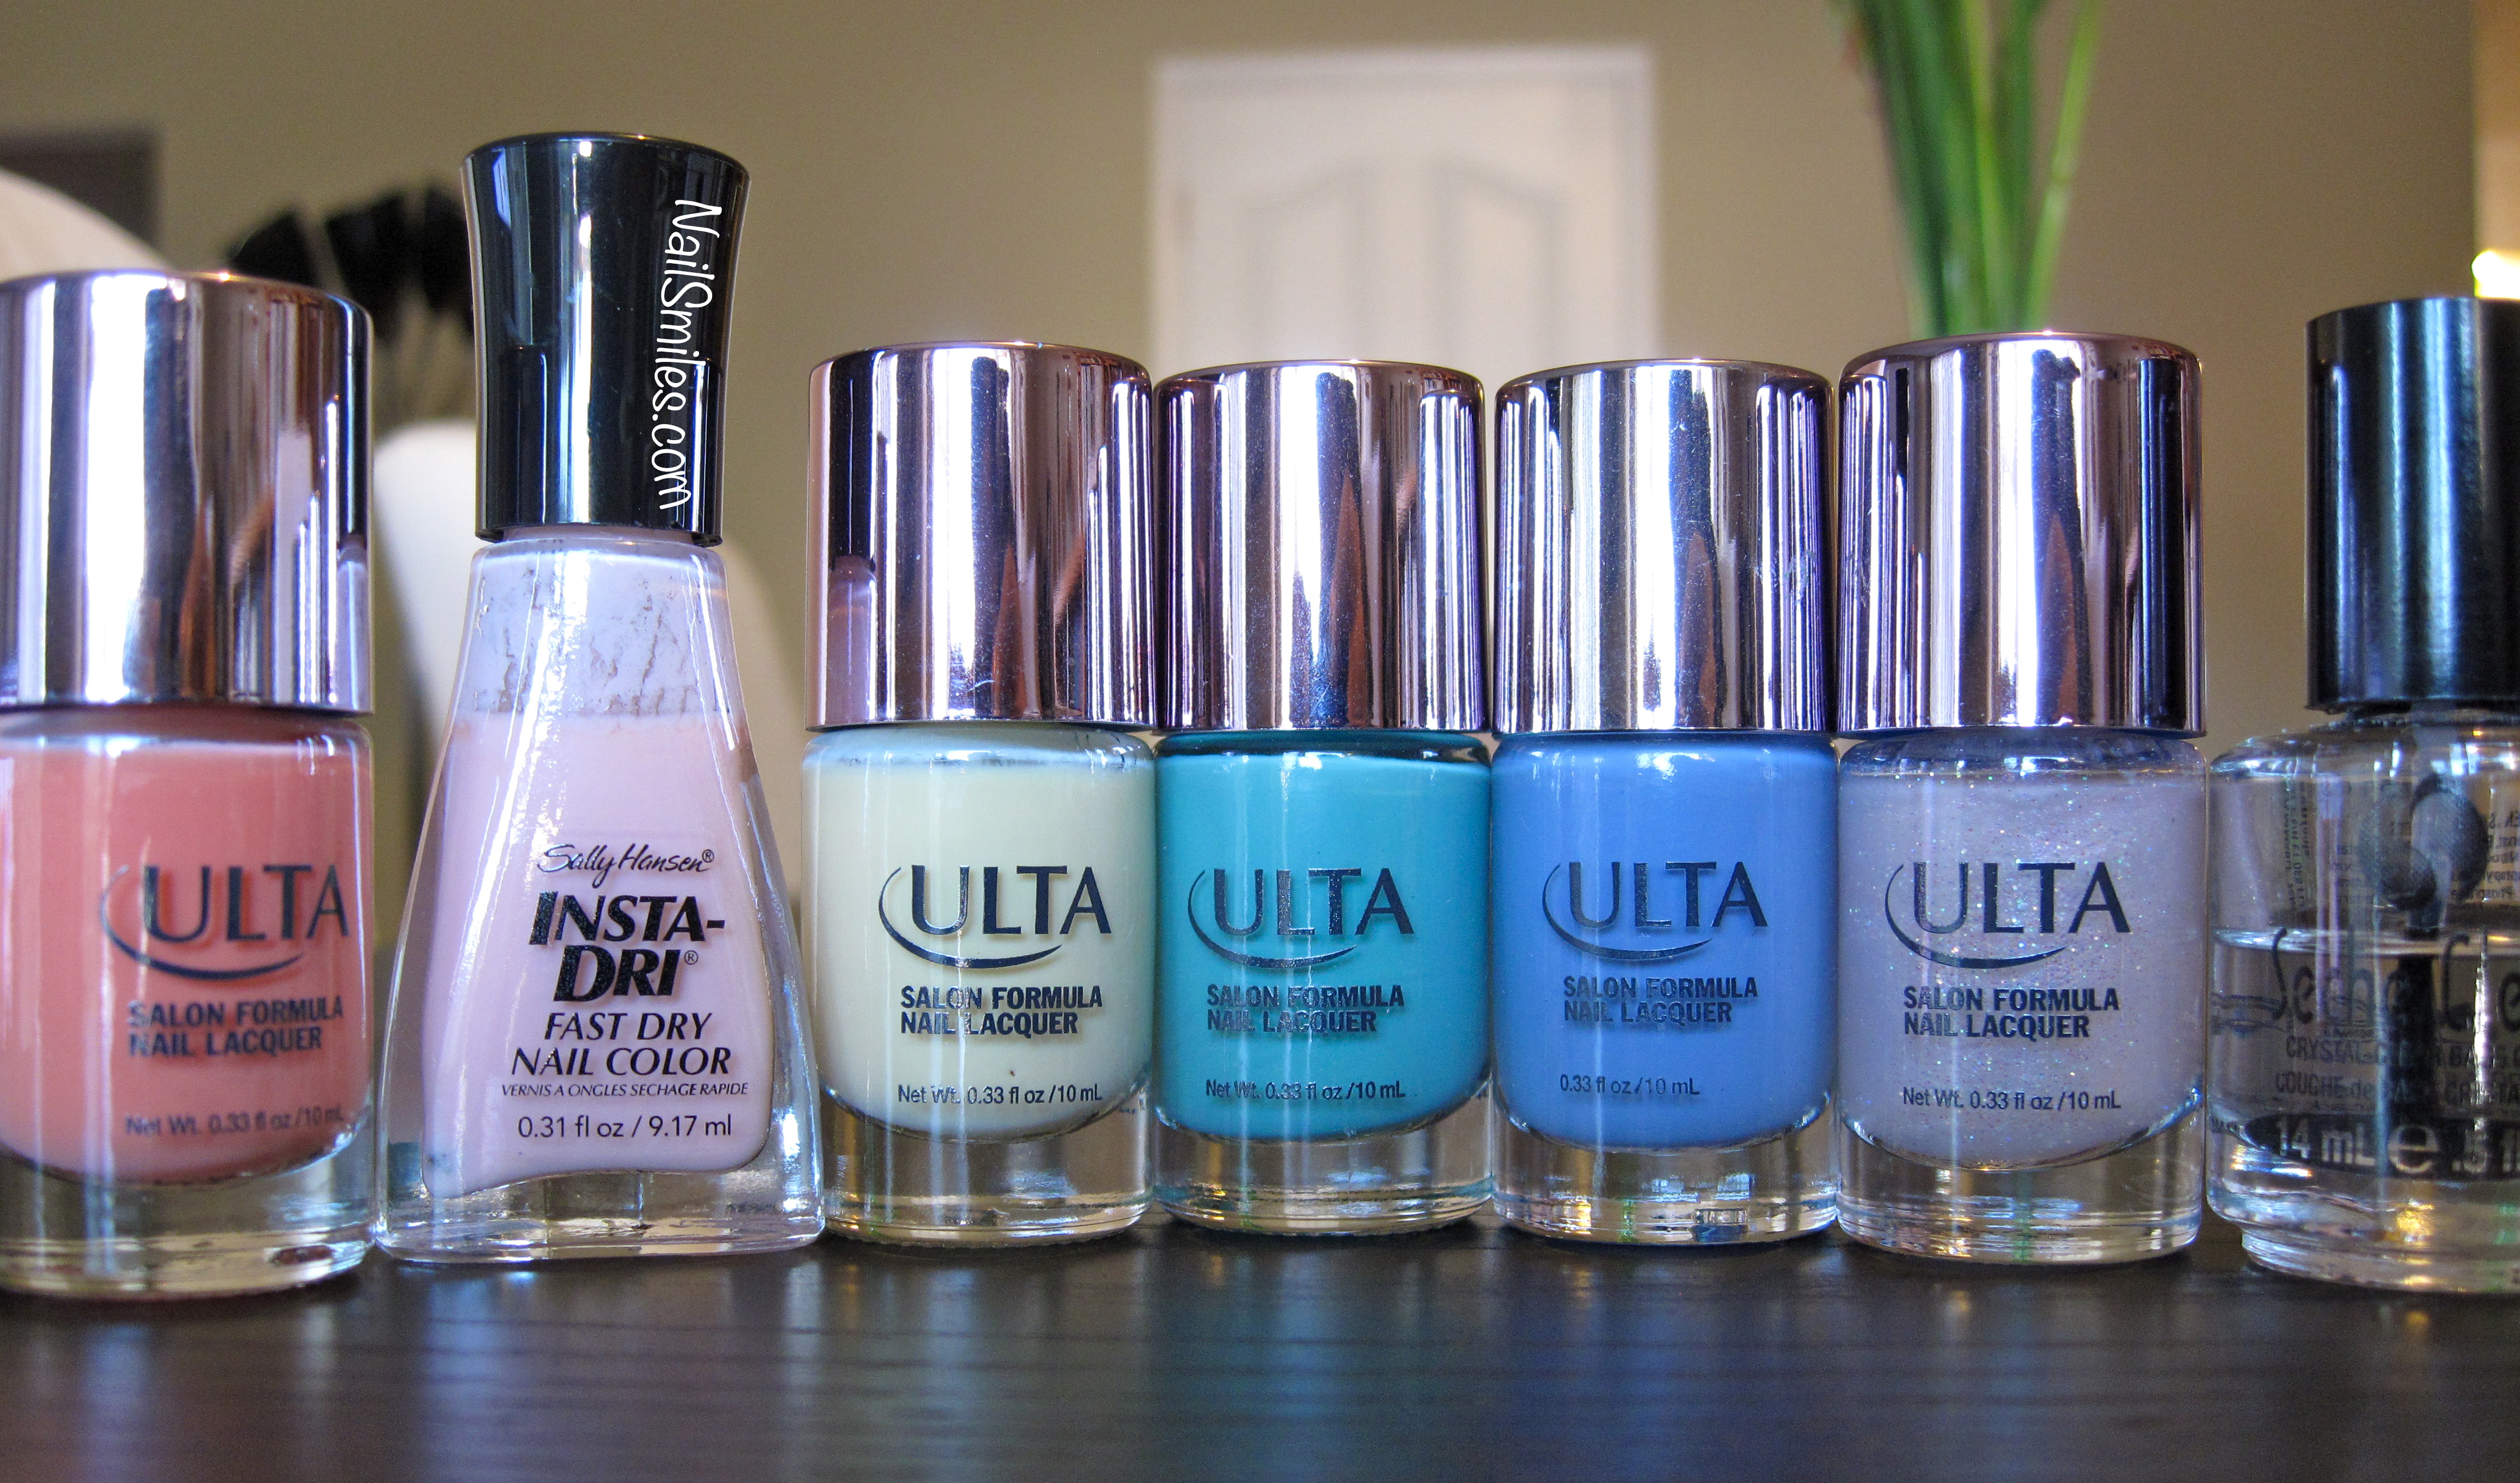
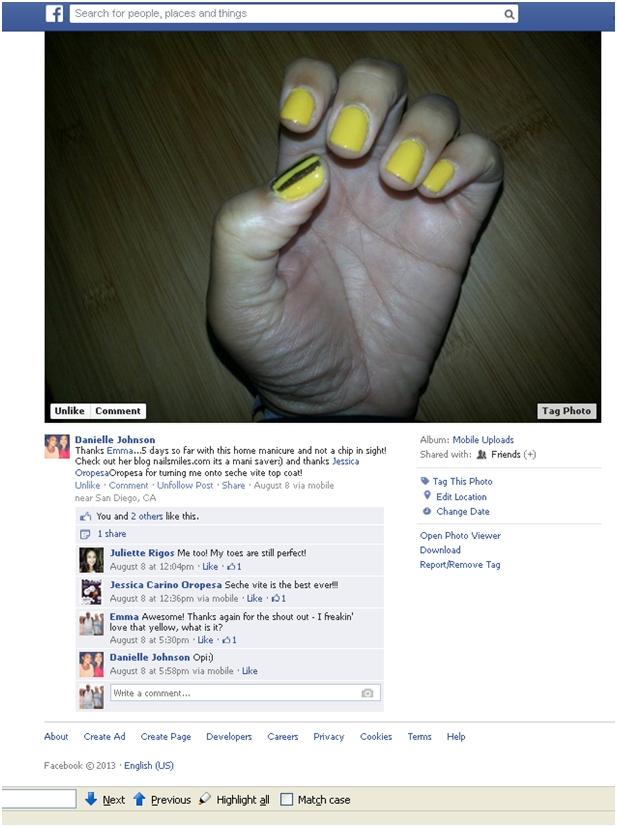
I shared my neon polishes with some of my dancing buddies 🙂

IMG_1401

Shout out to everyone Studio Gray for an amazing show!  I had so much fun and maybe I’ll post some action dance shots when I get them.

Polishes and Supplies Used:

  1. Sally Hansen Double Duty Base and Top Coat
  2. 1 Coat Sally Hansen Xtremewear White On
  3. 2 Coats generic LA Colors neon pink and yellow (got a mini set from Ross, no color names)
  4. 1 Coat INM Out The Door Top Coat
  5. Wet n Wild Black Creme for stamping
  6. Salon Express stamping plate for the heart and Konad M85 stamping plate for the bubbles (I have a knock off konad plate from BornPrettyStore, but they are no longer selling it, same design)
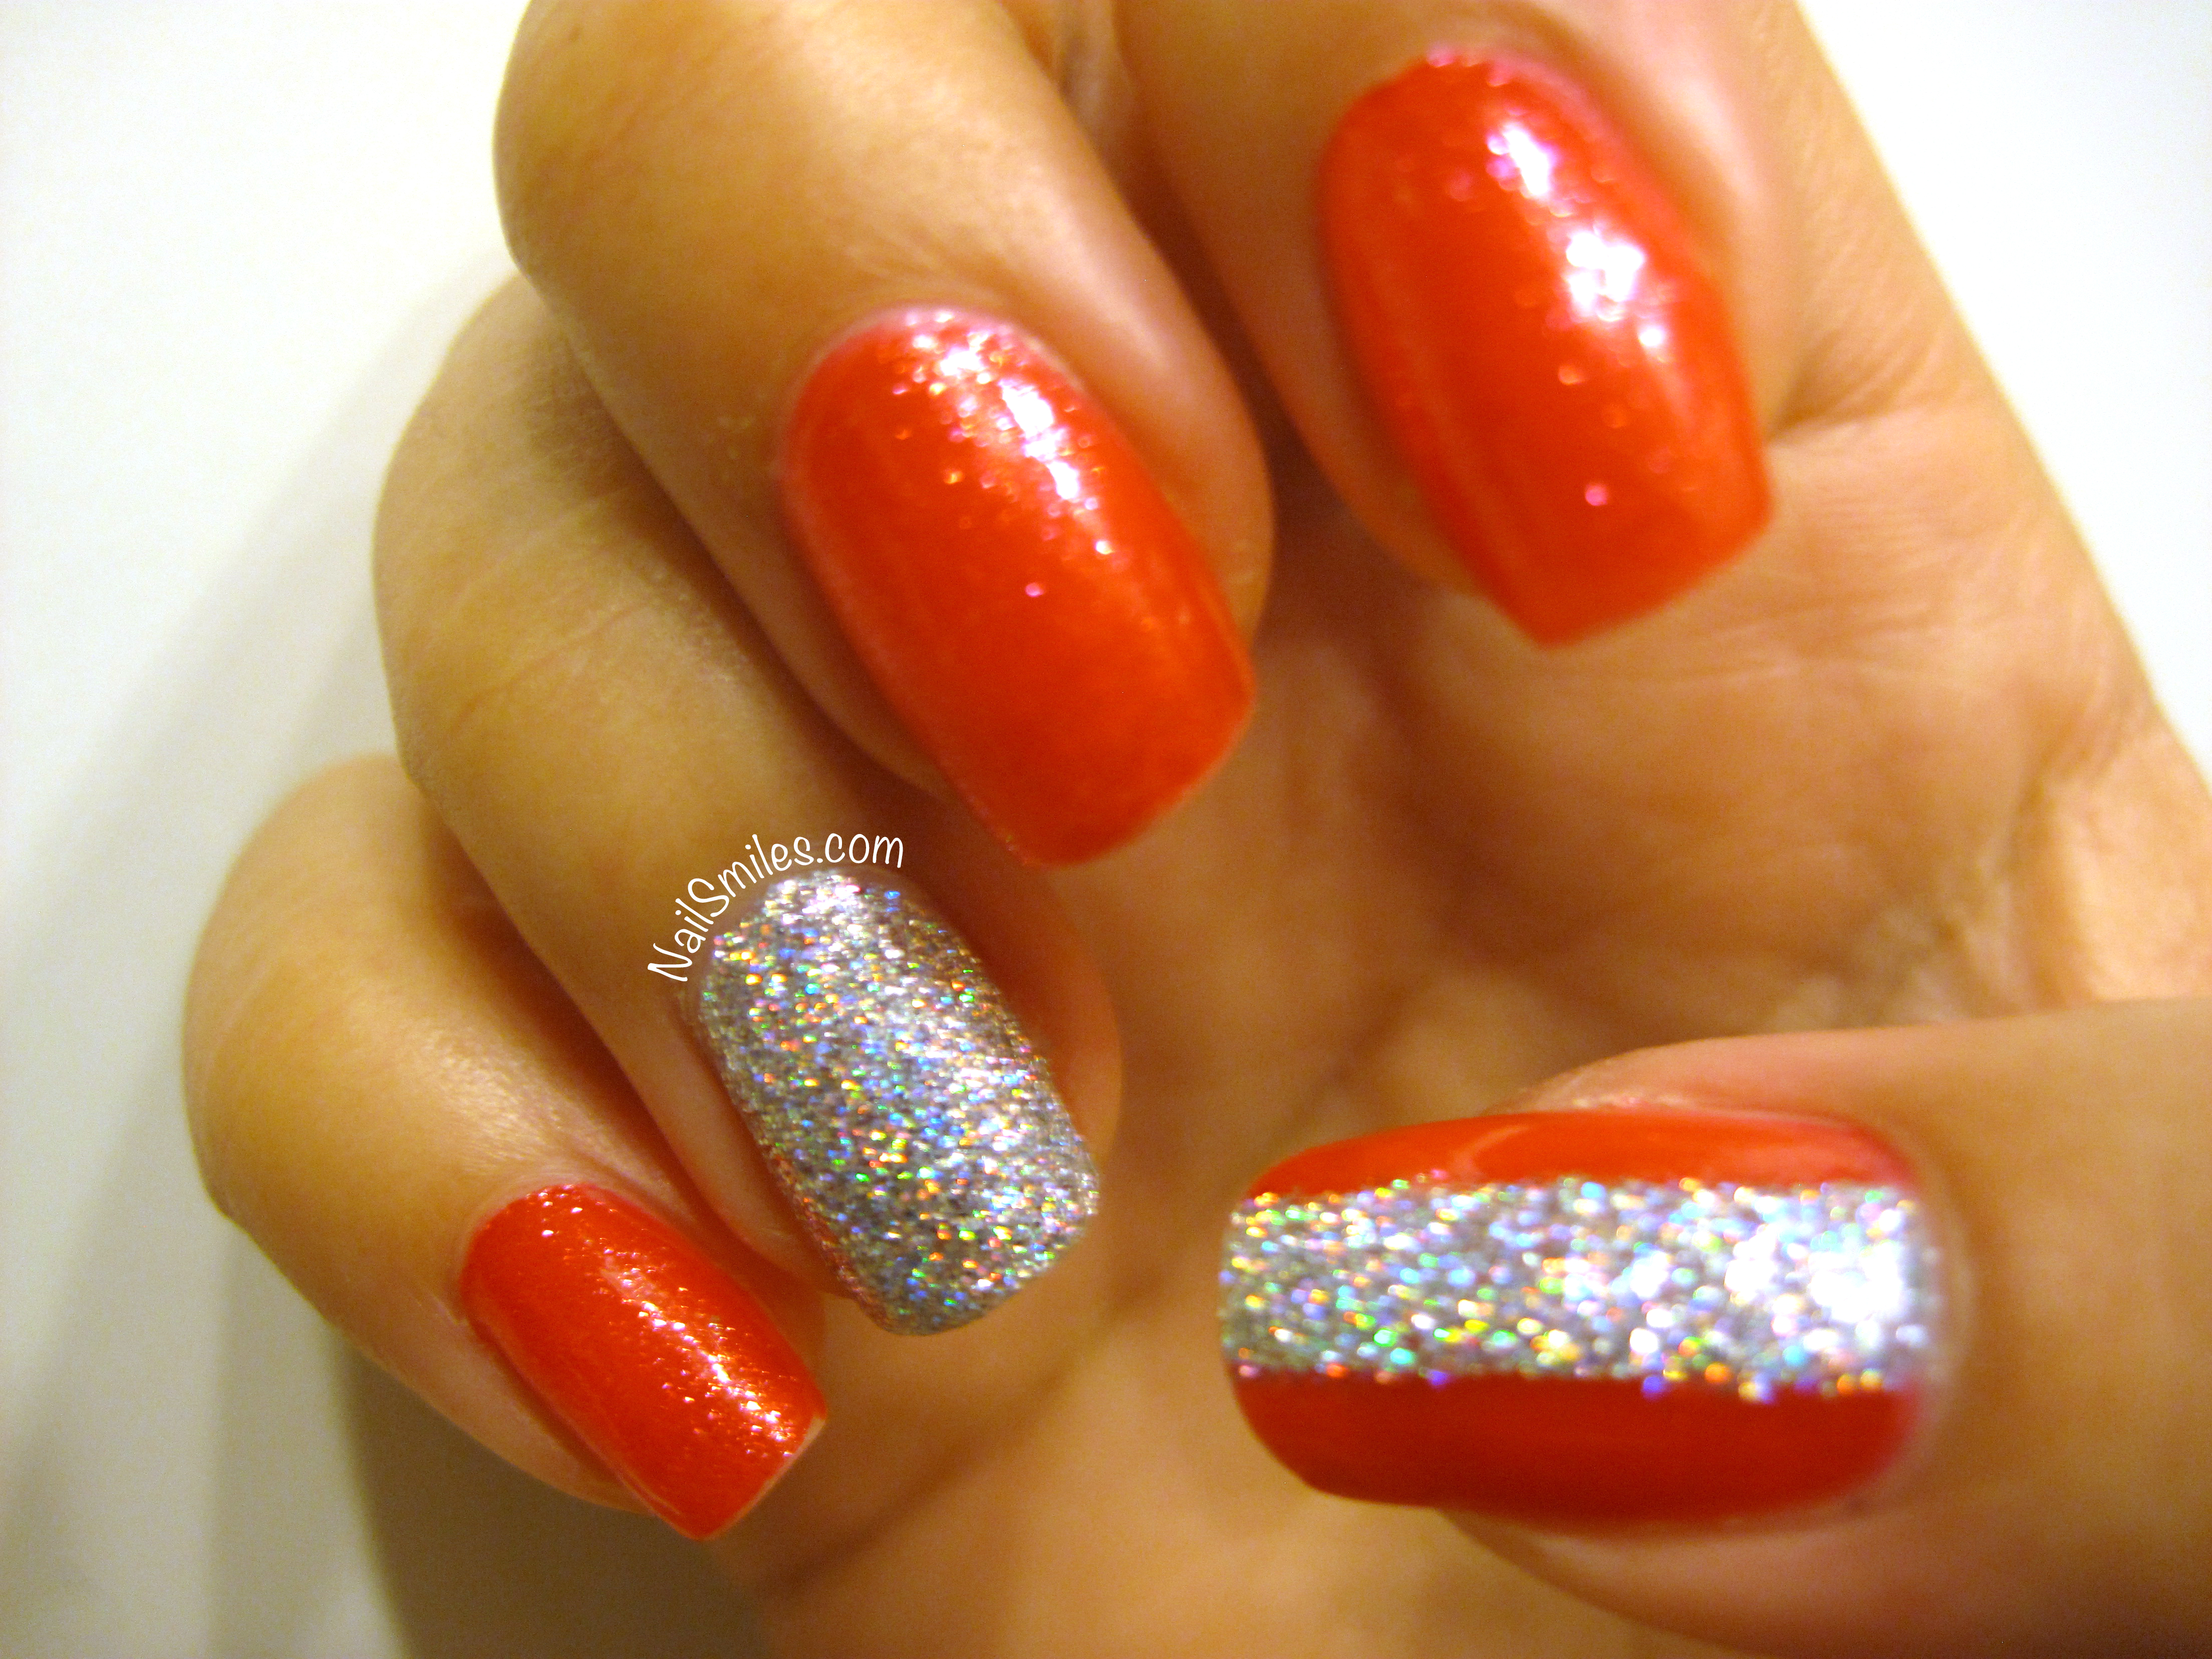
  7. LA Splash Baby Octopus for the holographic silver glitter on the accent nail
  8. 1 Coat Hard Candy Black Tie Optional on the thumb
  9. Poshe Top Coat

Removing Glitter Polish Like A Pro

In many cultures and civilizations there exist rights of passage where, upon completion, a member moves from one rank to another or is considered a more integral part of the group. I feel like in The Naildom (The Domain of Nails) having your first rage inducing hour-long session of removing glitter polish is a right of passage.

The problem is I don’t think this is a right of passage anyone should really endure, no matter how masochistic one may be.  I don’t think you need to have shreds of cotton balls stuck to all your sparkle coated fingers while you’re spewing profanities (totally not speaking from personal experience).Rainbow Glitter

I’m here to tell you there’s a better way.  I’m here to help you transcend from your lowly nail scrubbing practice to the magical world of tinfoil finger hats (<—what?).

Steps To Removing You Sparkle Nails

  1. Gather supplies – cotton balls or pads, tinfoil, scissors, polish remover (acetone works best, but is strong).IMG_0497

  2. Use scissors to cut tinfoil into 5 squares somewhere around 3×3″ – play around with the size that fits your fingers best.
  3. Put some polish remover on a cotton ball, place cotton ball on fingernail, then wrap tinfoil over fingertip and cotton ball together.
  4. Repeat with four other fingers and let sit for 2-3 minutes.  I like to do one hand at a time, but you can do all 10 fingers at once if you have the skill.  If you only do one hand at a time then you can reuse the foil and cotton balls on the opposite hand.IMG_0502
  5. Remove the foil/cotton ball from each finger, then reuse the cotton balls to EASILY swipe of the softened glitter polish.
  6. Repeat on other hand.
  7. I follow up this removal by scrubbing my hands/nails with a homemade coconut sugar scrub (mix sugar and coconut oil) which helps remove most of those leftover little glitter bits and also gives your nails/hands a punch of moisture and softness after soaking with the polish remover.
  8. Bask in the glory that you just took off your glitter polish in a few minutes versus a few hours.IMG_0510

Sakura Cherry Blossom Nails with Matte Green Base

Sakura Cherry Blossom Nails

Happy Monday.  I’m submitting this post a little out of order because after I wrote my draft I somehow didn’t save it properly so I have to reeeewwwrrrriiittteee it.  Anyway, Arizona Iced Tea anyone?  I can’t say this mani was inspired by the drink of my childhood, however, it definitely is reminiscent of their old can.  I did also have someone tell me it reminded them of a porcelain teacup.

Polish Performance

This manicure was my first attempt at using a matte top coat as well as my first time using Sally Hansen’s Complete Salon Manicure line.  I will say I now know why this line runs for around $8 versus the the $2-3 you’ll pay for their Xtremewear line.  The brush is amazing!  I had to do ZERO clean up on this manicure because I had so much control with the brush and polish.  It’s very soft and it has a rounded shape that fit the curve of my cuticles perfectly.

I was quite surprised at how thin one coat of the polish is…so surprised that I took a photo.

1 Coat of Sally Hansen Jaded

1 Coat of Sally Hansen Jaded

I used two coats, but really I think this polish would be best with 3 or 4 if you want full opacity.  I definitely like the color of it too and I will say that these photos don’t do it justice (the pics look a little more grey and less green).

The matte topcoat did what it said, it turned super shiny polish into a smooth flat matte finish.  I did notice some micro bubbles and I’m not sure whether it was from the top coat or from not letting the colored polish below dry long enough.  I was on the fence about matte manicures for a long time, but this experiment has definitely changed my mind and I look forward to playing with more options!

Techniques:

The branches were just a simple few lines drawn with a fine paint brush and the flowers involved using one of my jenky homemade dotting tools (read: a sewing needle stuck into the pink eraser of a pencil).

Place 5 dots of polish in a circle and then place the needle in the center of each circle and drag a line towards the center.  This will create the look of dimensional petals.  I put a dot of CG Fairy Dust in the center of each flower for extra pop.  You can always use a different number of dots to get a variety of flower patterns.

Polishes Used:

  1. Seche Vite Base Coat
  2. Green Base – 2 coats Sally Hansen Complete Salon Manicure Jaded
  3. China Glaze Matte Magic Top Coat
  4. Branches – Ulta Taupe On A Rope
  5. Flowers – Essie Luscious Lips
  6. Flower center accents and forefinger – China Glaze Fairy Dust

What are your favorite polish colors to make matte?

RAINBOW SPARKLES! 3 Color Glitter Gradient

So. Much. Sparkle

So. Much. Sparkle

Roses are red

Violets are blue

I love rainbows and sparkles

So look at my freaking nails!


Rainbow Glitter


Technique:

This is three coats of each color.  Basically I put gold at the base of each nail, then went back around and put green in the middle of each nail, then painted blue on the tip of each nail.  Rinse and repeat two more times.  These do not have a top coat currently, although I may add one on to see how it looks and to make the polish hold up.

Polishes Used:

  1. Seche Vite Base Coat
  2. Gold – Ulta Boogie Nights
  3. Green – Pure Ice Treasure Hunt
  4. Blue – Ulta Indigo-Go Girl

Studded “Princess” Nails – Covergirl Timeless Rubies and BornPrettyStore Studs

Stud Princess 2

I feel like playing Mario Brothers after doing this manicure – am I dating myself?  This design makes me think of princesses, specifically Princess Peach; obviously the pinkish color contributes to the thought, but I think the gold studs (especially the diamond shaped stud) actually remind me of a crown.

https://nailsmiles.files.wordpress.com/2013/08/fdcbb-princess-peach_420_1194999440.jpg

What is Princess Peach doing in this photo?!

This manicure is done with Covergirl’s Timeless Rubies polish.  This is the first time I’ve bought their stuff and I’d say the color itself is great.  I don’t think these pictures do the color justice and it was such a busy week that I didn’t make the time to shoot photos in different lighting for the best effect (these photos were actually taken in the parking lot of my work).

It’s a combination of a shimmery look, a bit metallic and a bit of a duochrome as well.  Depending on the lighting orange and gold pops out from the pink, and even a bit of grayish blue?  The brush was fine and the polish was thin enough to control the two coats I did; not sure if a third coat would make much of a difference.  I didn’t get any big chunks chipping off, but the tips did start to wear pretty fast within the first few days.

Front Stud Princess

The studs I used are from BornPrettyStore.com and they’re a pretty good deal for over 200 pieces.  They have a bunch of other really cute stud options including a new set of colored dots.  When my set arrived it was a bit messed up from the transport so the tiny dots were everywhere (see below), but it actually only took a few minutes to fix and organize.

After almost a full week of wear all the studs are still stuck to my nails and they don’t get caught on anything.  I was impressed with how well the larger diamond shaped studs curved to fit my nail (which I’ve found can be an issue when attaching larger accessories).  I’m excited to play around with the other shapes and get some creative designs!  Use code EAG10 for 10% off an order at their online store!https://i0.wp.com/www.bornprettystore.com/images/ProPho/5003/1.jpgMixed Up Studs335x280 Emma Arnold banner

Polishes Used:

  1. Seche Vite Base Coat
  2. Covergirl Outlast Timeless Rubies (2 coats)
  3. Pinky tip has China Glaze Angel Wings (which is gorgeous/holographic and you can’t tell from the photo)
  4. Poshe Top Coat

The Best Striping Tape Storage EVER!

Spread the word far and wide!  I can’t take credit for this amazing idea; all I can say is that I took the little initiative it required to execute.

Right before bed last night I came across this idea for storing nail striping tape on a scotch tape holder.  I rummaged through my desk before retiring for the evening and the minute I got home from work today I got down to it.  It only took a few minutes and the hardest part was finding the end of each of the striping tapes.  All you have to do is take your regular tape off your roll and put your striping tape on.  Done!

Stiping Tape Scotch Tape Storage


Striping Tape on Yellow and White

Cute Animal Stamping Plate From BornPrettyStore.com Review

Stamping Plate Video Intro Page

From the time I was a little girl going into Hello Kitty stores to my adult life watching anime and visiting Japan I have always loved the kawaii (meaning cute in Japanese) culture and characters.

I recently got the S10 “Cute Rabbit Cat Animal Design Nail Art Stamp Template” from BornPrettyStore.com and using this adorable stamping plate was high on my priority list after a week long trip to visit my dad in Canada… it’s true, I was suffering some nail art withdrawals from being away :D.

The stamping plate has 7 different little characters on it – bunny, kitty, teddy bear, chick, panda, giraffe and the seventh is what I like to call the “mystery animal”; I think it’s a sheep?  My confusion lies in the fact that what would appear to be horns and ears look more like two sets of ears – I think it’s a cute character either way, but would love to hear your guesses!BPS Stamp Plate S10

Glitter Pastel RainbowI started out with a different color on each nail, all topped with the beautiful, glittery, pearlescent Ulta Diva (I love putting this over a bunch of different colored nails because it ties them all together and makes them look a little more pastel).

Each nail is also stamped with a different color, none of them are made specifically for stamping.  I used a combination of thick quick-dry polishes and thinner shimmers to see how both turned out.

The thin outline images on the plate (the chick, bunny, kitty, panda and mystery animal sheep thing) seemed to work better with the thin nail polishes.  When I tried to use the insta-dri polishes on the thin outline images they didn’t transfer well; I think this is because the lines are so fine that the thick polish dried almost instantly.  The Insta-Dri polish worked great on the bear (which doesn’t have thin lines) and pretty well on the giraffe where there are big spaces for polish to fill.

Kawaii Stamp Glitter Rainbow Better Kitty PinkyLeft Kawaii Stamp Rainbow Glitter

Overall I’m really pleased with the plate and for 99 cents and free shipping I don’t think it can be beat!

A total of 11 colors plus Seche Vite Base Cout and Poshe Top Coat

  1. Ulta Peach Parfait
  2. SH Insta-Dri Petal Pusher
  3. Ulta Cream of the Crop (on clearance in some stores)
  4. Ulta Mint Condition
  5. Ulta Bam-Blue-Zled
  6. Ulta Diva
  7. SH Insta-Dri Sonic Bloom
  8. SH Insta-Dri Snappy Sorbet
  9. Chi Razzle Dazzle
  10. Ulta Dance Teal Dawn
  11. Ulta Ultra Violet Femme

On a side note I’m really happy that I picked up the Poshe Top Coat, it’s very similar to Seche Vite, but without the toulene.  It didn’t smear the polish underneath, not much shrinkage and no chipping as of day 3.  Much better than the Orly Top Coat I recently purchased!

Rainbow Kawaii Polish 1Stamping Kawaii Polish 1Rainbow Kawaii Polish 2Stamping Kawaii Polish 2

If you get anything from their online store use the code EAG10 for a 10% discount.

As an exciting bonus if 10 people place orders with that code BornPrettyStore will sponsor a free giveaway contest for my website!  If it’s for free, it’s for me :D.

Coming up next will be holographic polish and nail stud reviews!

Disclaimer: I received the S10 stamping plate as a free promotion, however all opinions expressed are my own!

Did You Know? Nail and Polish Facts and Tips

  1. IMG_8958Dark nail polish may take longer to dry than light polish colors because of denser pigmentation.  Give an extra couple minutes dry time between layers for dark colors to get the best wear.  The thickness (viscosity) of the polish affects drying time as well, thicker = longer dry time.

  2. Creme style polishes are more likely to apply unevenly or “streaky”.  You may be inclined to try a thick coat, but you are better off combatting uneven color with 3 thin coats.  When you apply one thick layer of polish not only does it take forever to dry (and inevitably gets smudged) it is also more likely to peel off faster.

  3. Glitter polishes will hold onto your nails like baby monkeys.  To make this process a whole lot easier use the same method for removing gel nails.  Soak a small piece of cotton with acetone and place on each nail.  Wrap a small piece of aluminum foil to hold the cotton in place and give it about two minutes; everything will wipe right off.

  4. If you get gels or acrylics and have problems with the nails lifting quickly it could be for more than one reason.  You may have heard of “oily nail beds”, but this is rarely the cause of lifting; more likely there is small debris or oil residue on your nails that prevents adhesion or creates air pockets.  Make sure your manicurist does a thorough prep, including cuticle pushing/cleaning, gentle buffing and oil removal.  Clammy hands can cause issues as well, so if this is a known concern for you make sure your manicurist drys your hands directly before application.

  5. Your nail health can indicate everything from thyroid problems, infections, lung disease, to nutrient deficiencies.  If you have dry, weak, cracked, soft or splitting nails there may be more than one culprit.  It could simply be exposure to harsh environmental conditions or using too much acetone, which can be drying to the nail bed, but also consider how often you wash your hands per day or what your regular diet is.  Unhealthy nails are best repaired with a combination of external and internal adjustments.

    1. Externally, apply a cuticle oil or balm 1-3+ times per day (best to do without polish, however you will still get benefits if you apply to polished nails); a great time to do this is after you wash your hands because soap removes your natural skin oils.  I find oil during the day and a balm before bed at night.  Also switch from drying antibacterial/synthetic soap to one made from natural oils.

    2. Internally, start by drinking more water!  Maybe you have multiple cups of coffee or soda per day?  These drinks have caffeine, a diuretic, so you’ll need to increase your water consumption to counterbalance the effects.  If you’re not eating a diet full of vegetables, fruits and whole foods (meaning you’re eating a lot of processed/convenience foods) you may end up with a nutrient deficiency.  Iron, zinc, vitamin A, B Complex vitamins, vitamin C, calcium, folic acid, and essential oil deficiencies can call manifest through poor nail health.  Increase your consumption of leafy greens, fruits, nuts, seeds, beans and cold water fish to start.  Don’t ignore the signs your nails are sending you about your health; if you’re nail beds are any other color than pink, are extremely thick or falling apart see a doctor!

What are your fun facts, tips and tricks for fabulous nails?

Bonus tip – did you know if you follow my “Making Your Mani Last” recommendations your nails can look this great 5 days later (no this is not the original photo, this is a new one!)

5 Days after initial manicure!!

5 Days after initial manicure!!


Making Your Mani Last

DAY 1

DAY 5

DAY 1

There are few things more frustrating than a beautifully painted set of nails that are chipped in less than 24 hours.  In fact, at one point this was so frustrating that I just stopped painting my nails.  Obviously gels or acrylics are a great way to extend the wear of your nail set, but for those times when you aren’t able to make it into the salon this can be your savior.

After research and experimentation I have down a tested nail prep ritual that’s guaranteed to give you nails that will last up to over a week!  The steps below may look long, but it’s really only a few minutes worth of effort.

Longer Lasting Lacquer!

  1. Clean – Thoroughly remove old nail polish color with acetone or polish remover.

  2. Trim – Trim nails to the shape and length you prefer and file down any rough or uneven edges.

  3. Push cuticles – Gently push back your cuticles with a tool or wooden stick.  If you don’t have a tool you can use the nail on your alternate hand as a cuticle pusher!  You do this step because if polish covers the cuticle you will have air pockets that will start to peel or chip.

  4. Buff – Use a medium to fine grit buffer/file to slightly roughen the top of your nail.  You should not have large scratches in the nail, just a nice matte finish.  Work towards the base of the nail where new ridges and cuticle form.  This is a critical step, but don’t spend too much time here because you don’t want to thin/weaken your nails.

  5. Exfoliate – Apply a large dollop of exfoliant to your hands and scrub vigorously for a minute.  I use a facial exfoliant I got that is fragranced to heavily for me to apply to my face; any basic scrub should do the trick.  Make sure to focus on the cuticle area, you are removing dead skin and excess oils.; this will make your hands feel nice, but will also make the manicure look more professional and last.  Rinse with water.

  6. Scrub – Use a nail brush or toothbrush with soap on it to scrub around each nail, again, work around the cuticle area, but also underneath each nail tip so you’re extra clean!  Rinse with water.

  7. Moisturize – Optional Step:  Apply a cuticle oil (I usually use Burt’s Bees or Argan Oil) and let soak in for 5-10 minutes.  Follow by thoroughly washing with soap and water.  Give your hands a few minutes to dry, the nails can absorb some of the water and change shape when they dry, which can affect how long your polish stays on.

  8. Swipe – When your hands are dry swipe the top of each nail with either acetone or distilled white vinegar.  This is critical to remove any oils, which can cause your polish to peel prematurely.  Some polish removers have moisturizers that may have a similar effect so I recommend pure acetone or vinegar.

  9. Base Coat – Apply a base coat – these are designed to hold the polish on your nail longer, prevent potential staining and they sometimes have nail strengthening properties.  The brand I currently use and love is Seche Vite Crystal Base Coat, but some other highly recommended options include OPI’s Natural Nail Base Coat, Orly Bonder (In Style’s best base coat of 2012), CND Stickey, Essie’s First Base, and Posche Fast Drying Base Coat.  Experiment to find what works best for you.

  10. Color – Go to town with your favorite colors, but keep in mind that sometimes brands do make a difference.  OPI, China Glaze, Orly, Essie and Sally Hansen have all been in the business for a long time and are reliable options, but don’t be afraid to try a different brand if you love the color.  One coat is good, but if you really want your nails to last you should focus on two to three thin coats depending on the color.  Glitter colors naturally adhere to your nail longer (sometimes too long!).  The other important thing when painting is to “wrap the tips” – after painting the top of the nail swipe the color along the edge at the tip of the nail.  This will prevent initial chipping on top of the nail.

  11. Top Coat– Again, find a quality topcoat that works best for you.  The top contenders include Seche Vite Top Coat (my current personal choice), Sally Hansen Insta-Dri Anti-Chip Top Coat, OPI RapiDry Top Coat, Deborah Lippmann Addicted to Speed Top Coat, Orly Sec’n Dry Top Coat, Posche Super Fast Drying Top Coat and Essie’s No Chips Ahead . I have to say that having a fast drying topcoat has changed my nail world and I can’t recommend the fast drying options enough!

Maintenance

Our hands get used a ton throughout the day so wear is unavoidable, but doing a few things like wearing gloves when you do the dishes or clean will make a huge difference.  I love to cook and I’m notorious for washing my hands every two seconds while preparing food – great for sanitation, not so great for manis; to combat this use warm/cool water instead of scalding with a mild soap and dry hands immediately after washing versus letting the water sit on your hands.  If you have the time, you can do a quick clear coat every couple of days to make the polish last and keep it shiny.  If all else fails, get your partner to do everything around the house, that’ll save your nails for sure!

What do you do to make your mani last?

EDIT:  Thanks to Danielle for the Facebook shout out about this post!

Danielle's FB Shoutout Danielle's FB Shoutout 2