I’m not Irish and I don’t even like to get sloshed, but I enjoy Saint Patrick’s Day because
1. My favorite color is Green and Rainbows (yes, that’s the answer I give, don’t judge me)
2. I LOVE GOLD
3. I love clovers (today I wore my real 4 leaf clover necklace)
4. I’ve always secretly wished I was red headed and green eyed
5. I love me some cabbage and potatoes
6. I don’t like to get hammered, but I do still love a good beer
7. Did I mention rainbows?

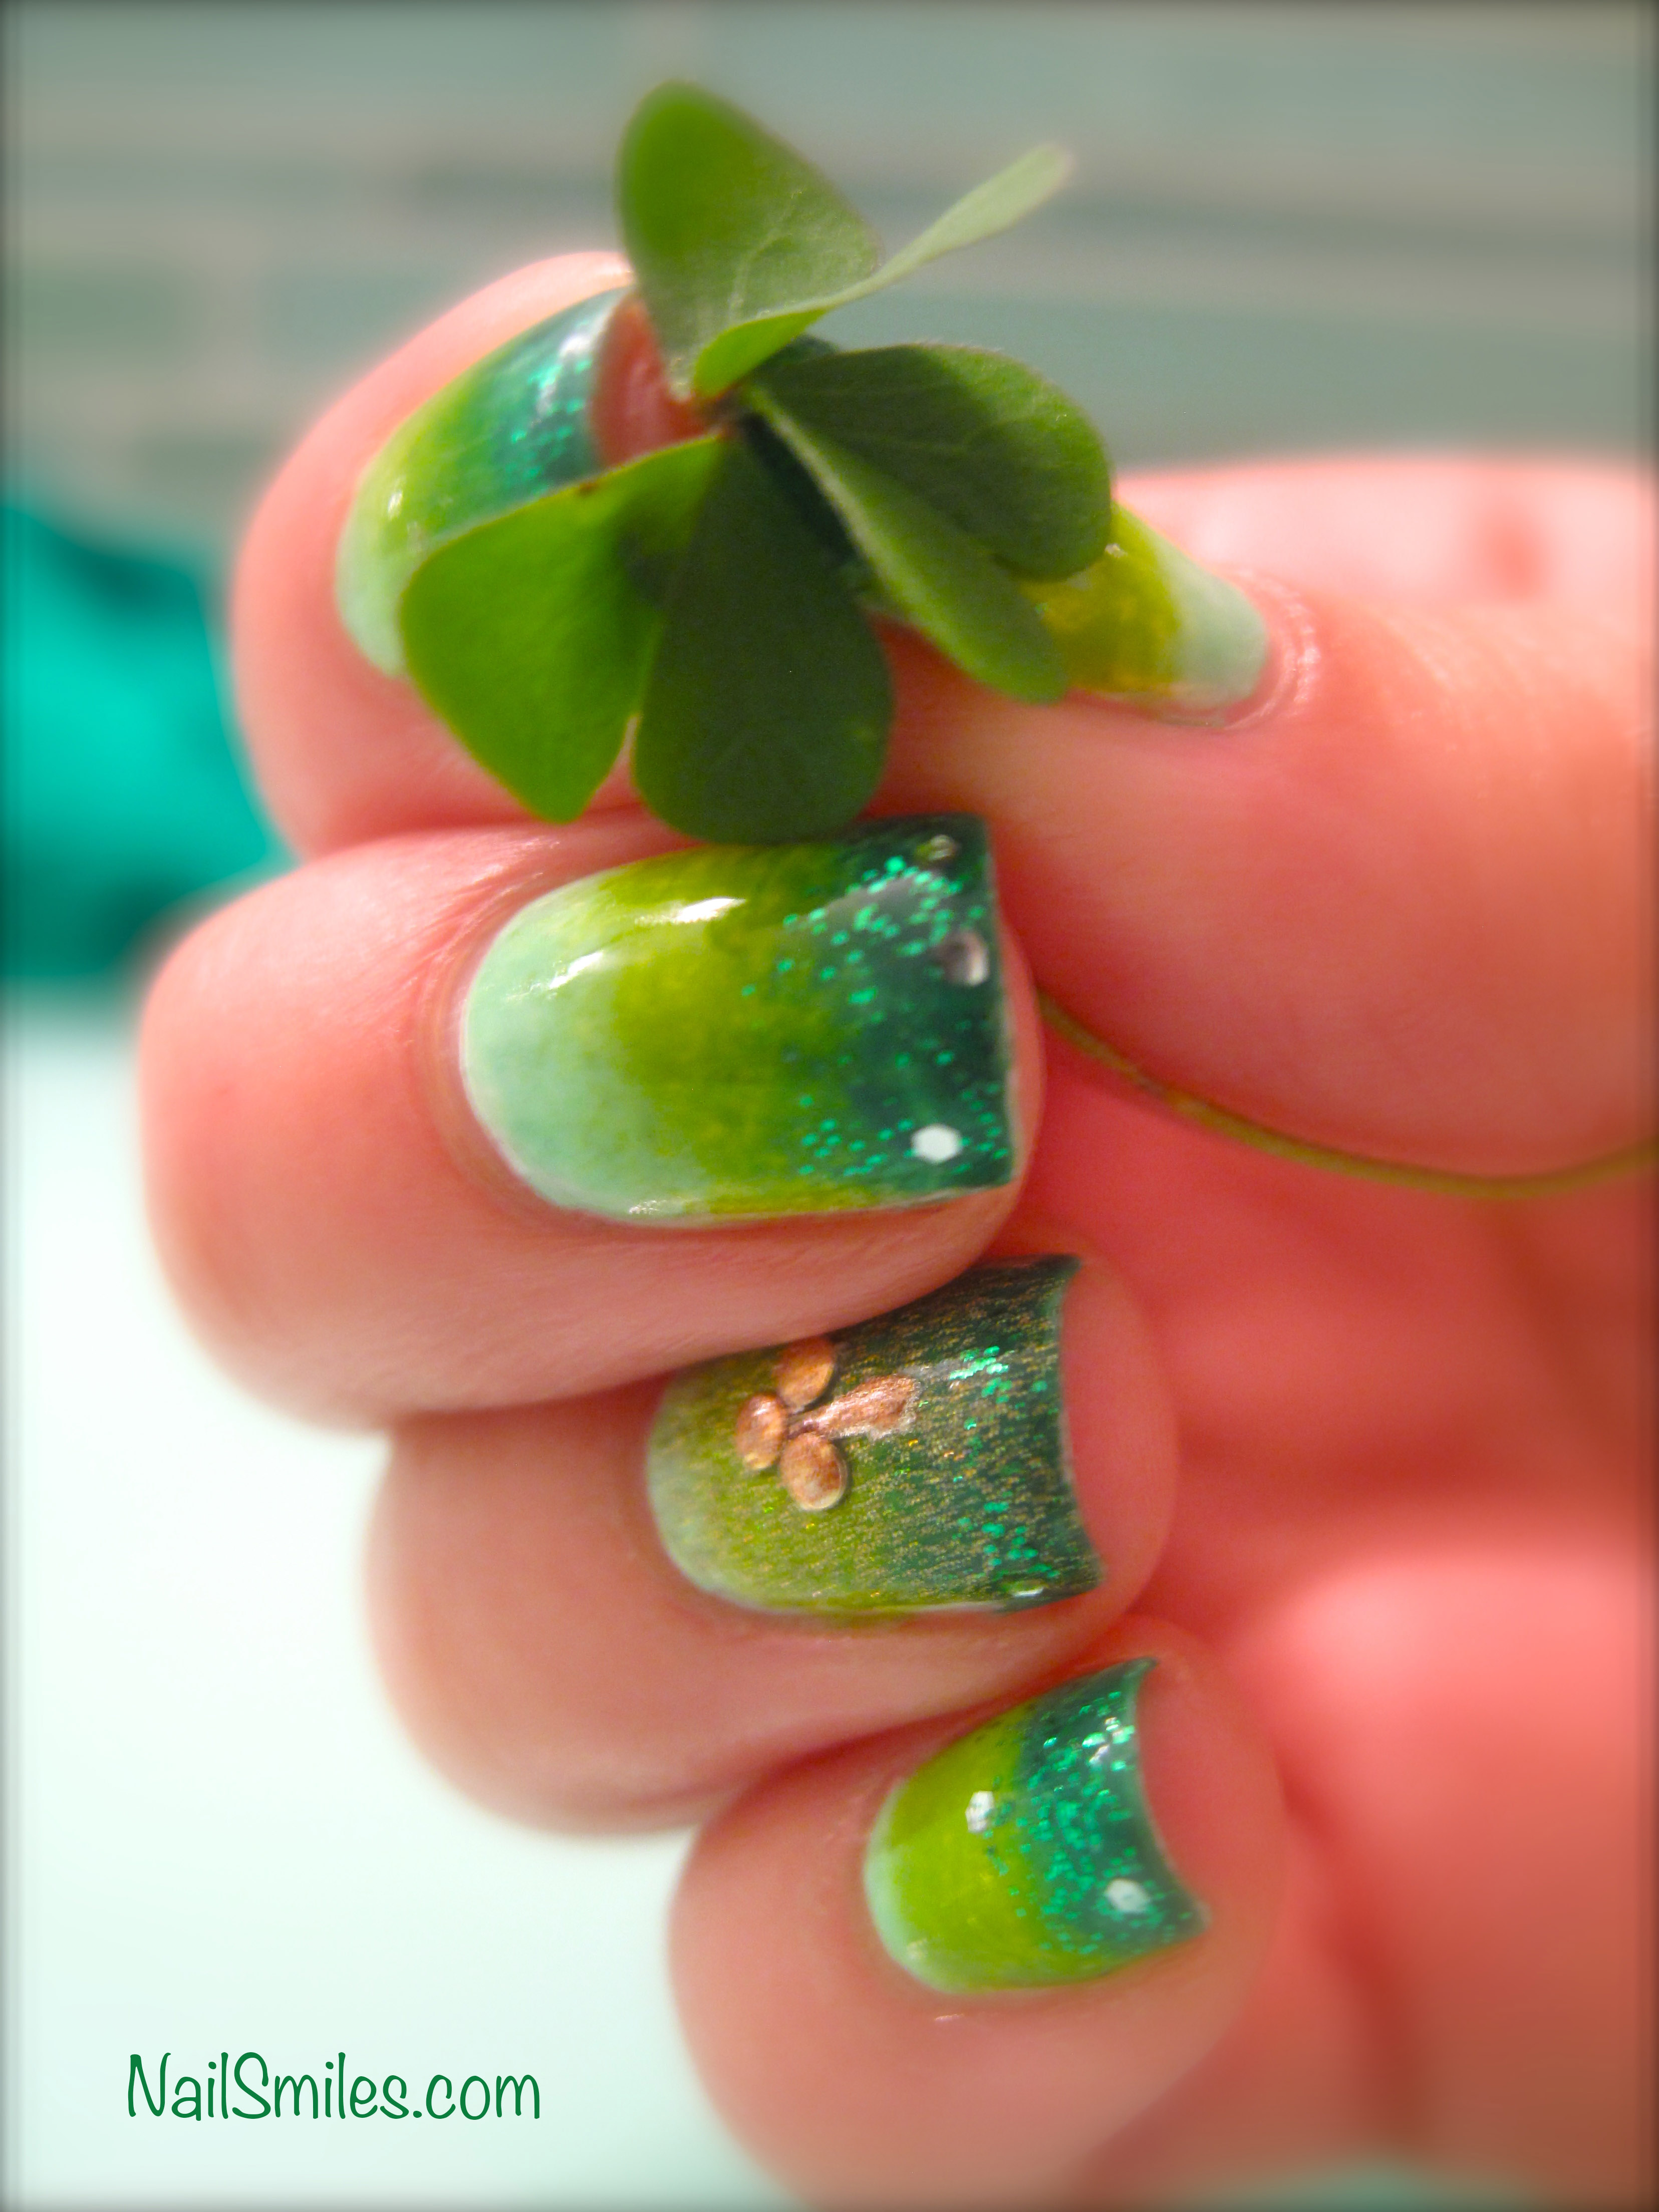
The real big deal about today’s manicure is that it’s actually the first time I’ve ever attempted a gradient. I followed the basic process of painting white on all my nails, then painting 3 shades of green onto a cosmetic sponge and dabbing each nail.
I did between 2 and 3 layers per nail with the sponge. Then I added green glitter on the tips. For my ring finger I painted a coat of China Glaze Angel Wings over the entire nail, then added a shamrock.
The shamrock is 3 metal studs, which I painted over and then painted on the stem.
And yes, for St. Paddy’s day it should be 3 leaves because St. Patrick used the shamrock to teach about the holy trinity. Overall I like how it turned out, but I know I can do better. I have the excuse that I was on a time schedule because I did these right before heading out to a St. Paddy’s party!
To all my Irish friends, I hope you had some luck today, or at least some cabbage.

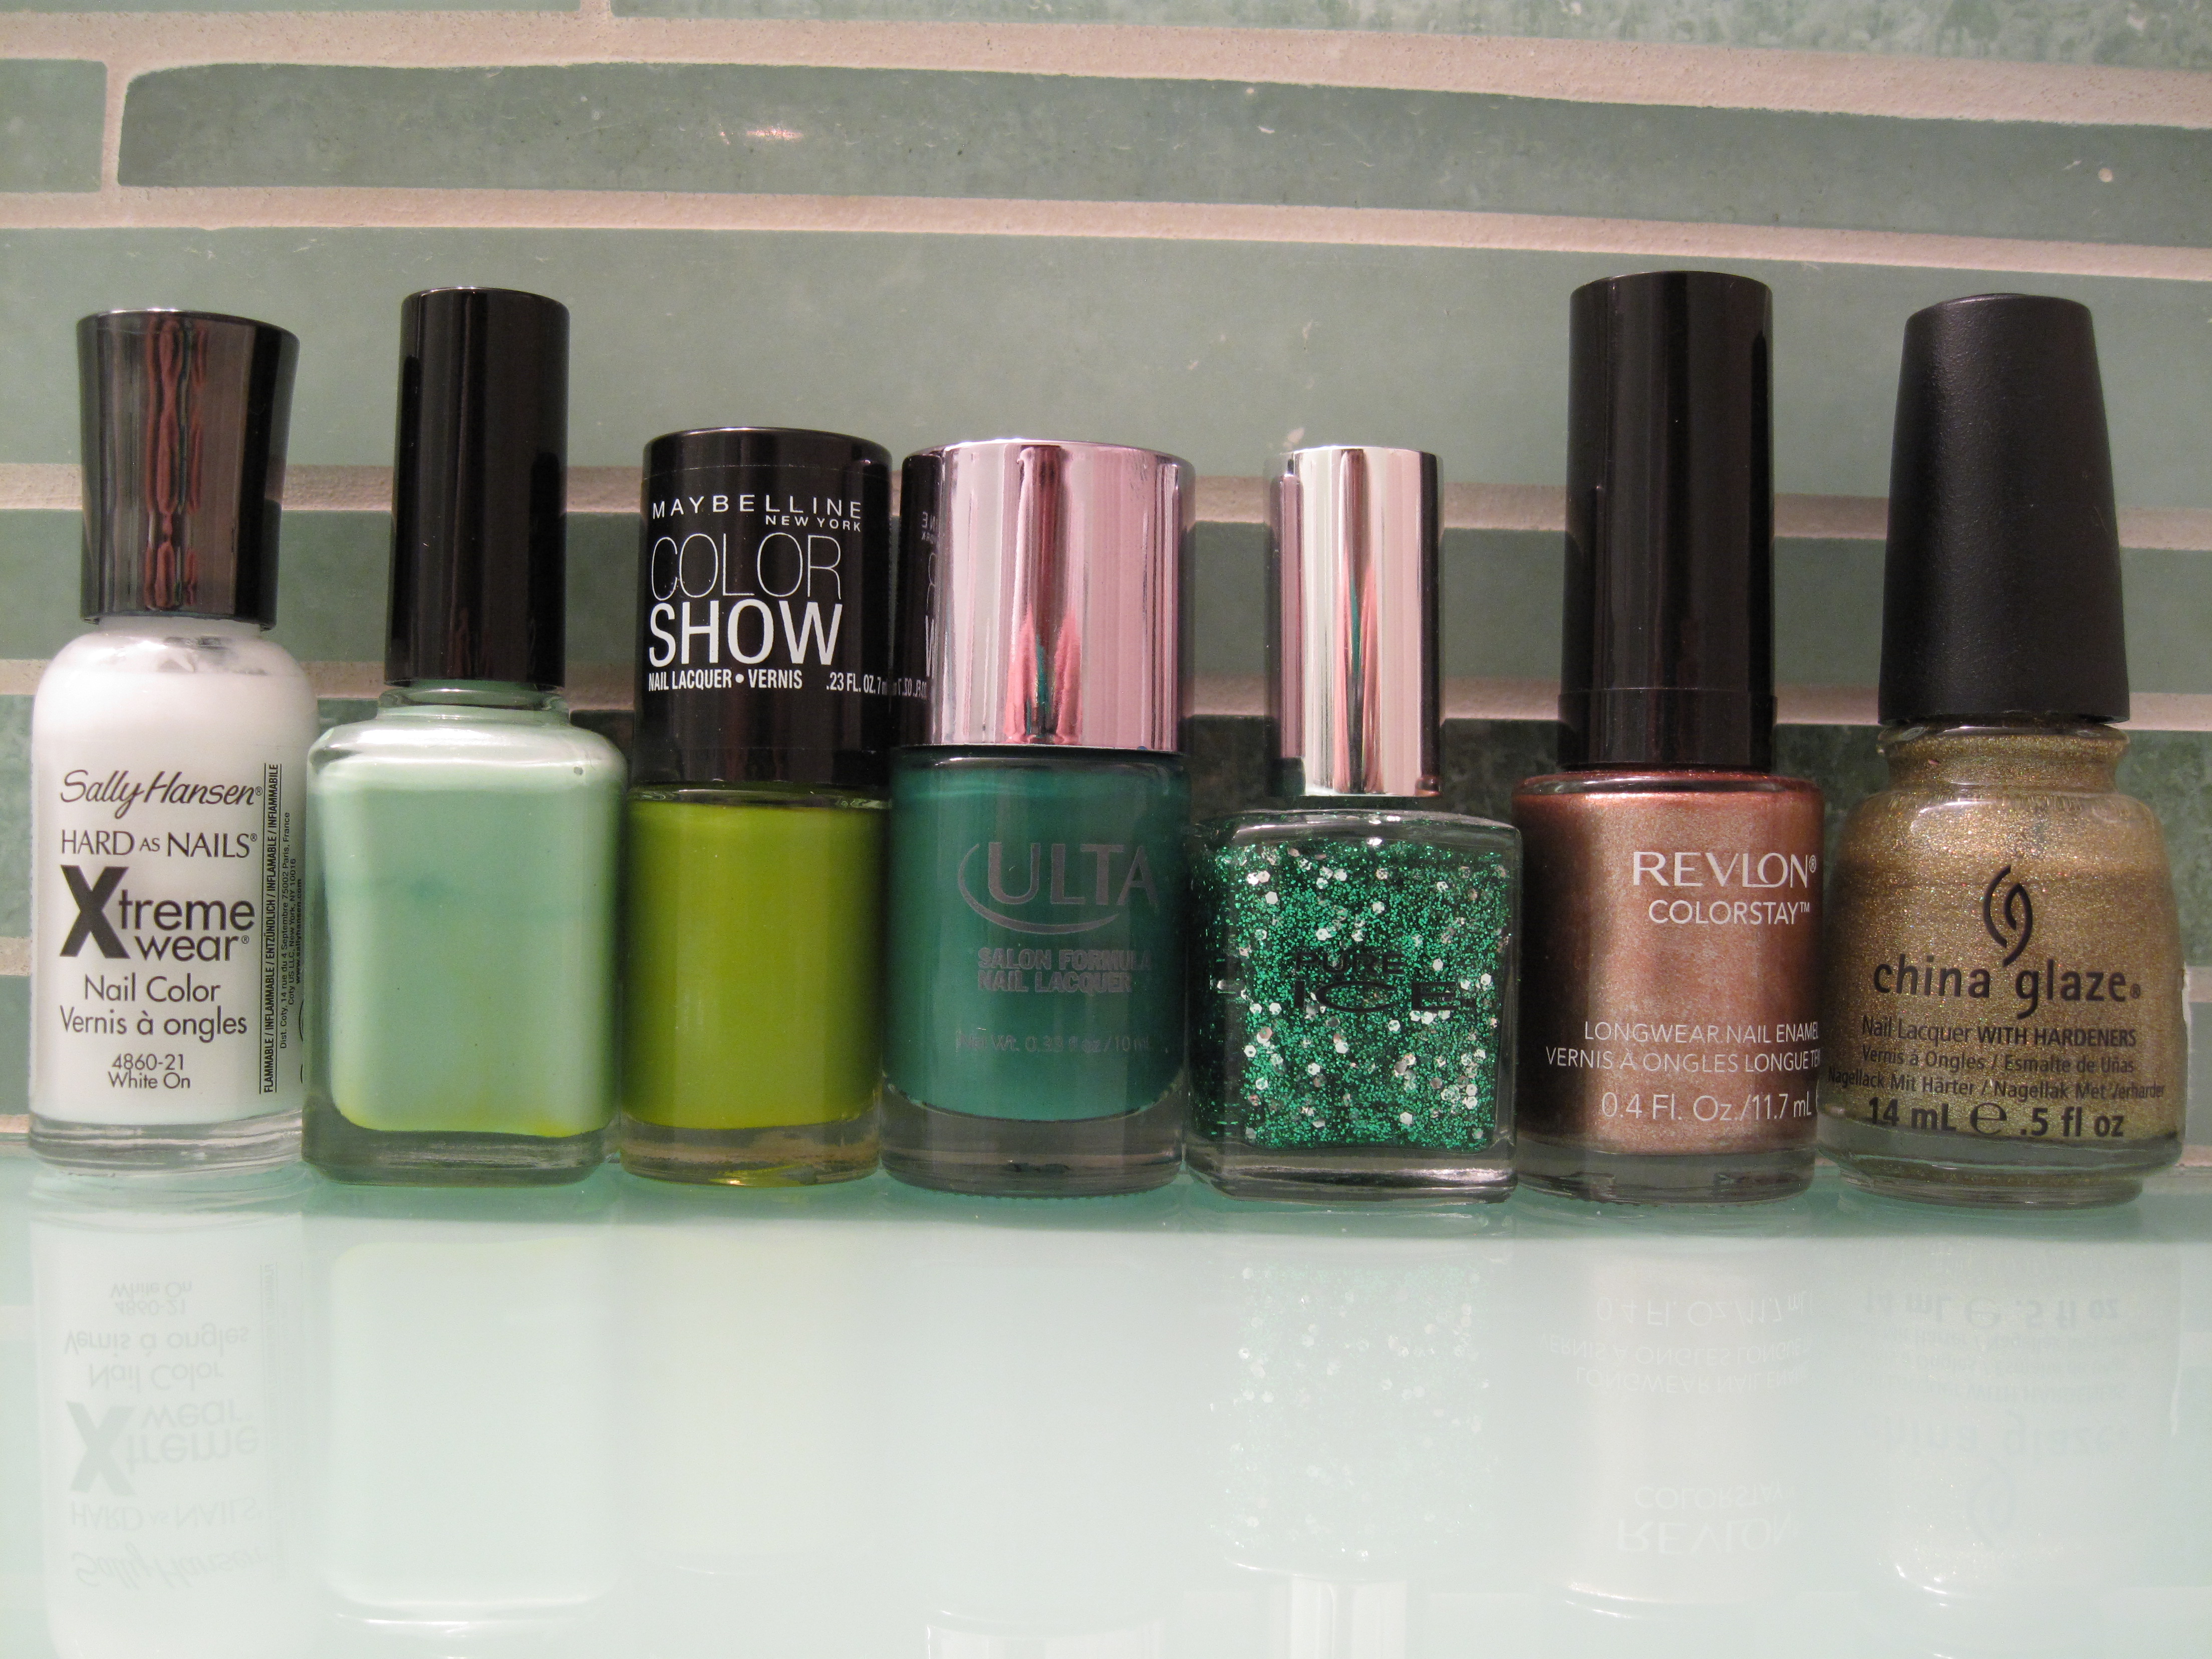

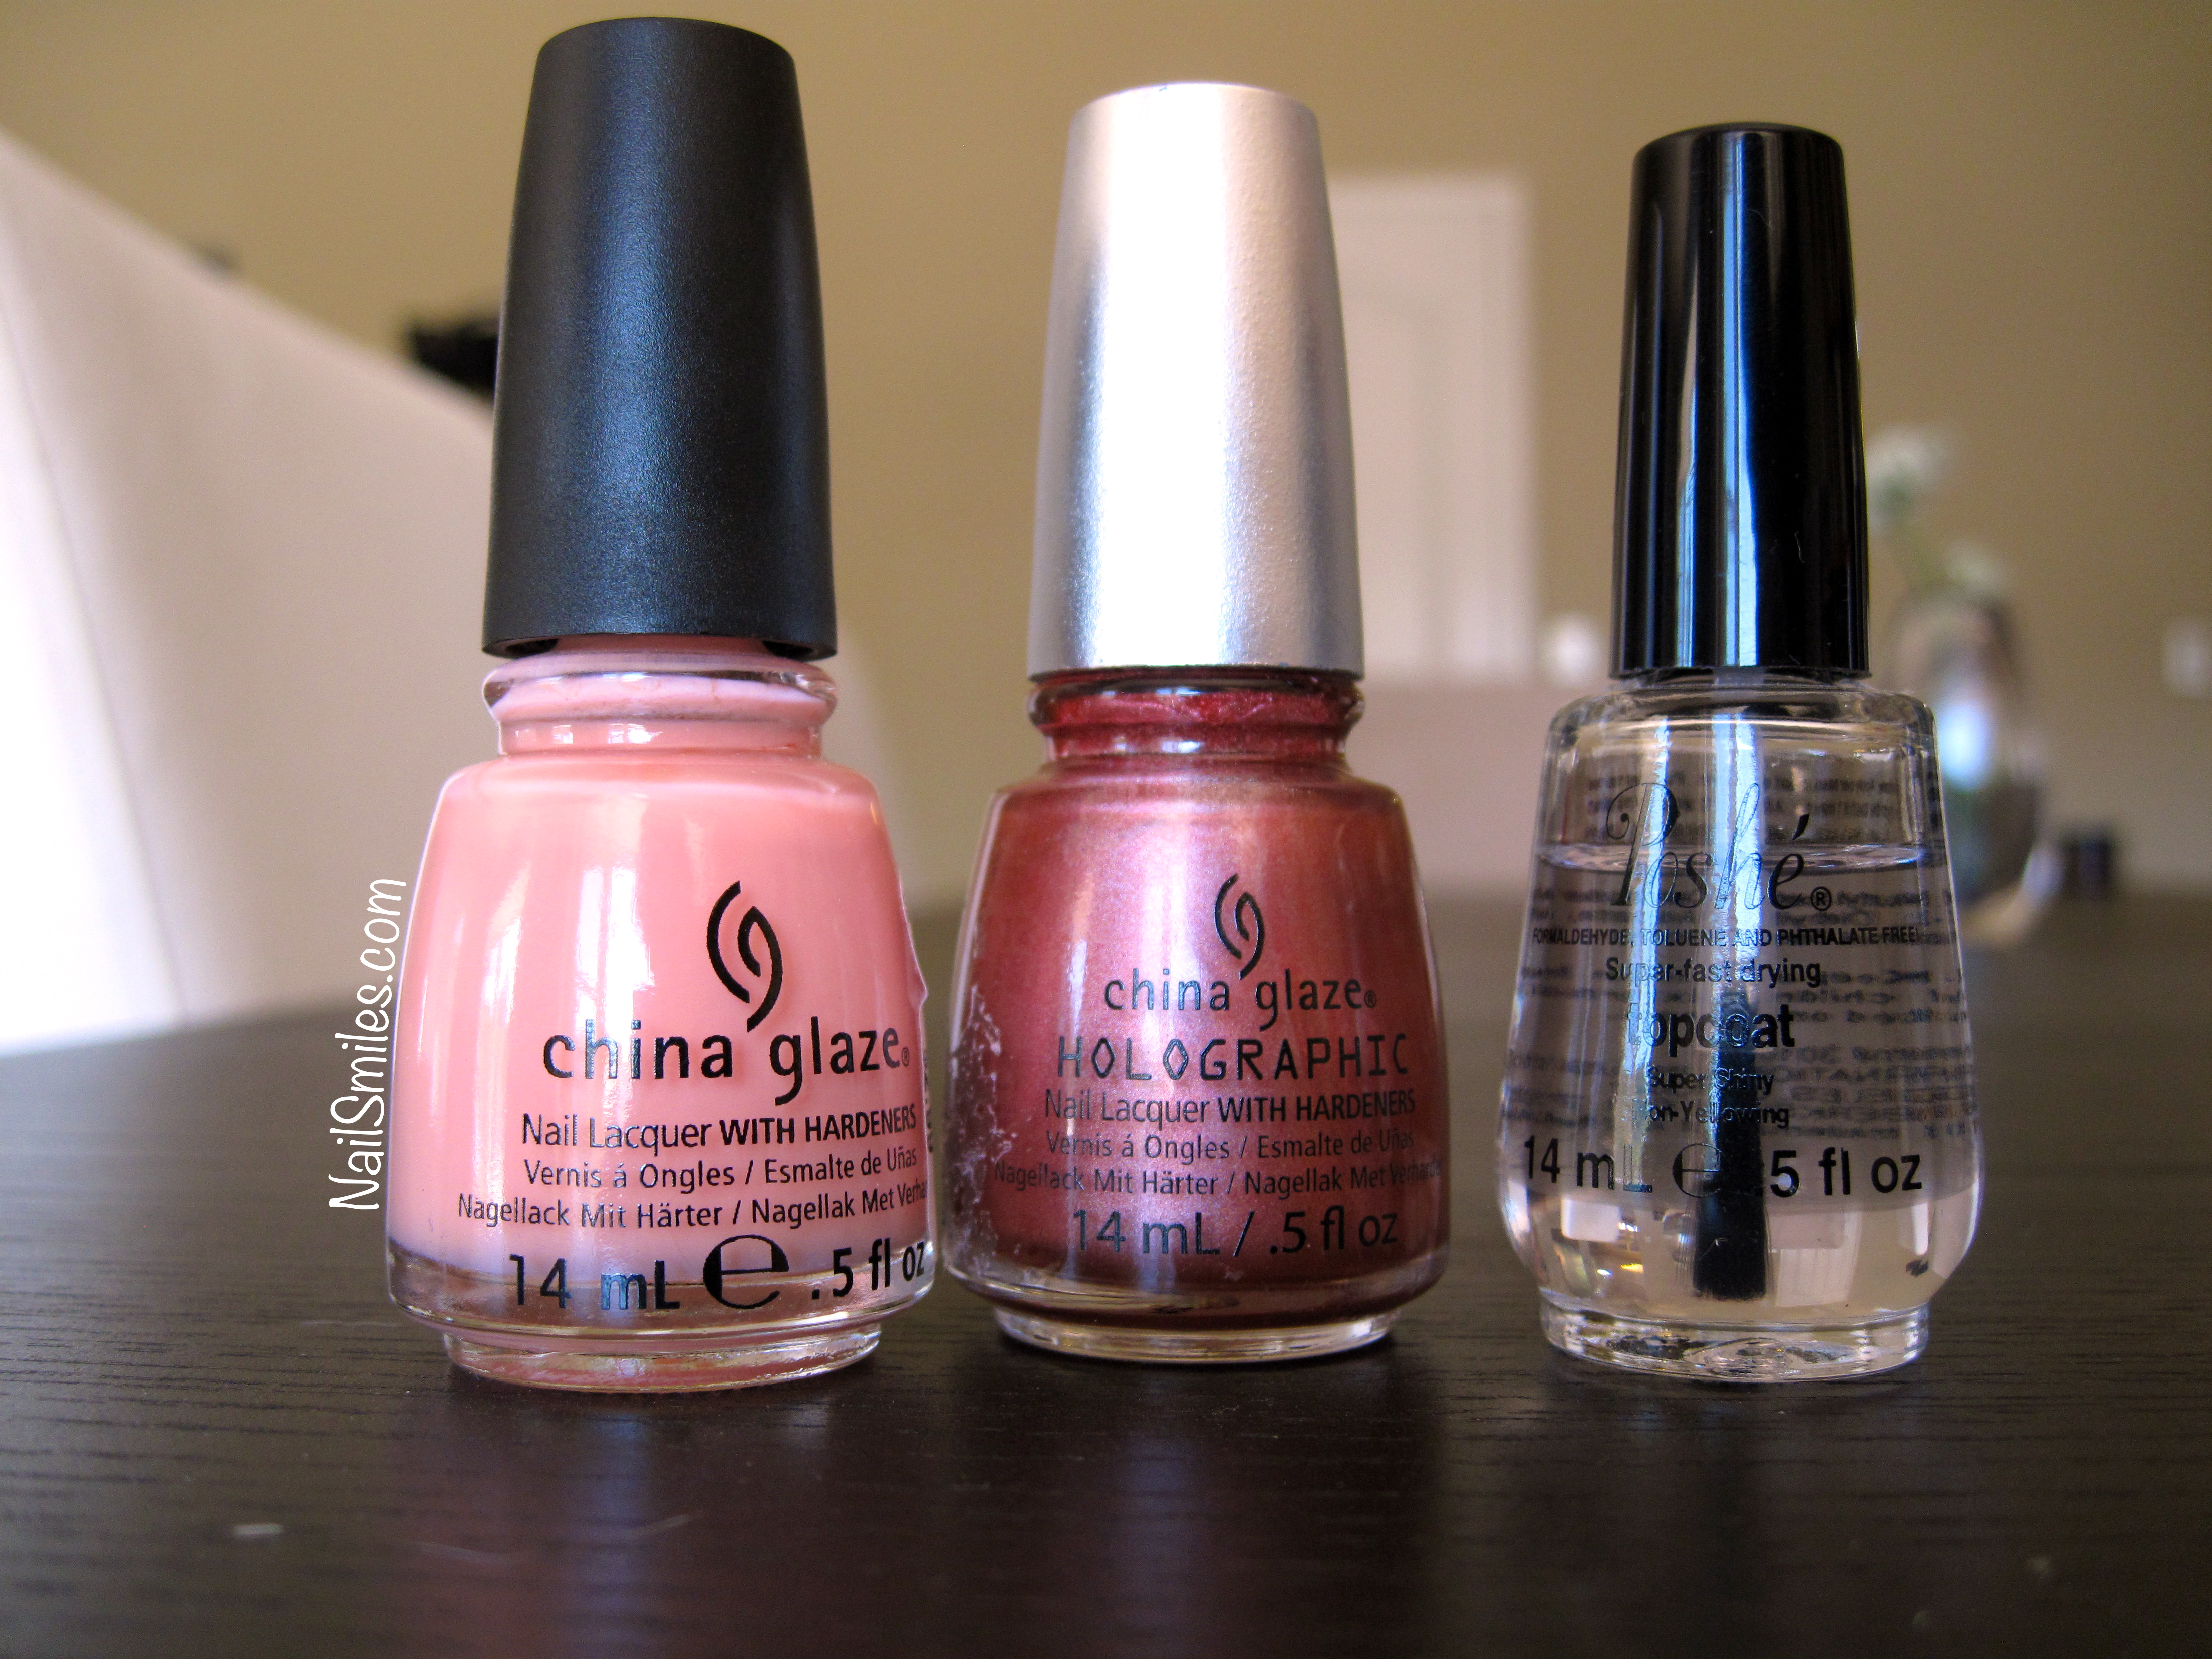
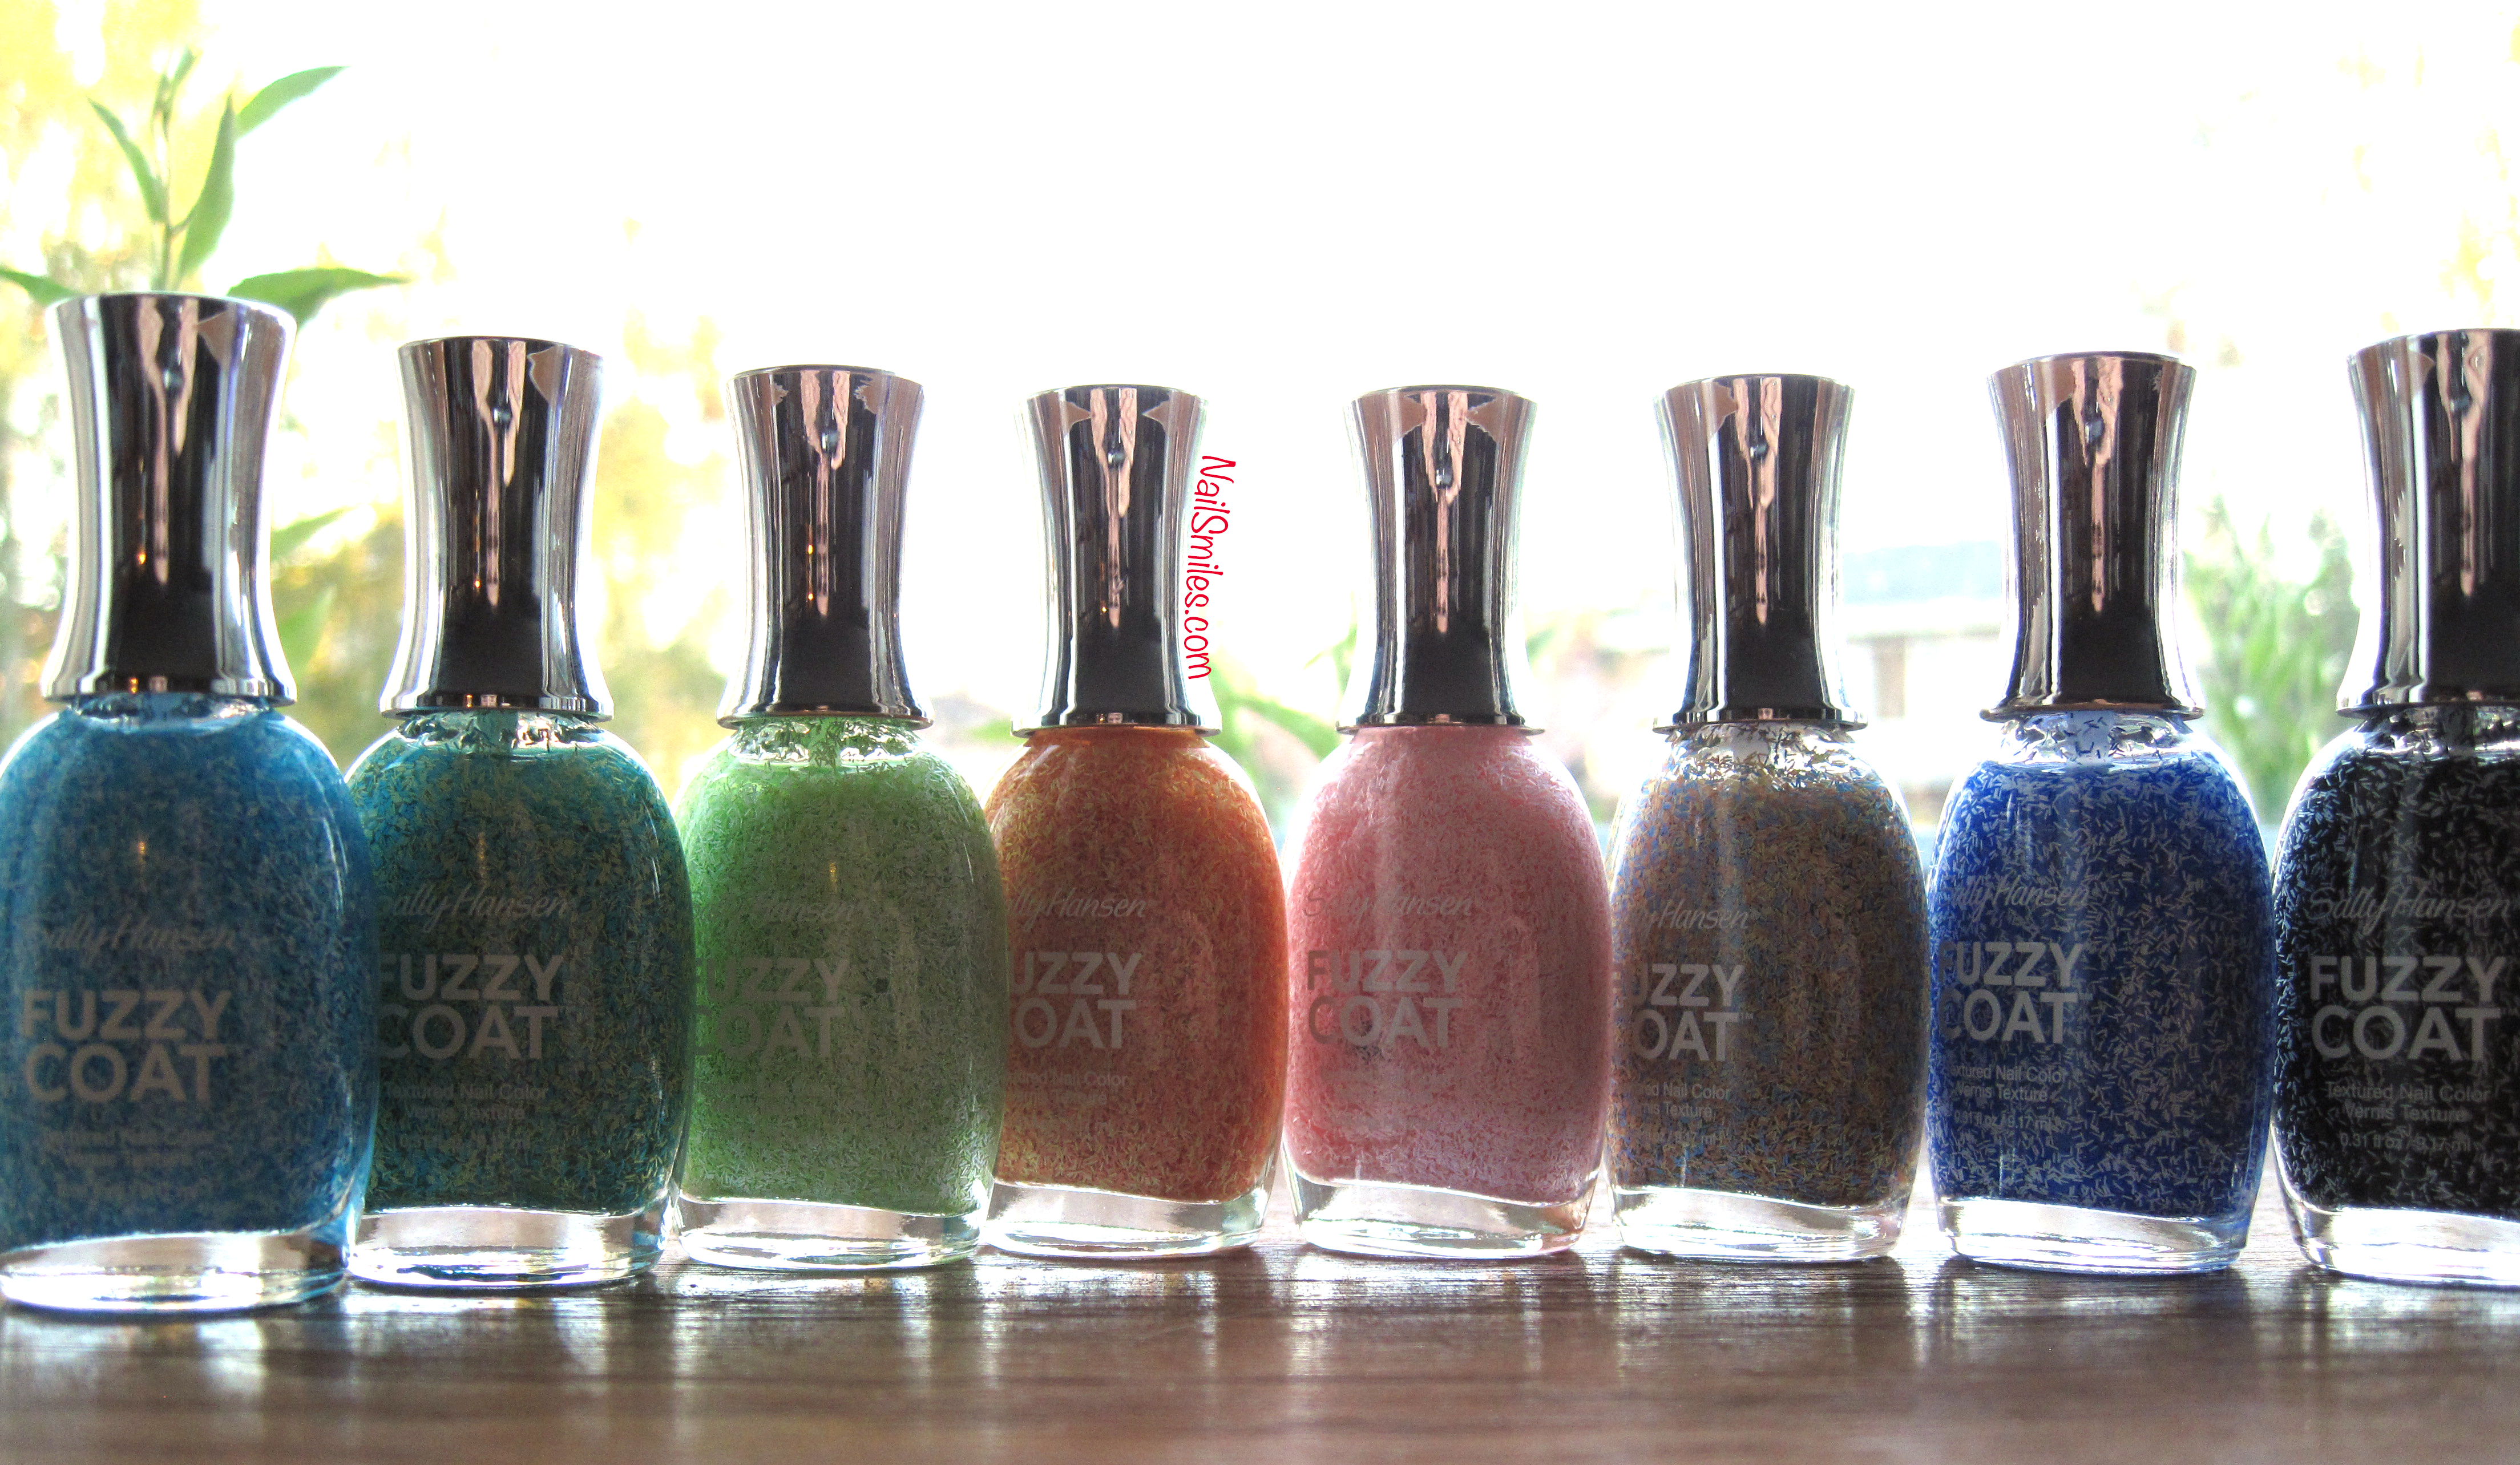
Polishes and Supplies Used:
- Sally Hansen Double Duty Base and Top Coat
- 2 Coats Sally Hansen Xtremewear White On
- Cosmetic Sponge for gradient
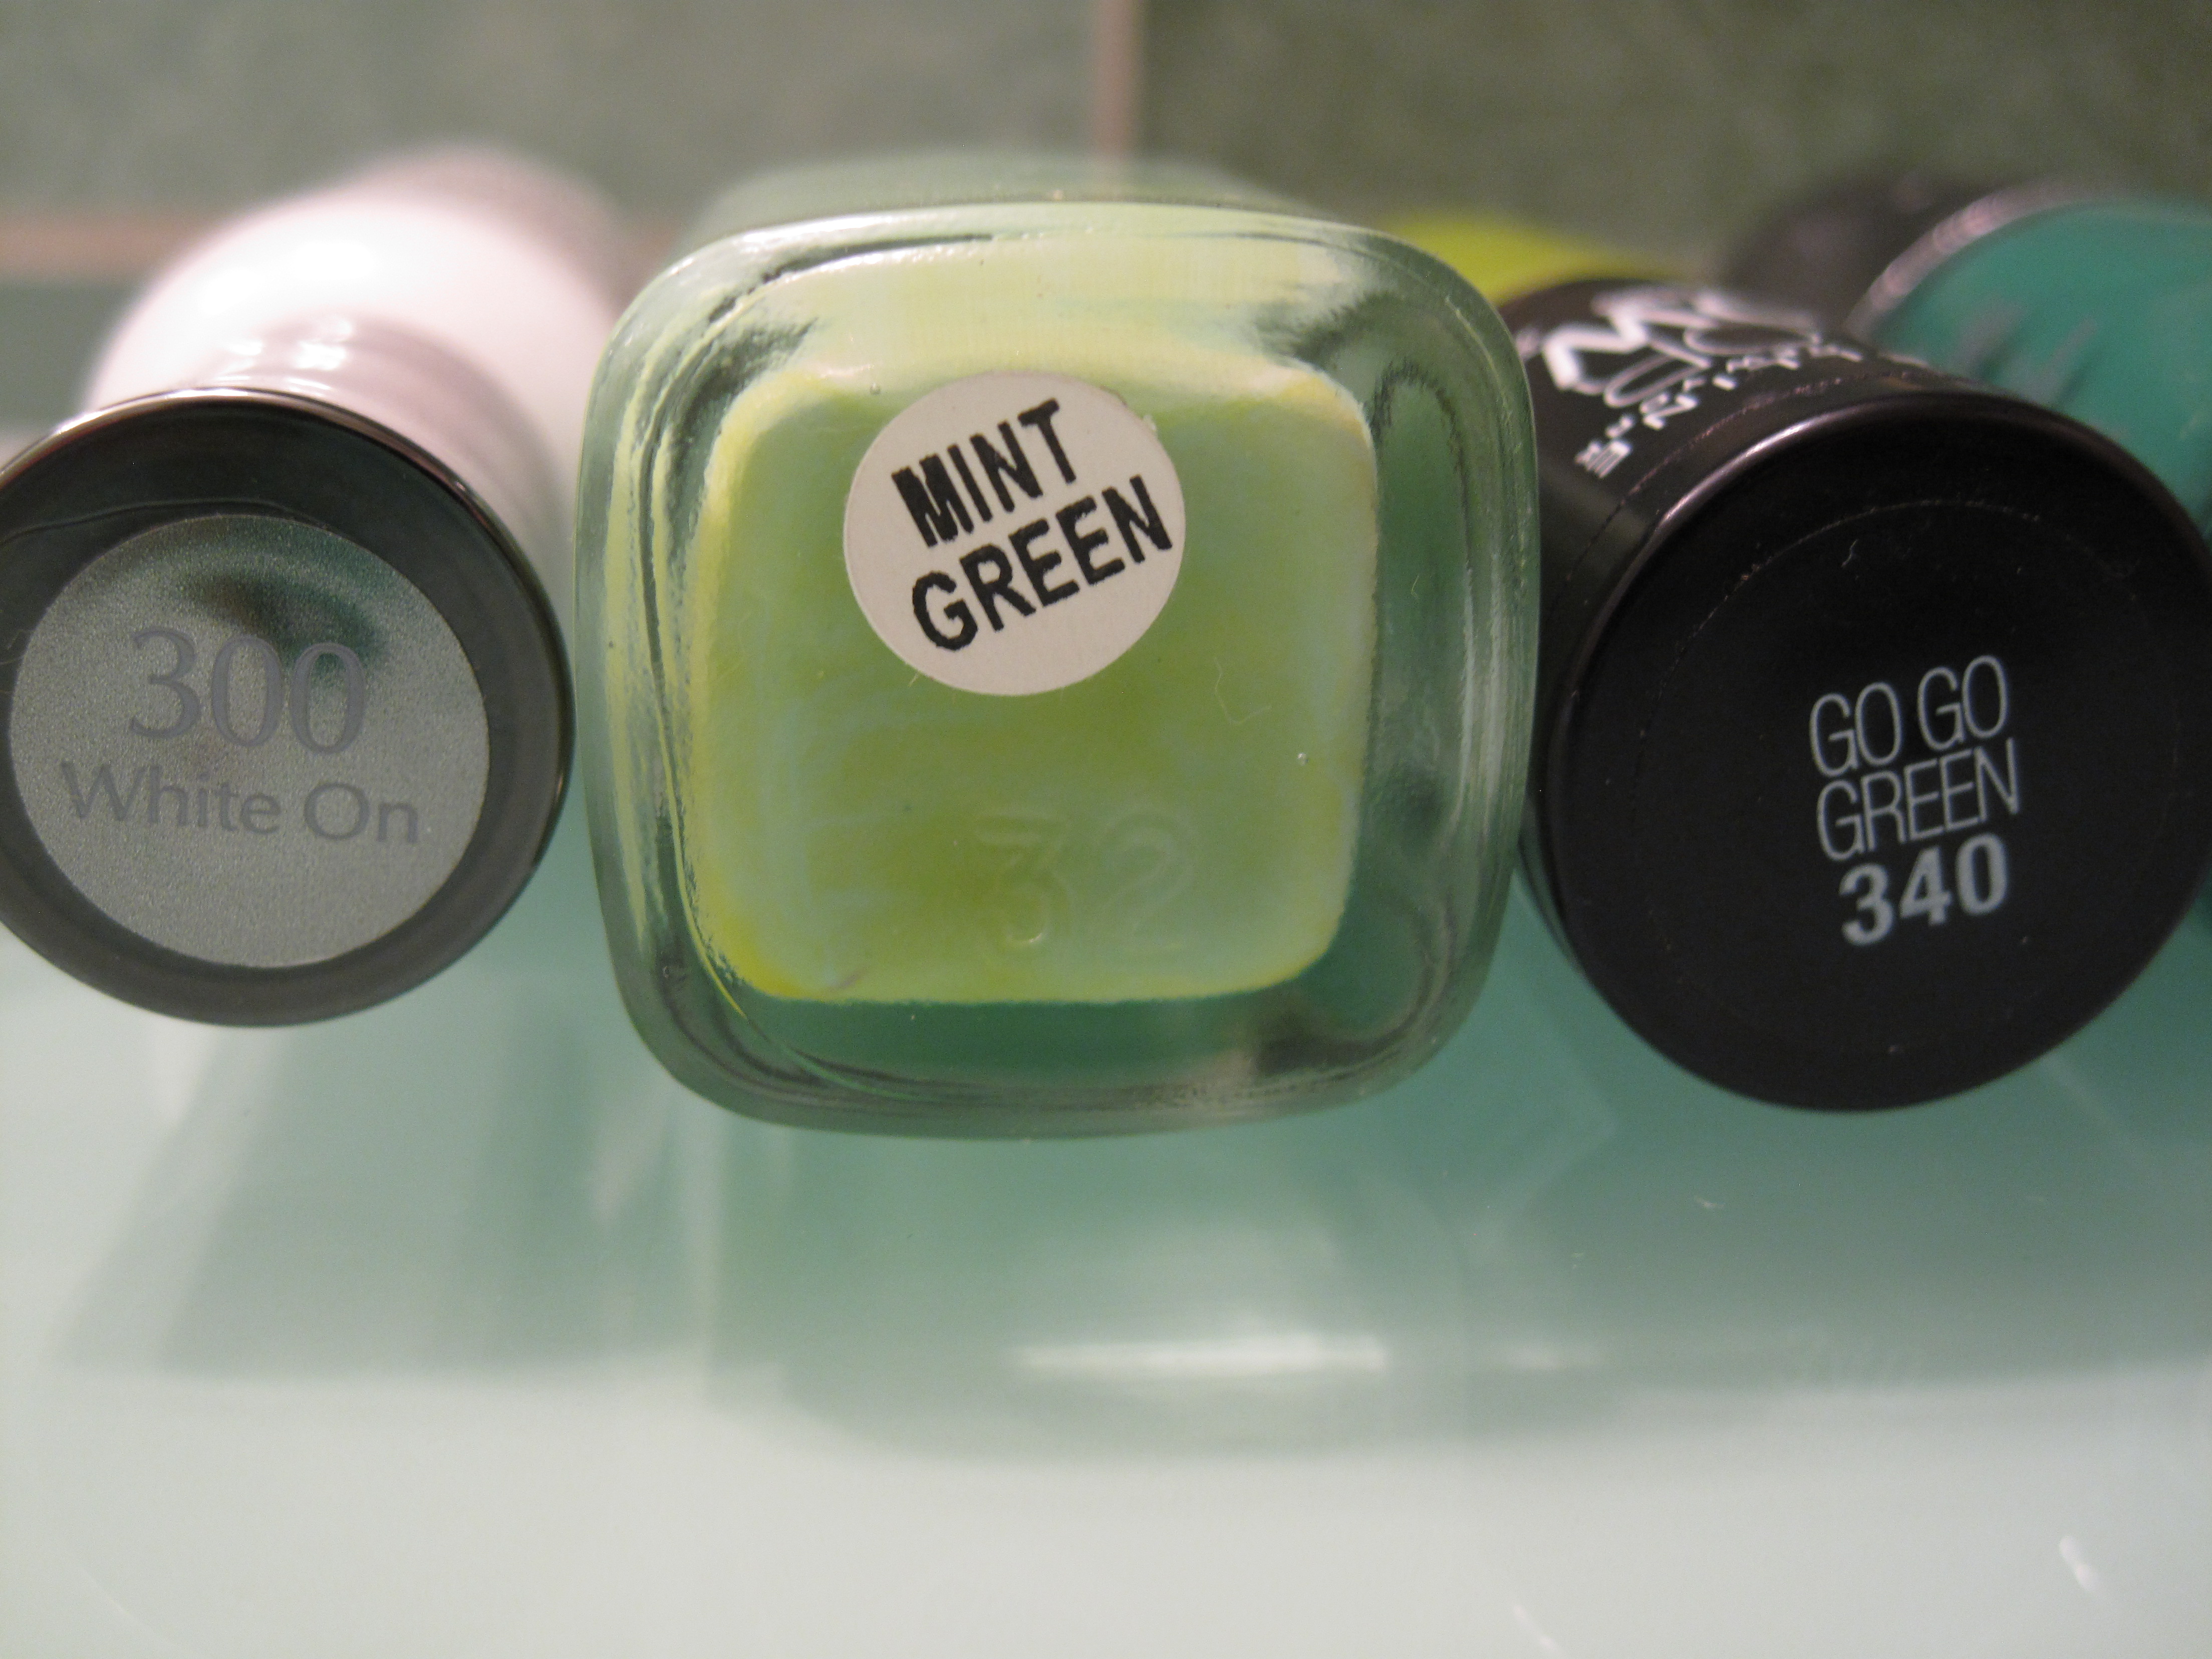
- Nailite Mint Green
- Maybelline GoGo Green
- Ulta The Jungle Look
- Pure Ice I’ll Behave
- 1 Coat INM Out The Door Top Coat
- Revlon Fall Mood
- China Glaze Angel Wings
- Studs from BornPrettyStore
- Poshe Top Coat


 I
I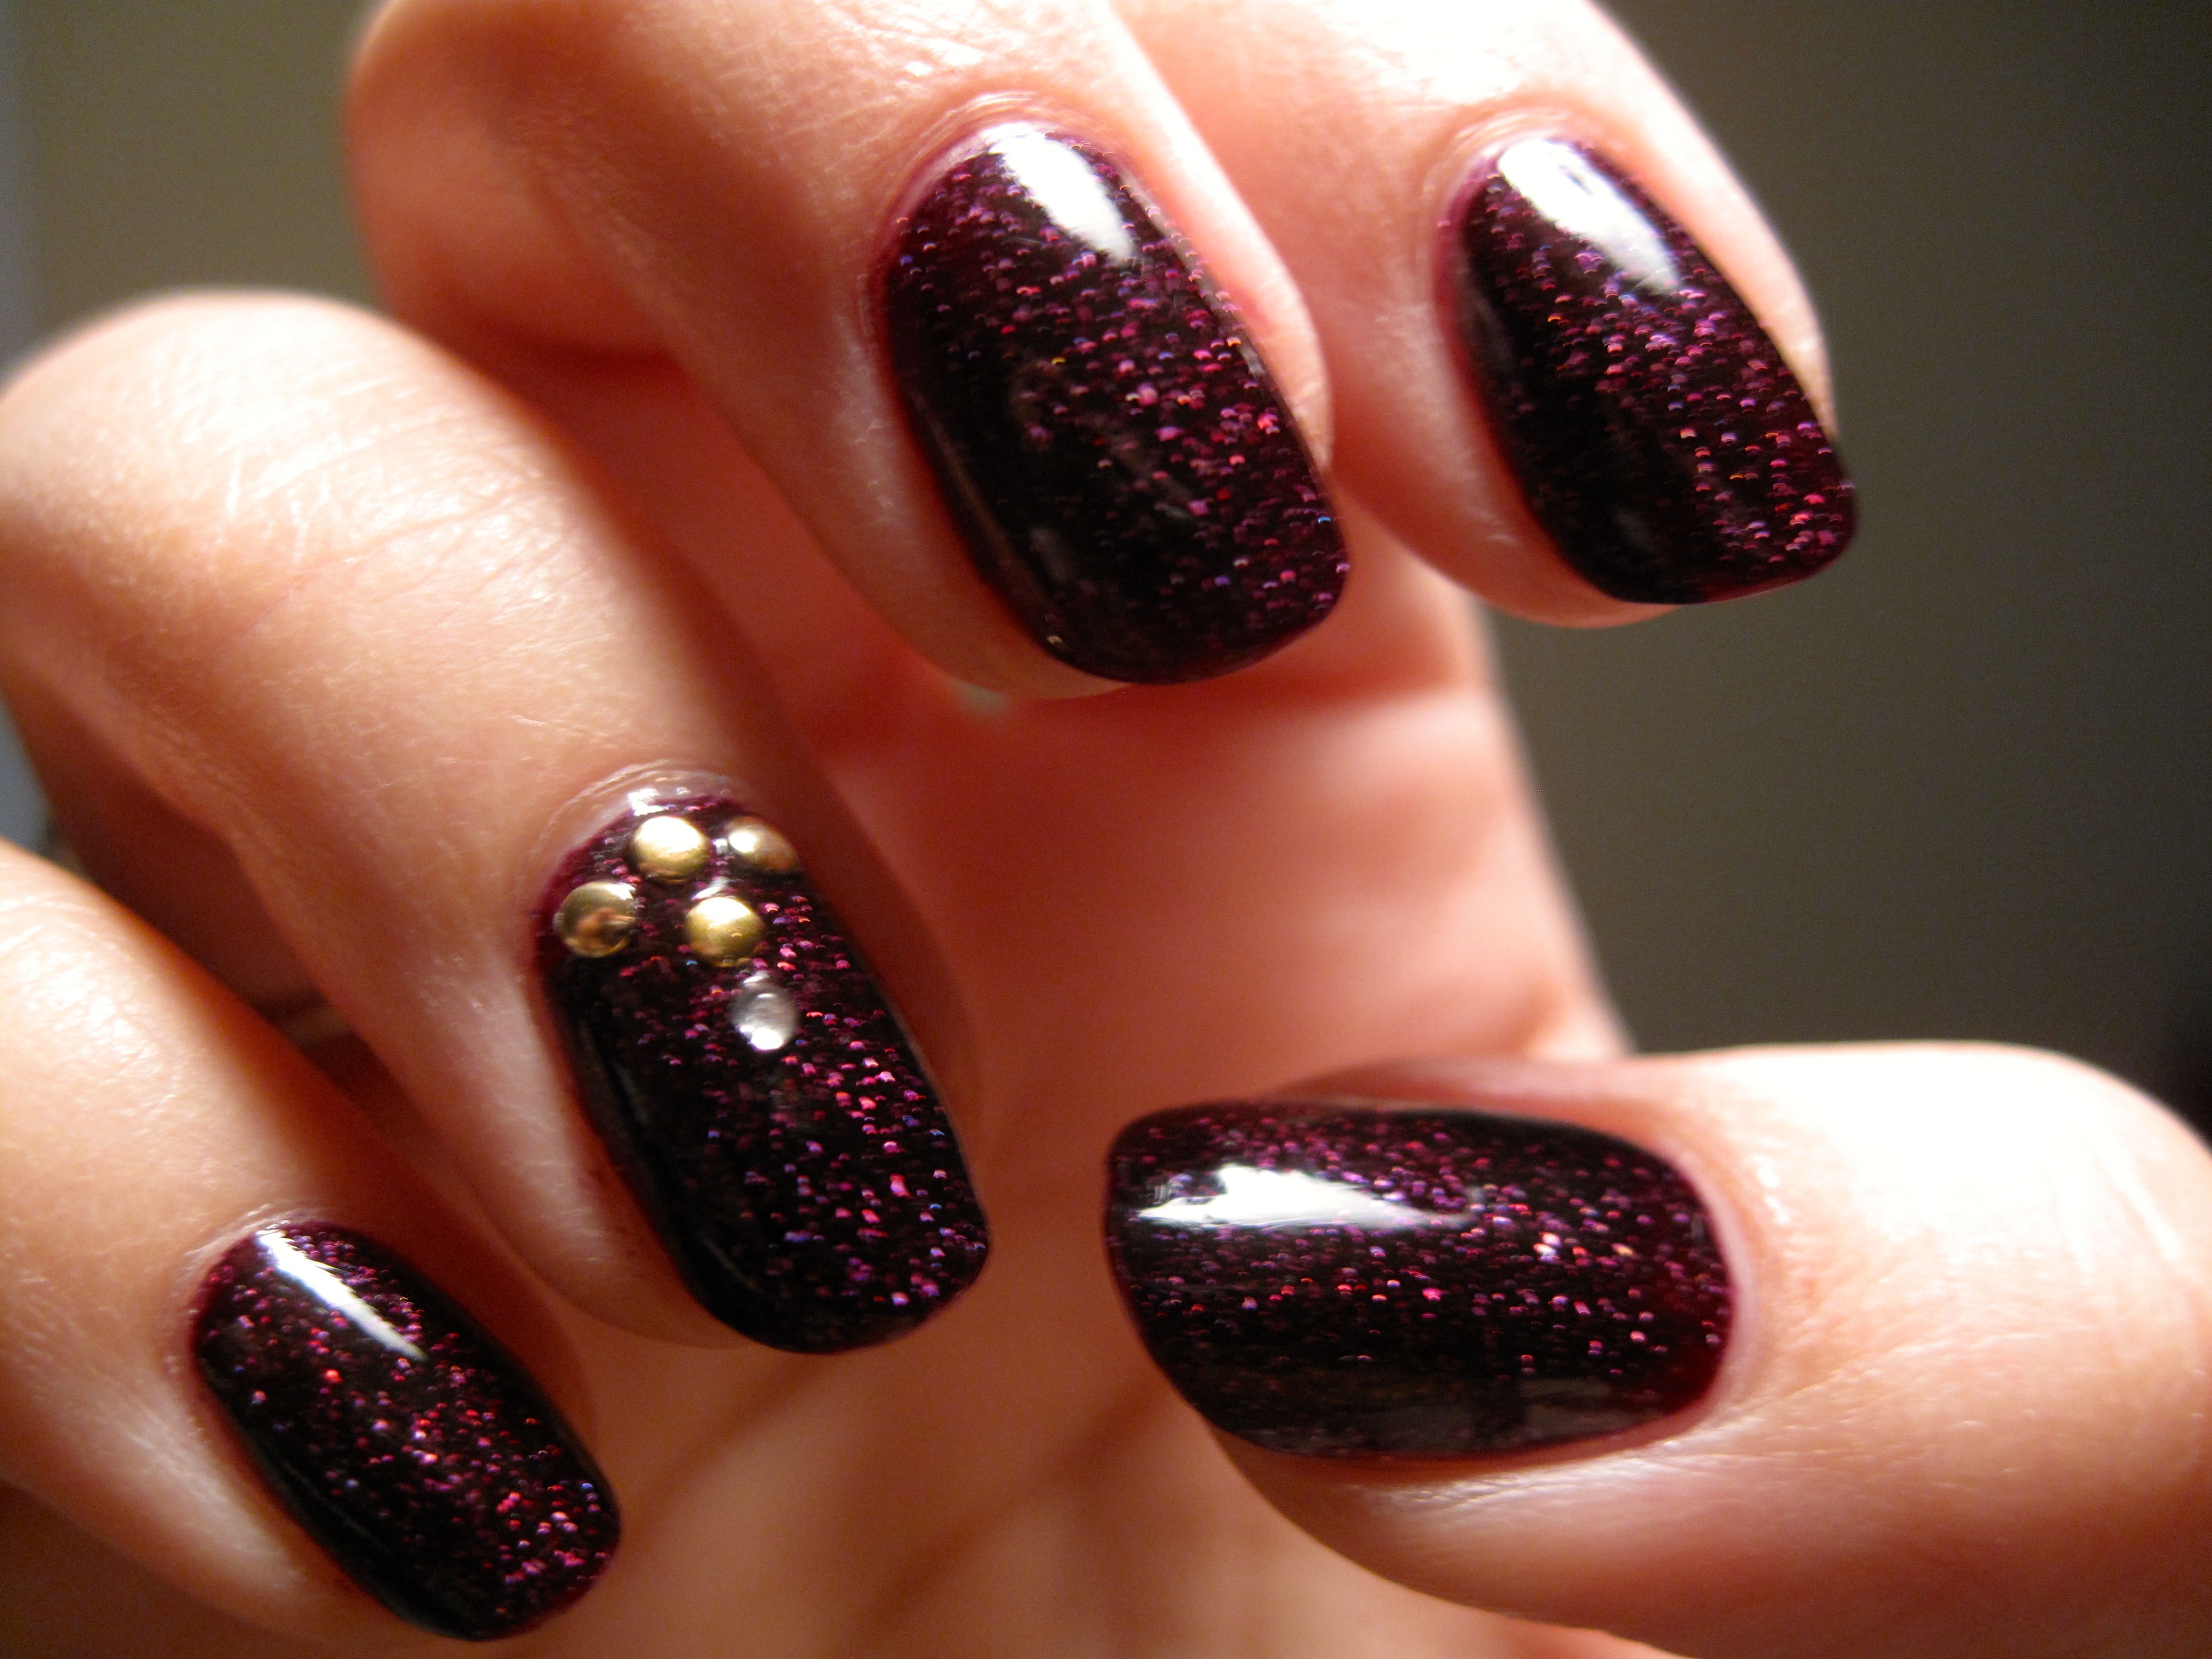


 For this manicure I used