This is three coats of each color. Basically I put gold at the base of each nail, then went back around and put green in the middle of each nail, then painted blue on the tip of each nail. Rinse and repeat two more times. These do not have a top coat currently, although I may add one on to see how it looks and to make the polish hold up.
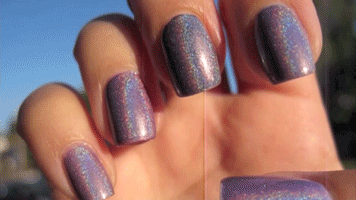
I have rainbows on my fingers; it’s a good day. This lovely shimmery manicure is made possible by BornPrettyStore.com’s Holographic Polish Effect #9, and it’s a big wowwy wah woo for me. (Reminder use code EAG10 for 10% discount on their site).
I did a different base color on each of my nails and then painted one and two coats of the holographic polish on top. I can’t decide how I like it more, because both styles are equally pretty. My thumb has a white base, pointer has gray, middle finger has black, ring finger has fuchsia and my pinky has no base, just the holo polish.
At one coat the base colors show through quite nicely; the black really makes the rainbow shimmer from the polish pop and the white really highlights the purple hue, but really every color I tried worked with this holographic polish. At two coats it is pretty opaque and only a bit of the base is even apparent. I didn’t try three coats, but I’m sure at three coats the bases would not show at all.
It’s a small bottle, but I’m sure it would still last and the brush was very flexible and soft, plus a good workable size. The polish itself is not thick, went on really smooth, and dried quickly. It also wasn’t very smelly, which is always a plus! I completely recommend this polish because I can’t stop staring at my nails!!
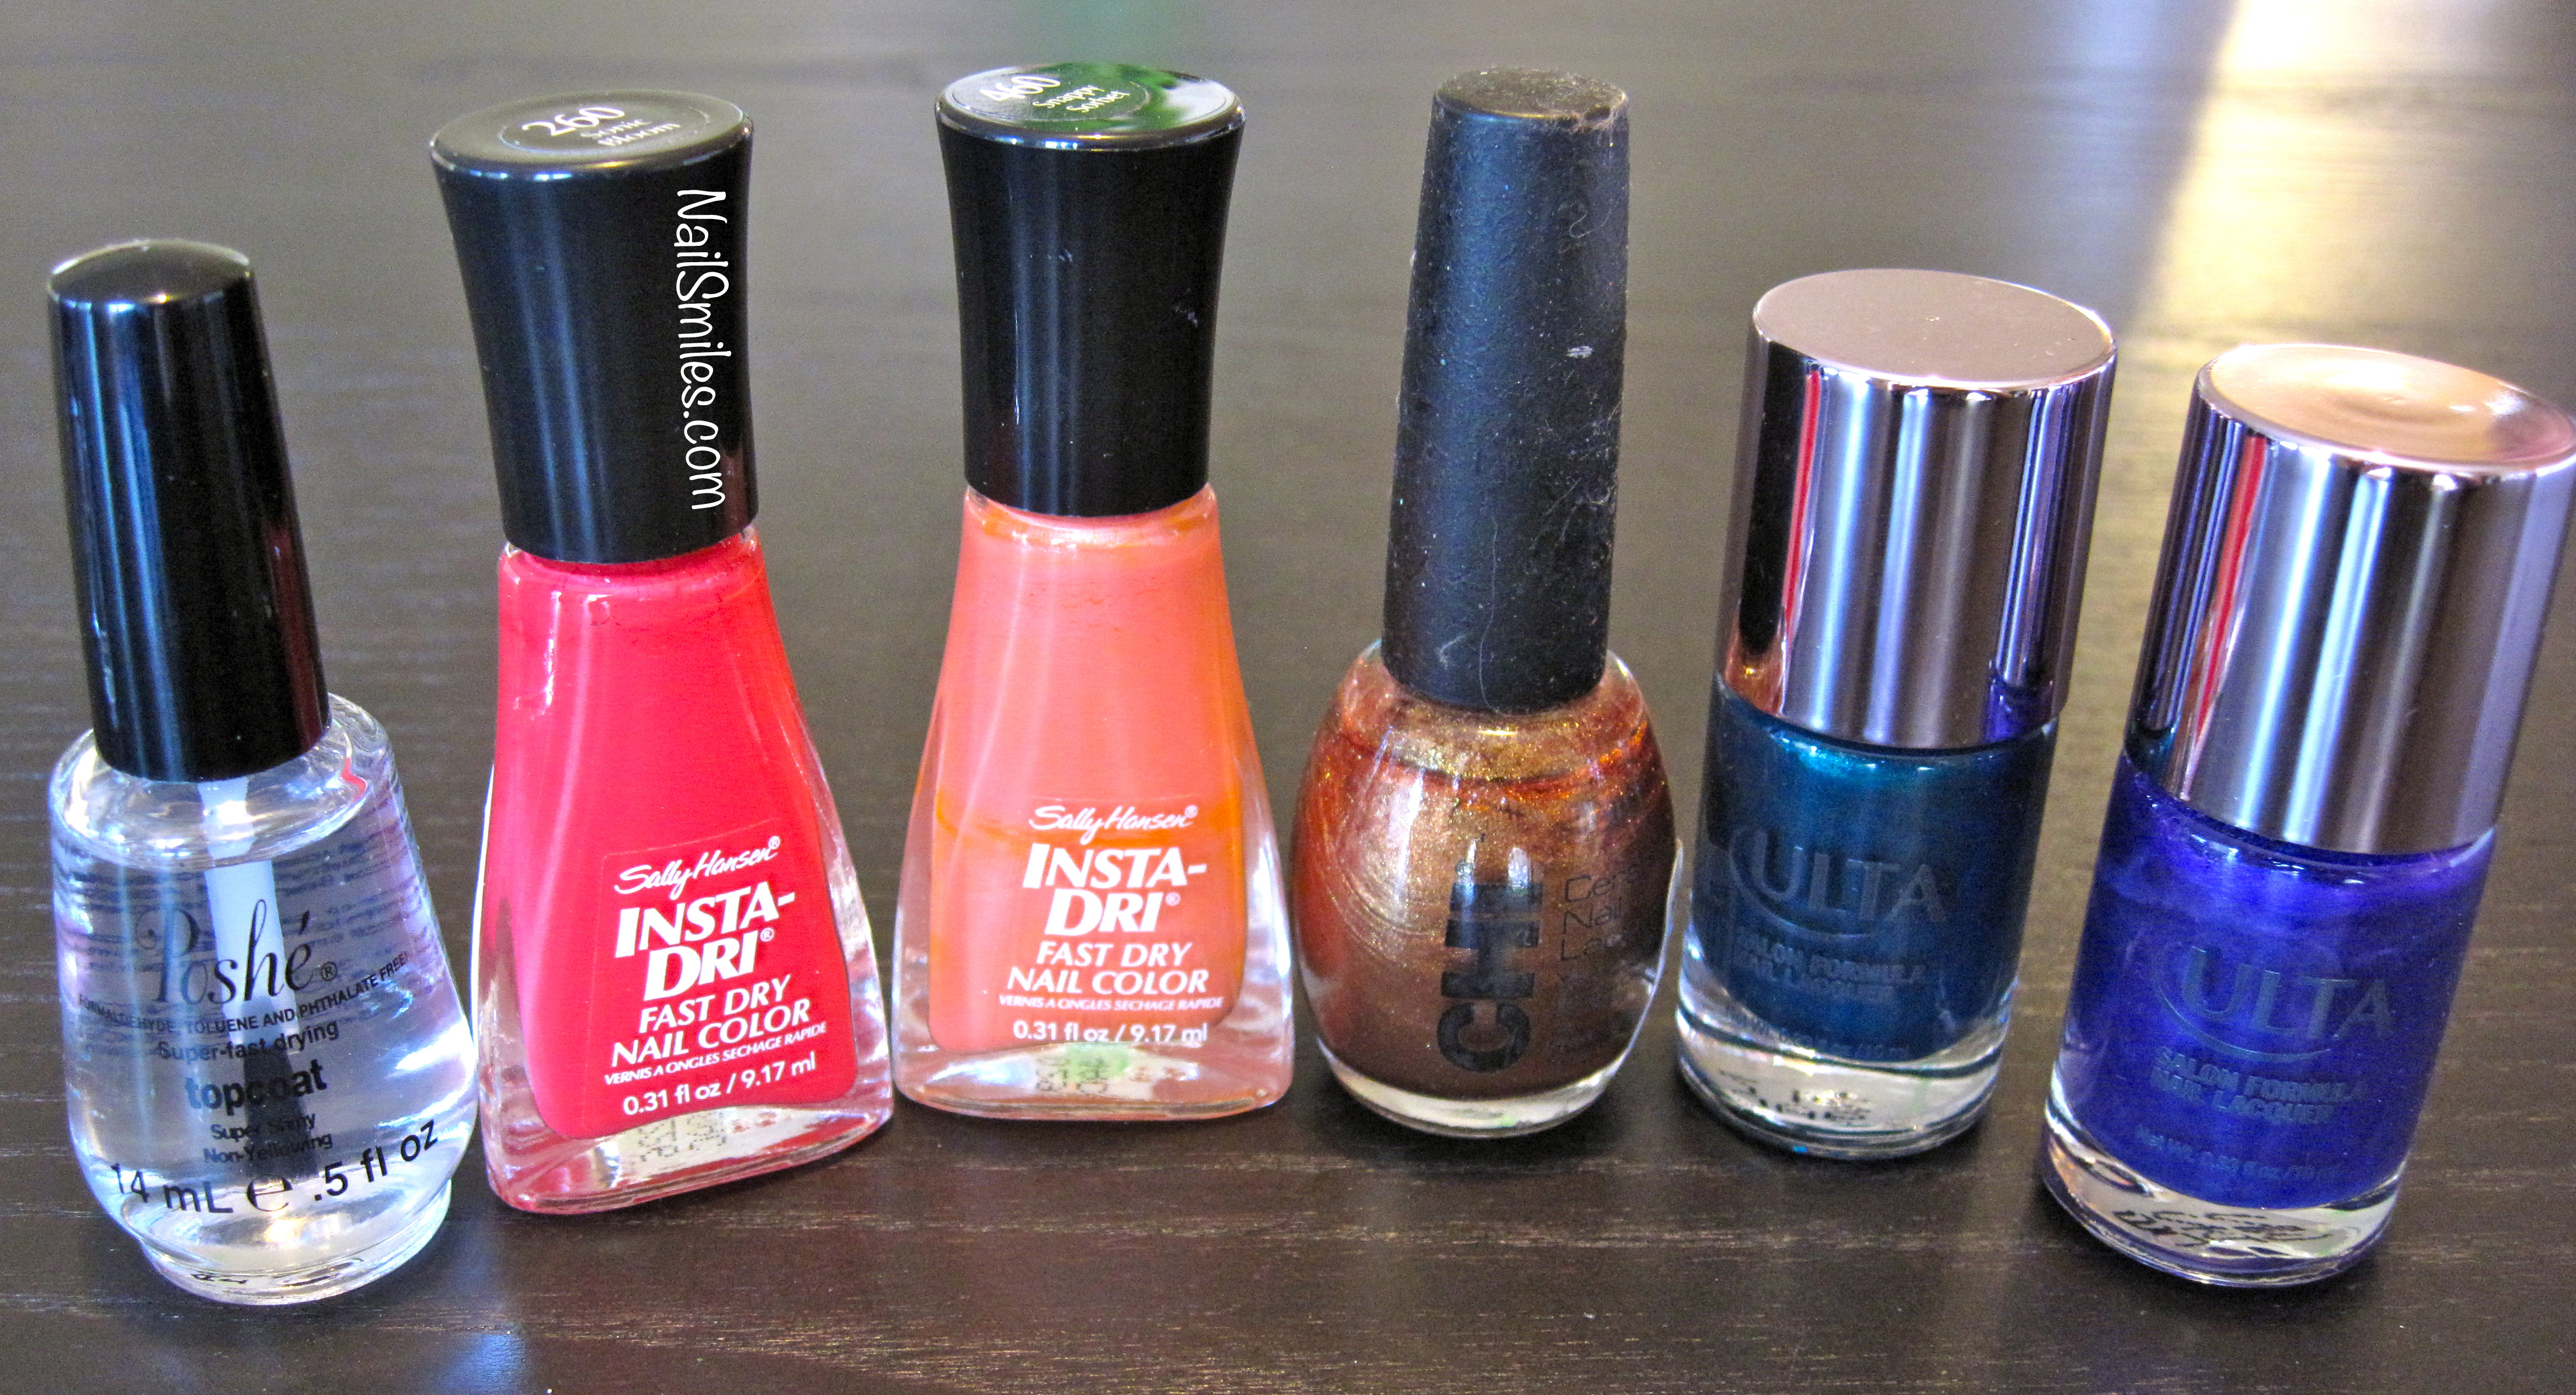
Polishes Used:
Seche Vite Base Coat
Sally Hansen White On Thumb + Holo
Sally Hansen Wet Cement Pointer + Holo
Sally Hansen Black Out Middle + Holo
Ulta Plum Perfect Ring Finger + Holo
Only Holographic Effect #9 on Pinky
Poshe Top Coat
Disclaimer: I received the holographic polish as a free promotion, however all opinions expressed are my own!
From the time I was a little girl going into Hello Kitty stores to my adult life watching anime and visiting Japan I have always loved the kawaii (meaning cute in Japanese) culture and characters.
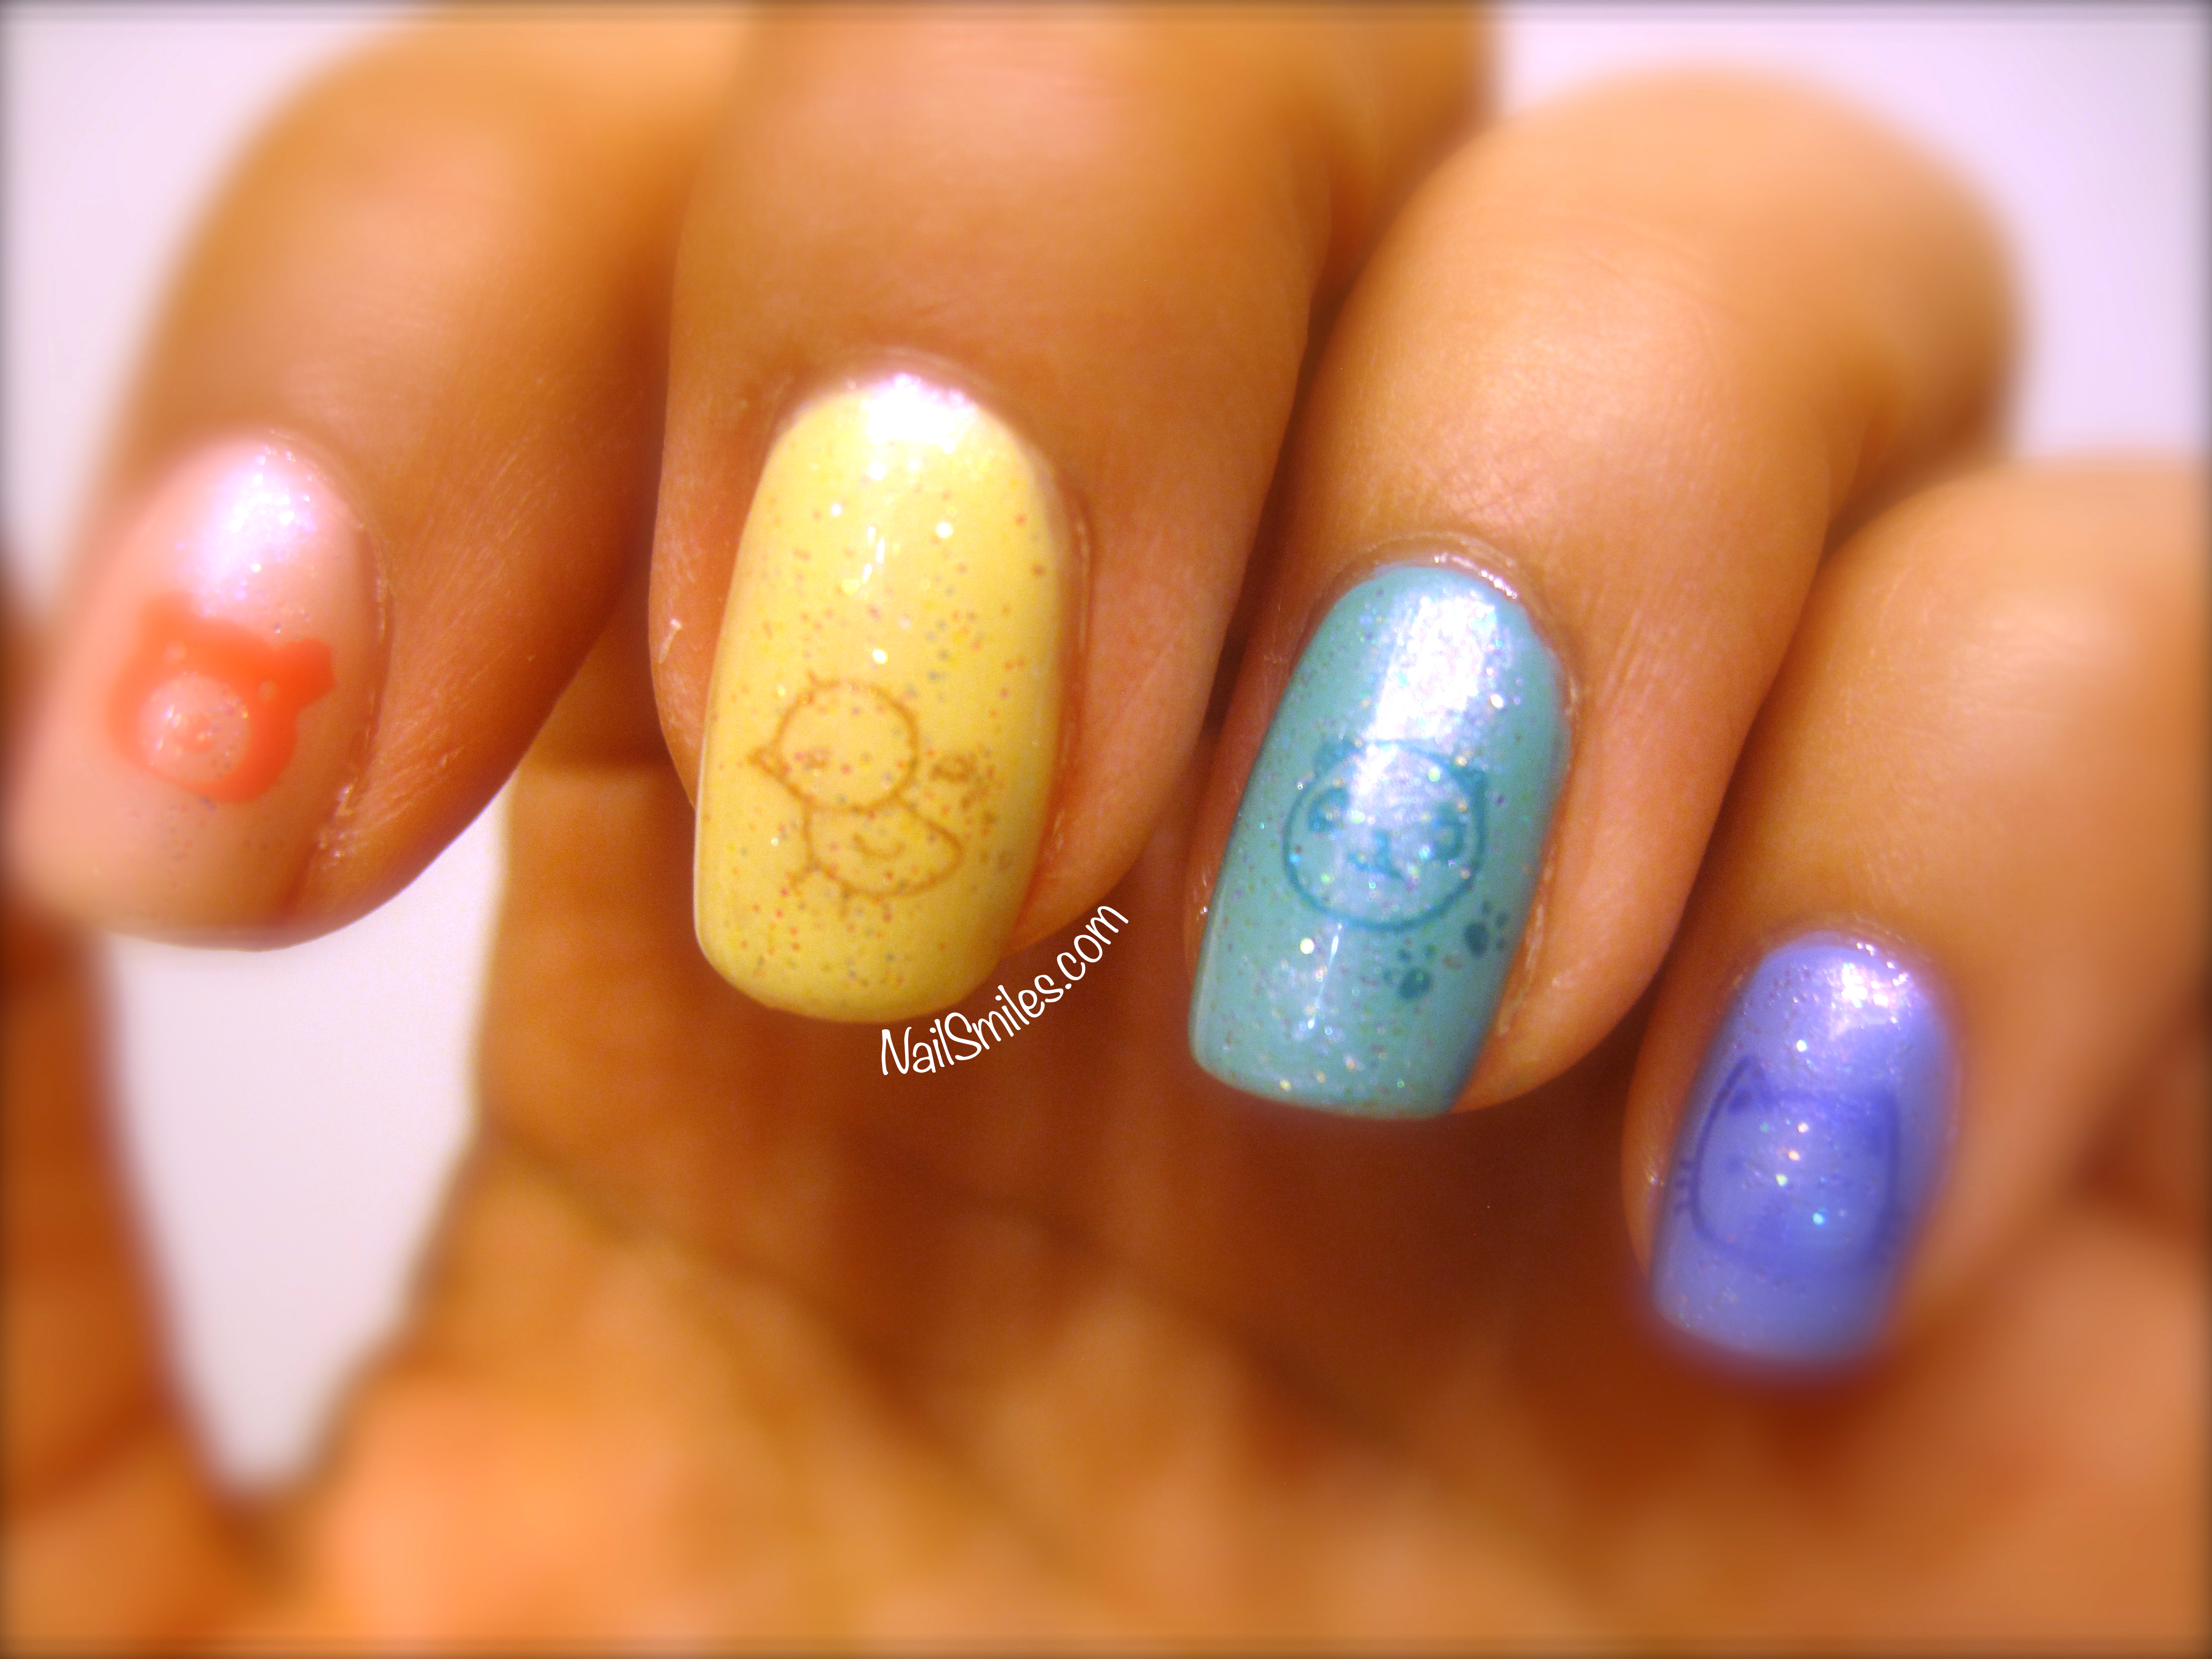
I recently got the S10 “Cute Rabbit Cat Animal Design Nail Art Stamp Template” from BornPrettyStore.com and using this adorable stamping plate was high on my priority list after a week long trip to visit my dad in Canada… it’s true, I was suffering some nail art withdrawals from being away :D.
The stamping plate has 7 different little characters on it – bunny, kitty, teddy bear, chick, panda, giraffe and the seventh is what I like to call the “mystery animal”; I think it’s a sheep? My confusion lies in the fact that what would appear to be horns and ears look more like two sets of ears – I think it’s a cute character either way, but would love to hear your guesses!
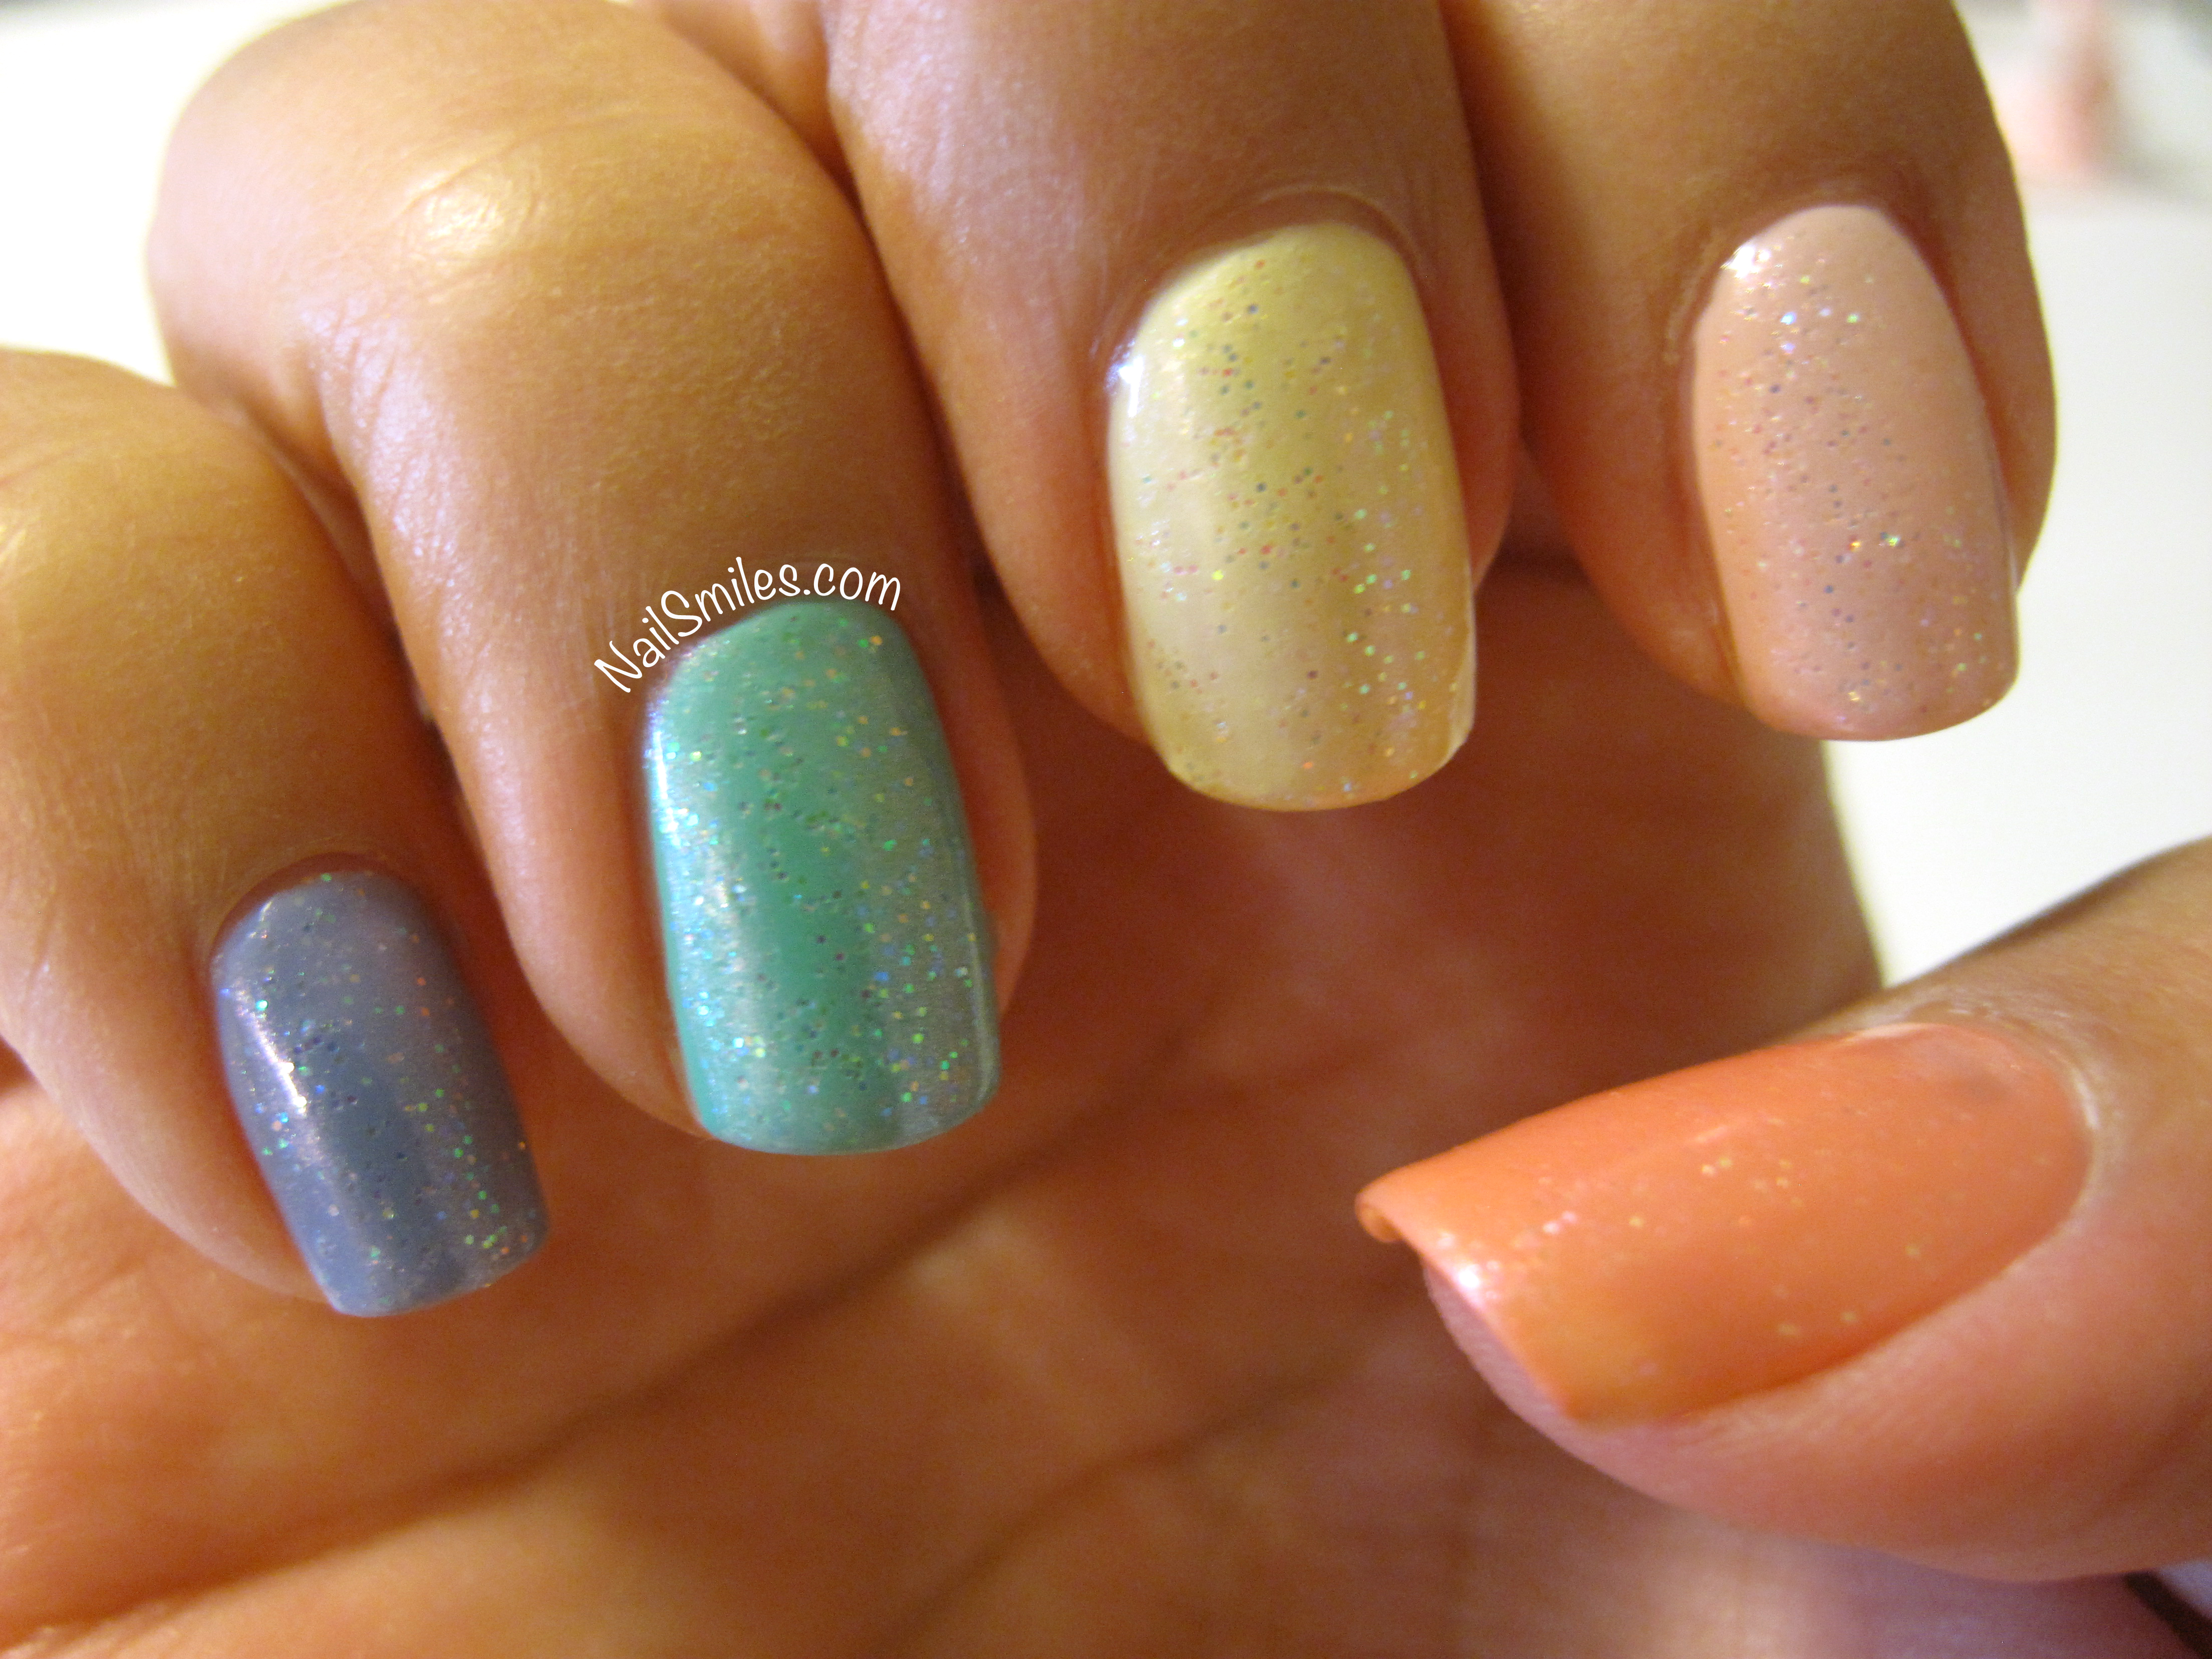
I started out with a different color on each nail, all topped with the beautiful, glittery, pearlescent Ulta Diva (I love putting this over a bunch of different colored nails because it ties them all together and makes them look a little more pastel).
Each nail is also stamped with a different color, none of them are made specifically for stamping. I used a combination of thick quick-dry polishes and thinner shimmers to see how both turned out.
The thin outline images on the plate (the chick, bunny, kitty, panda and mystery animal sheep thing) seemed to work better with the thin nail polishes. When I tried to use the insta-dri polishes on the thin outline images they didn’t transfer well; I think this is because the lines are so fine that the thick polish dried almost instantly. The Insta-Dri polish worked great on the bear (which doesn’t have thin lines) and pretty well on the giraffe where there are big spaces for polish to fill.
Overall I’m really pleased with the plate and for 99 cents and free shipping I don’t think it can be beat!
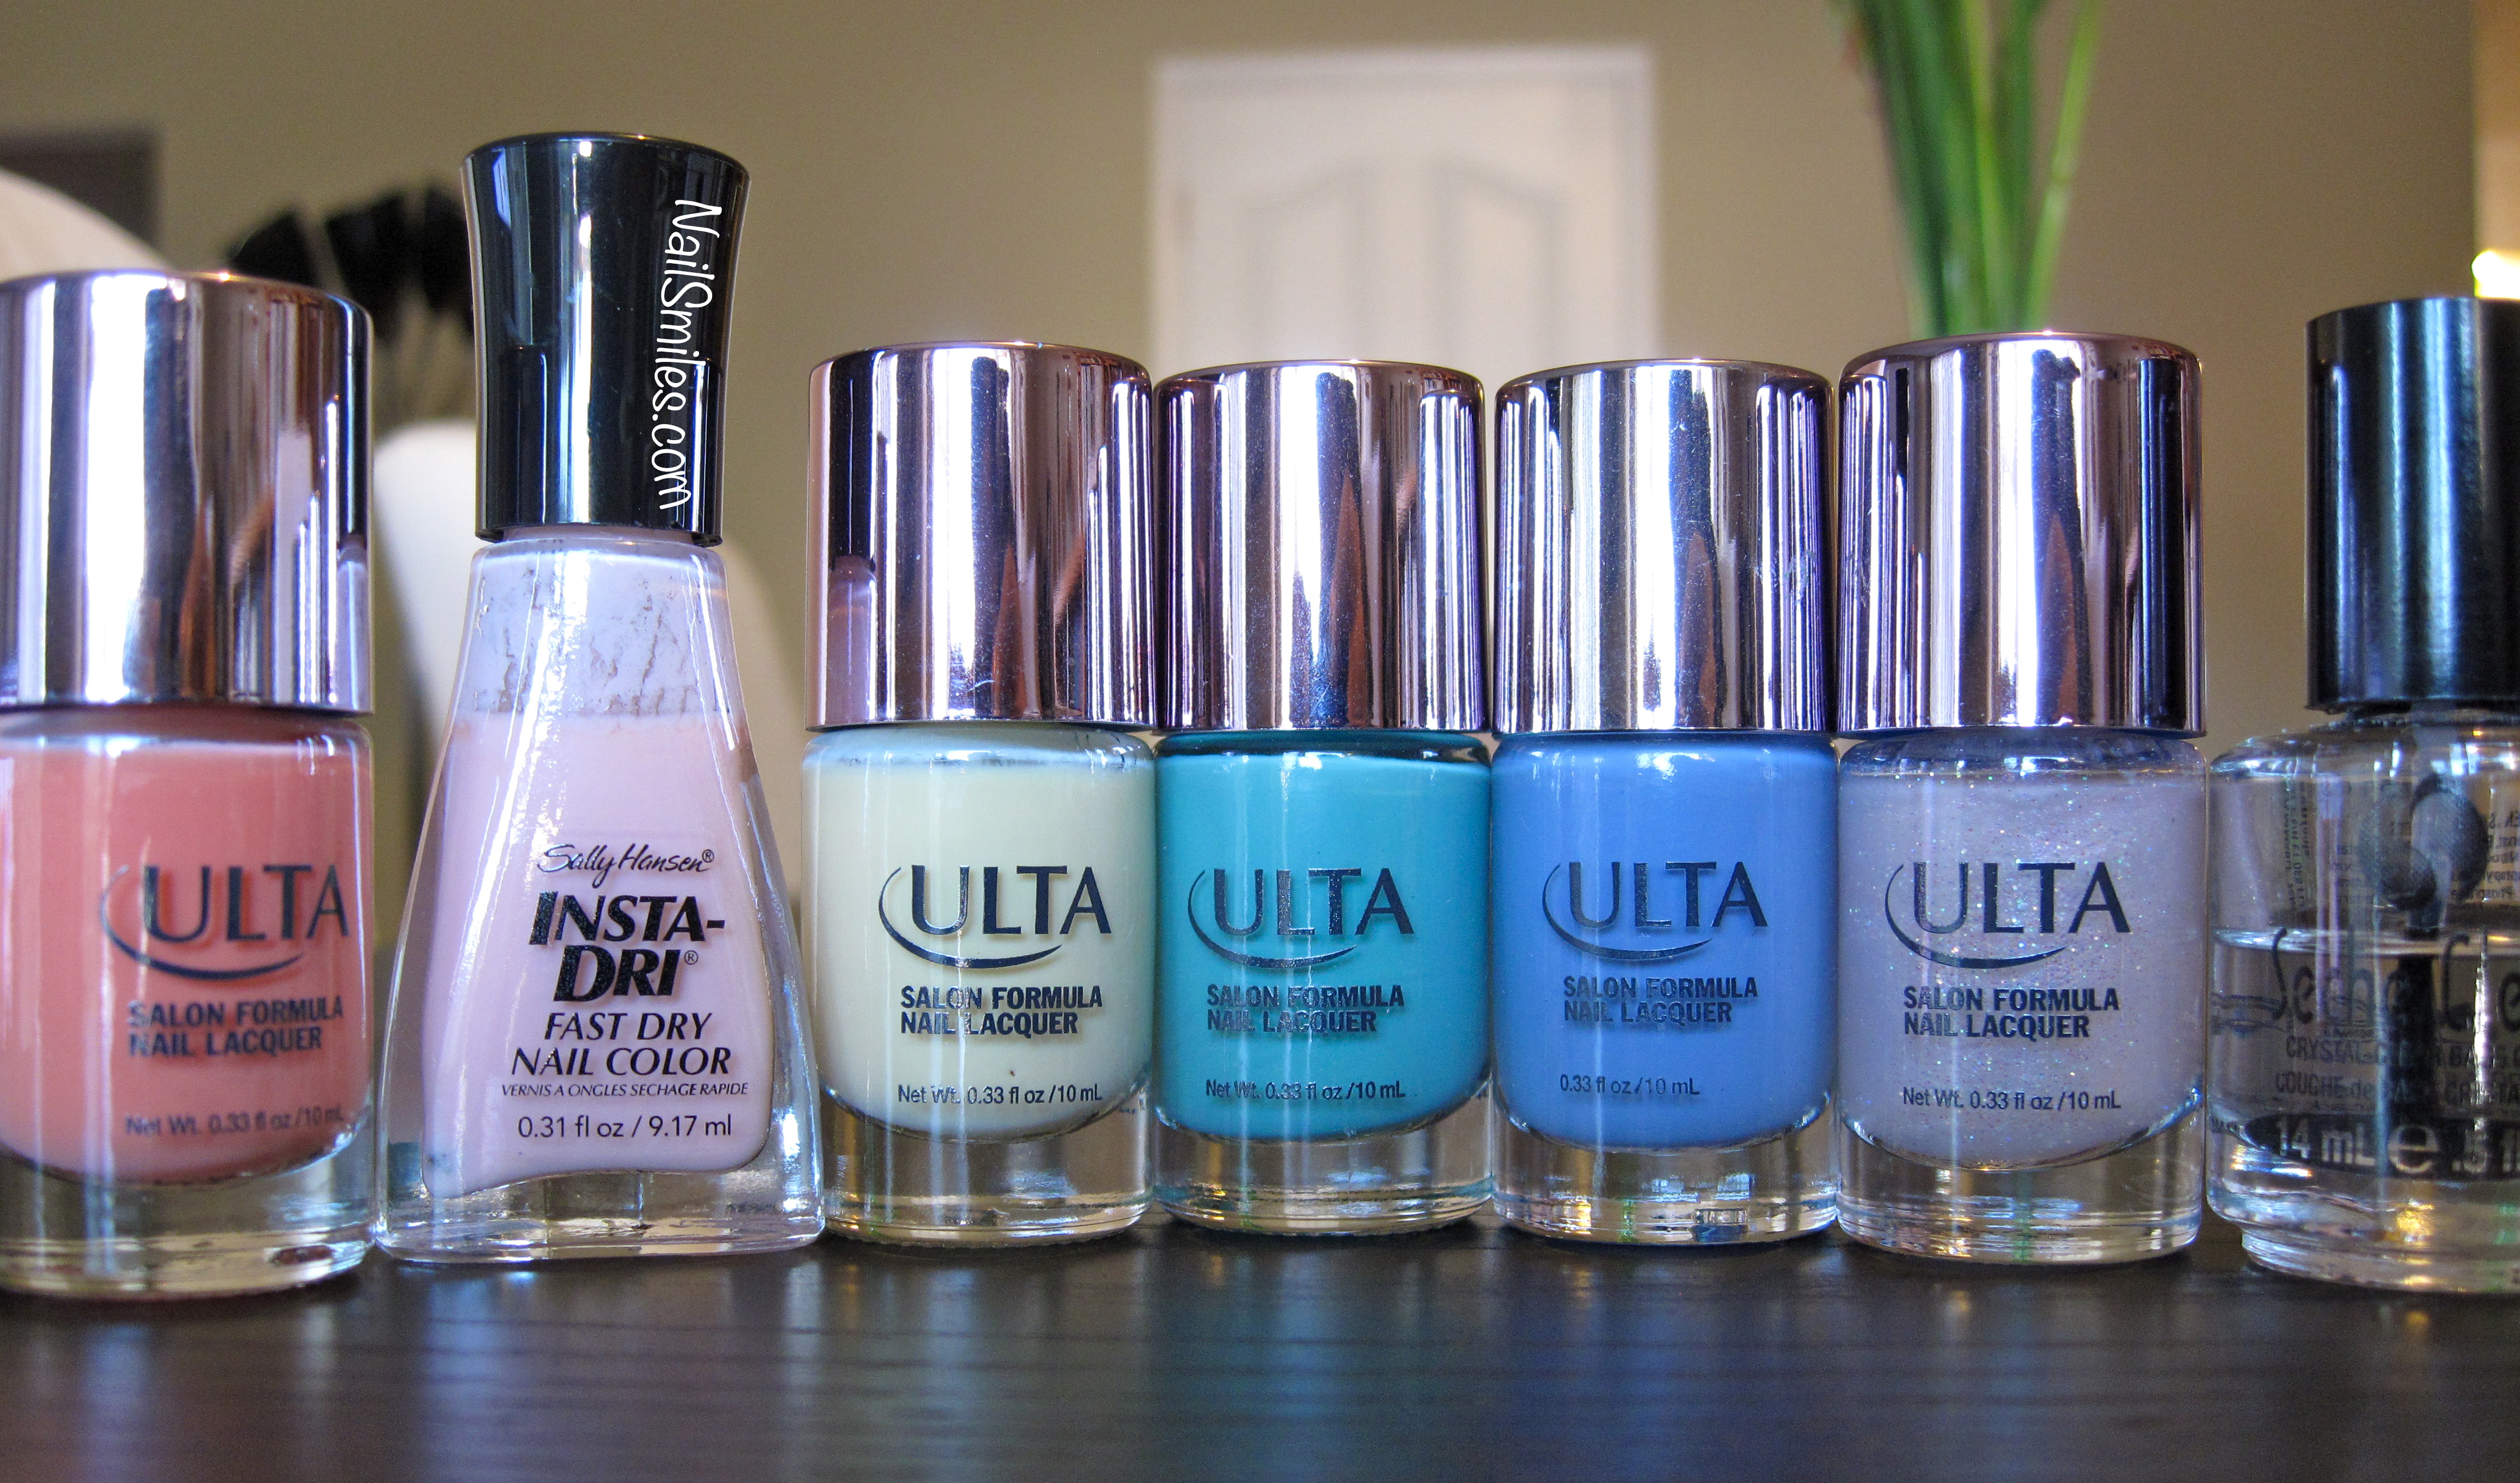
A total of 11 colors plus Seche Vite Base Cout and Poshe Top Coat
Ulta Peach Parfait
SH Insta-Dri Petal Pusher
Ulta Cream of the Crop (on clearance in some stores)
Ulta Mint Condition
Ulta Bam-Blue-Zled
Ulta Diva
SH Insta-Dri Sonic Bloom
SH Insta-Dri Snappy Sorbet
Chi Razzle Dazzle
Ulta Dance Teal Dawn
Ulta Ultra Violet Femme
On a side note I’m really happy that I picked up the Poshe Top Coat, it’s very similar to Seche Vite, but without the toulene. It didn’t smear the polish underneath, not much shrinkage and no chipping as of day 3. Much better than the Orly Top Coat I recently purchased!
If you get anything from their online store use the code EAG10 for a 10% discount.