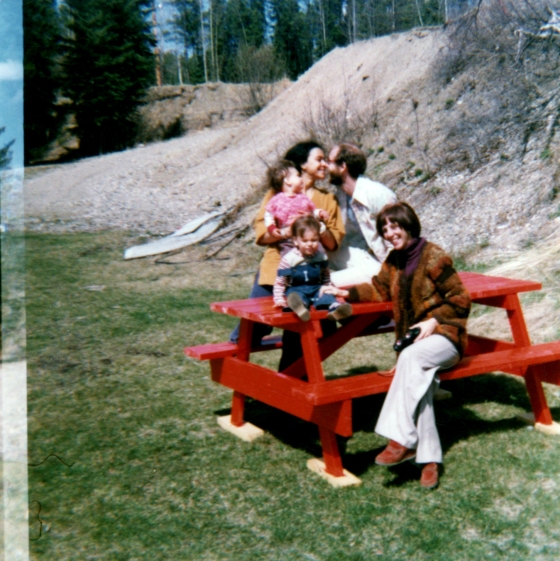
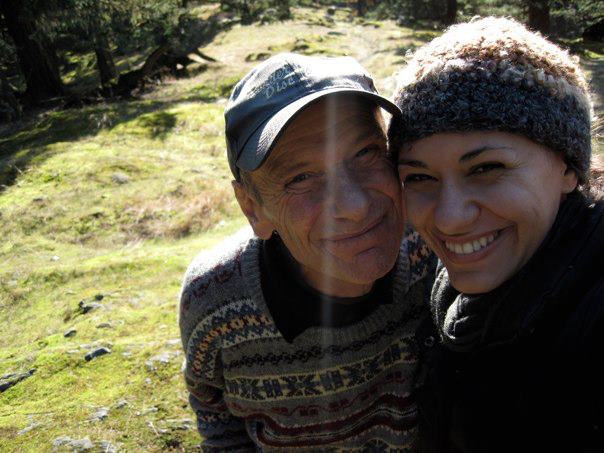
Fritz and me on top of Mount Maxwell on Salt Spring Island
Life and death happens. I know this might be a heavy topic for a nail blog, but it’s part of my life and so it’s something I want to talk about. Warning: it’s kind of a long post because I used this time writing to reflect on many happy memories and expand on my own experiences and some of his beliefs.
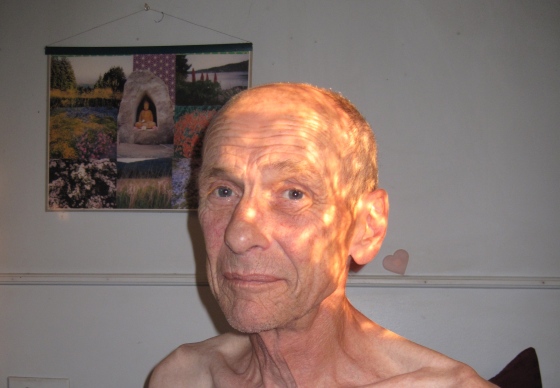
My father passed away in November from pancreatic cancer (PSA: smoking is bad). I am grateful that we got a year to spend with him after his initial diagnosis and I know that although it has been a sad time it also brought me and my siblings closer together.
I’m sure my relationship with my father was different than that of my brother and sisters because we moved away from Canada when I was only 18 months old. This meant that my brother and two sisters spent more time with him during their formative years, whereas I did not really see him as a toddler and then only briefly every few years as I grew up. This doesn’t mean I didn’t connect with him, we had a lot of similar interests and ideas about the world and even though there was a physical distance between us it was always clear that he loved me very very much.
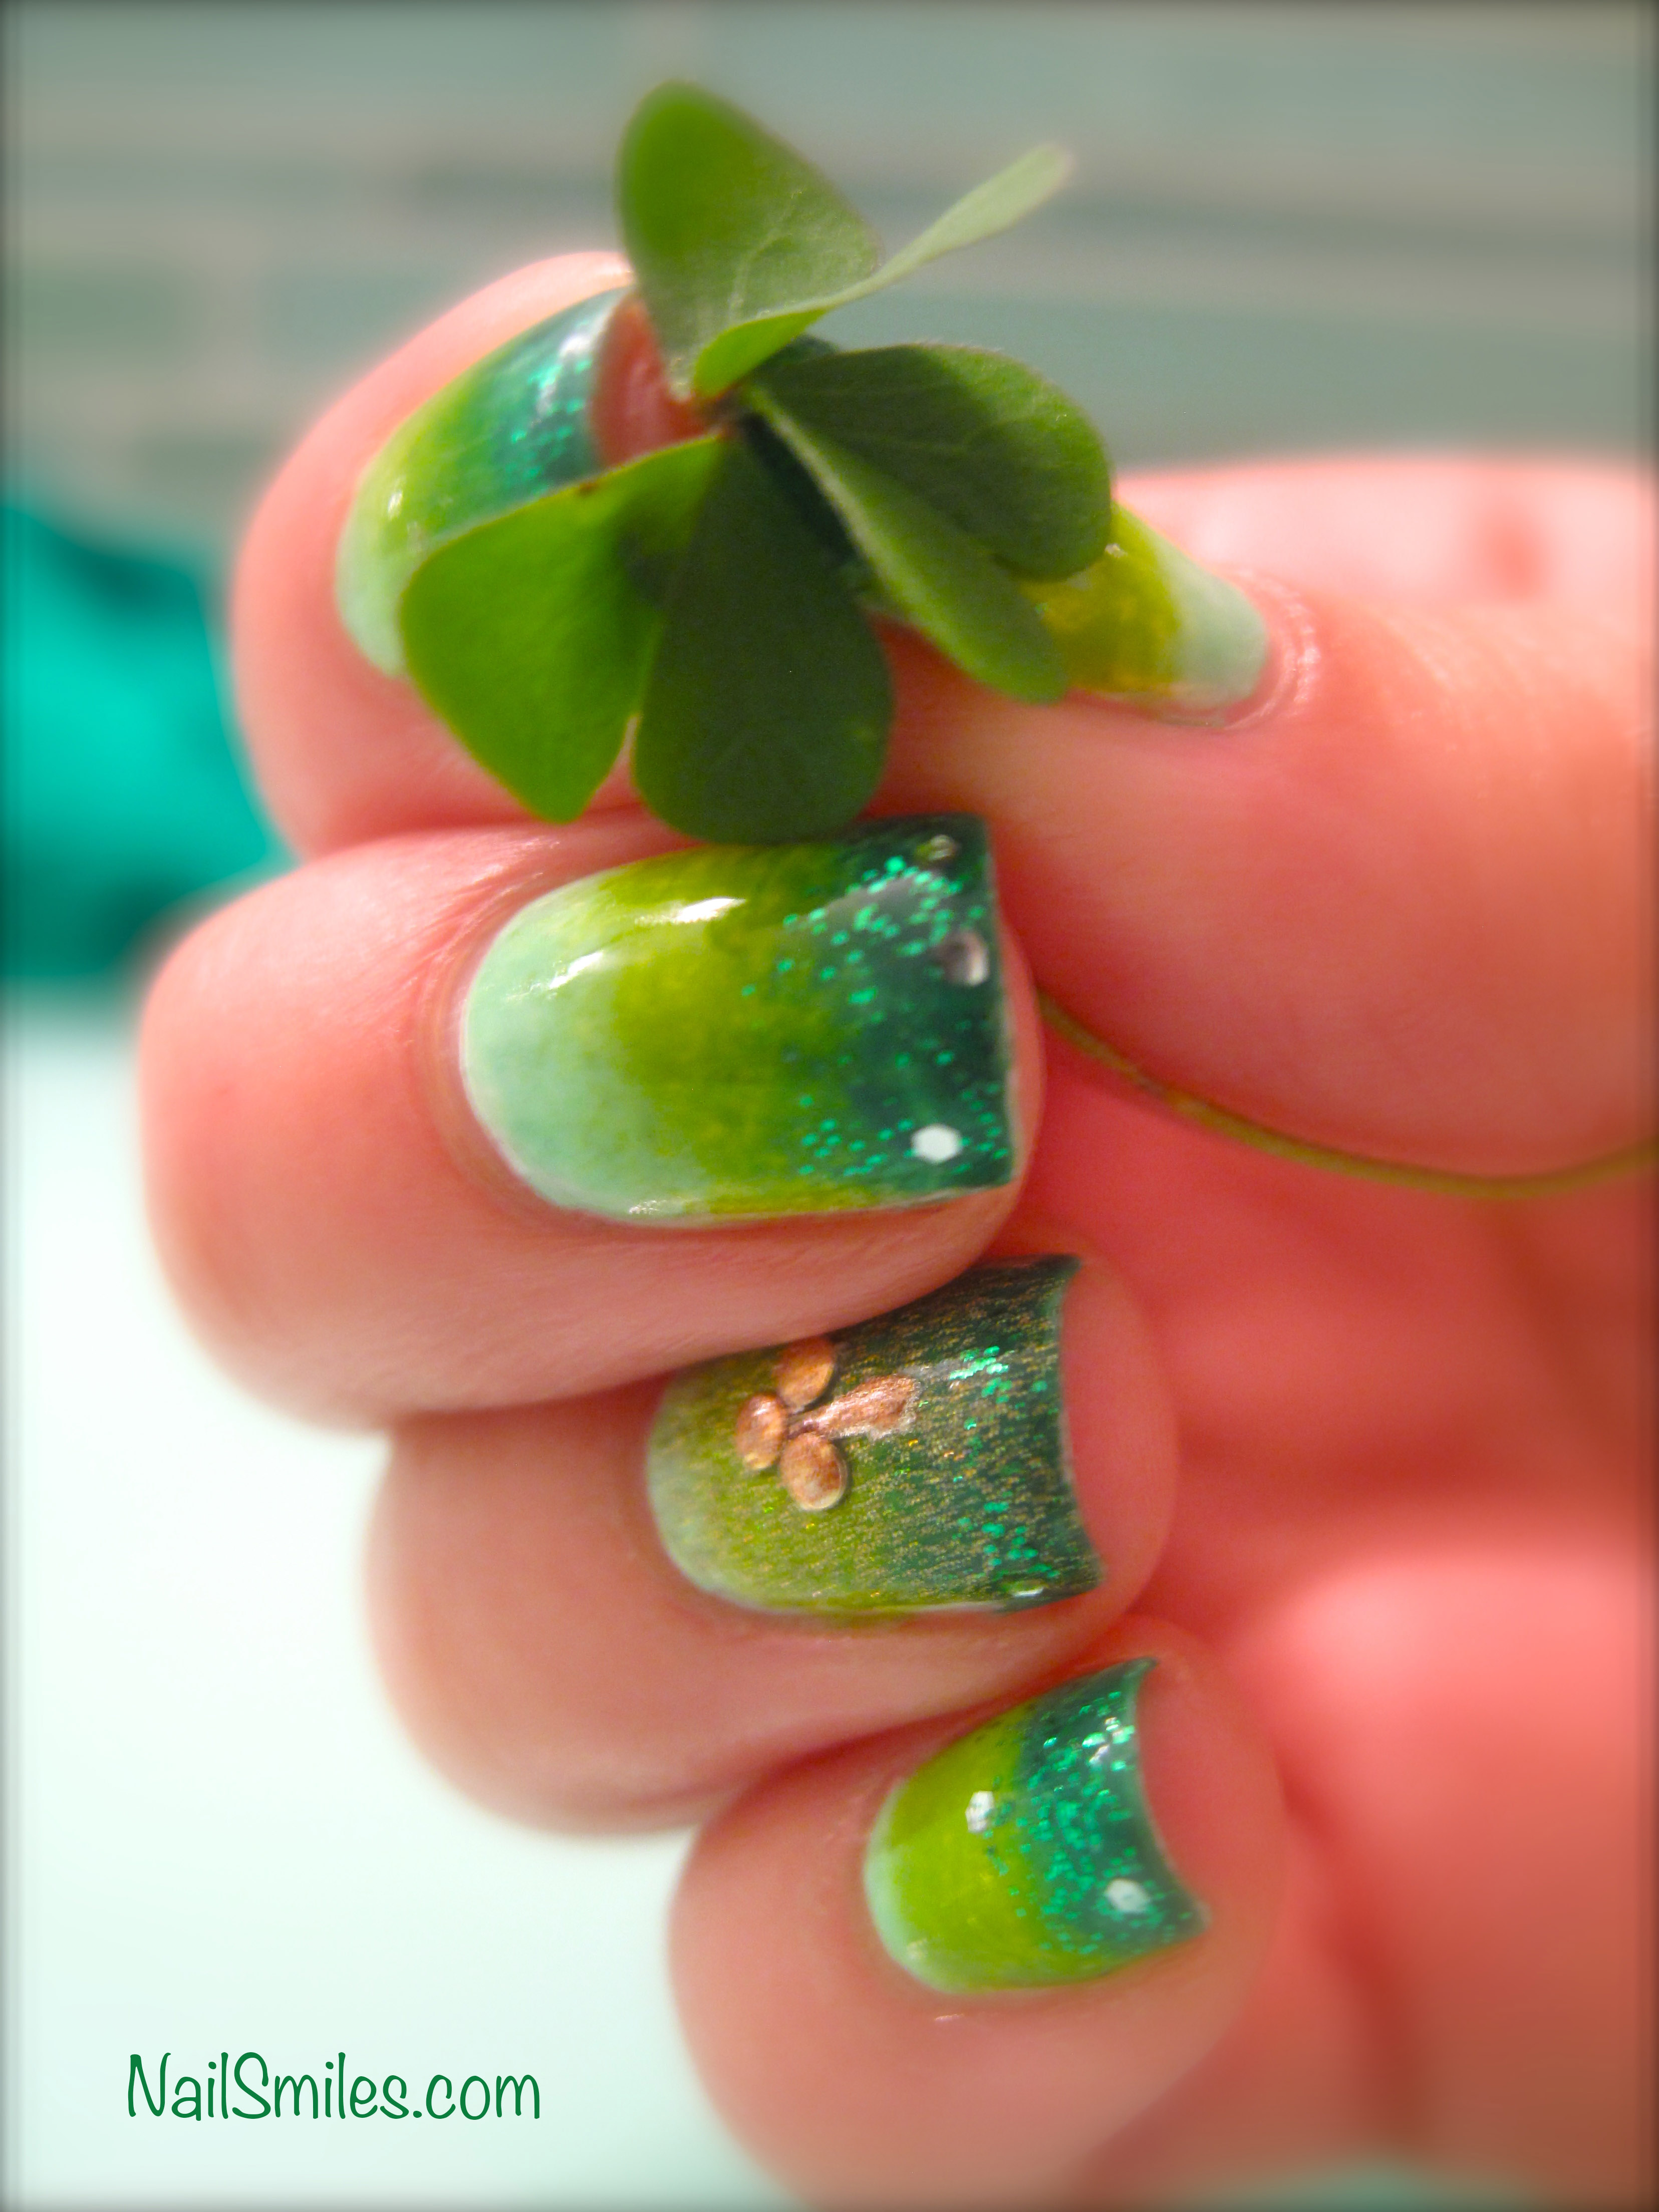
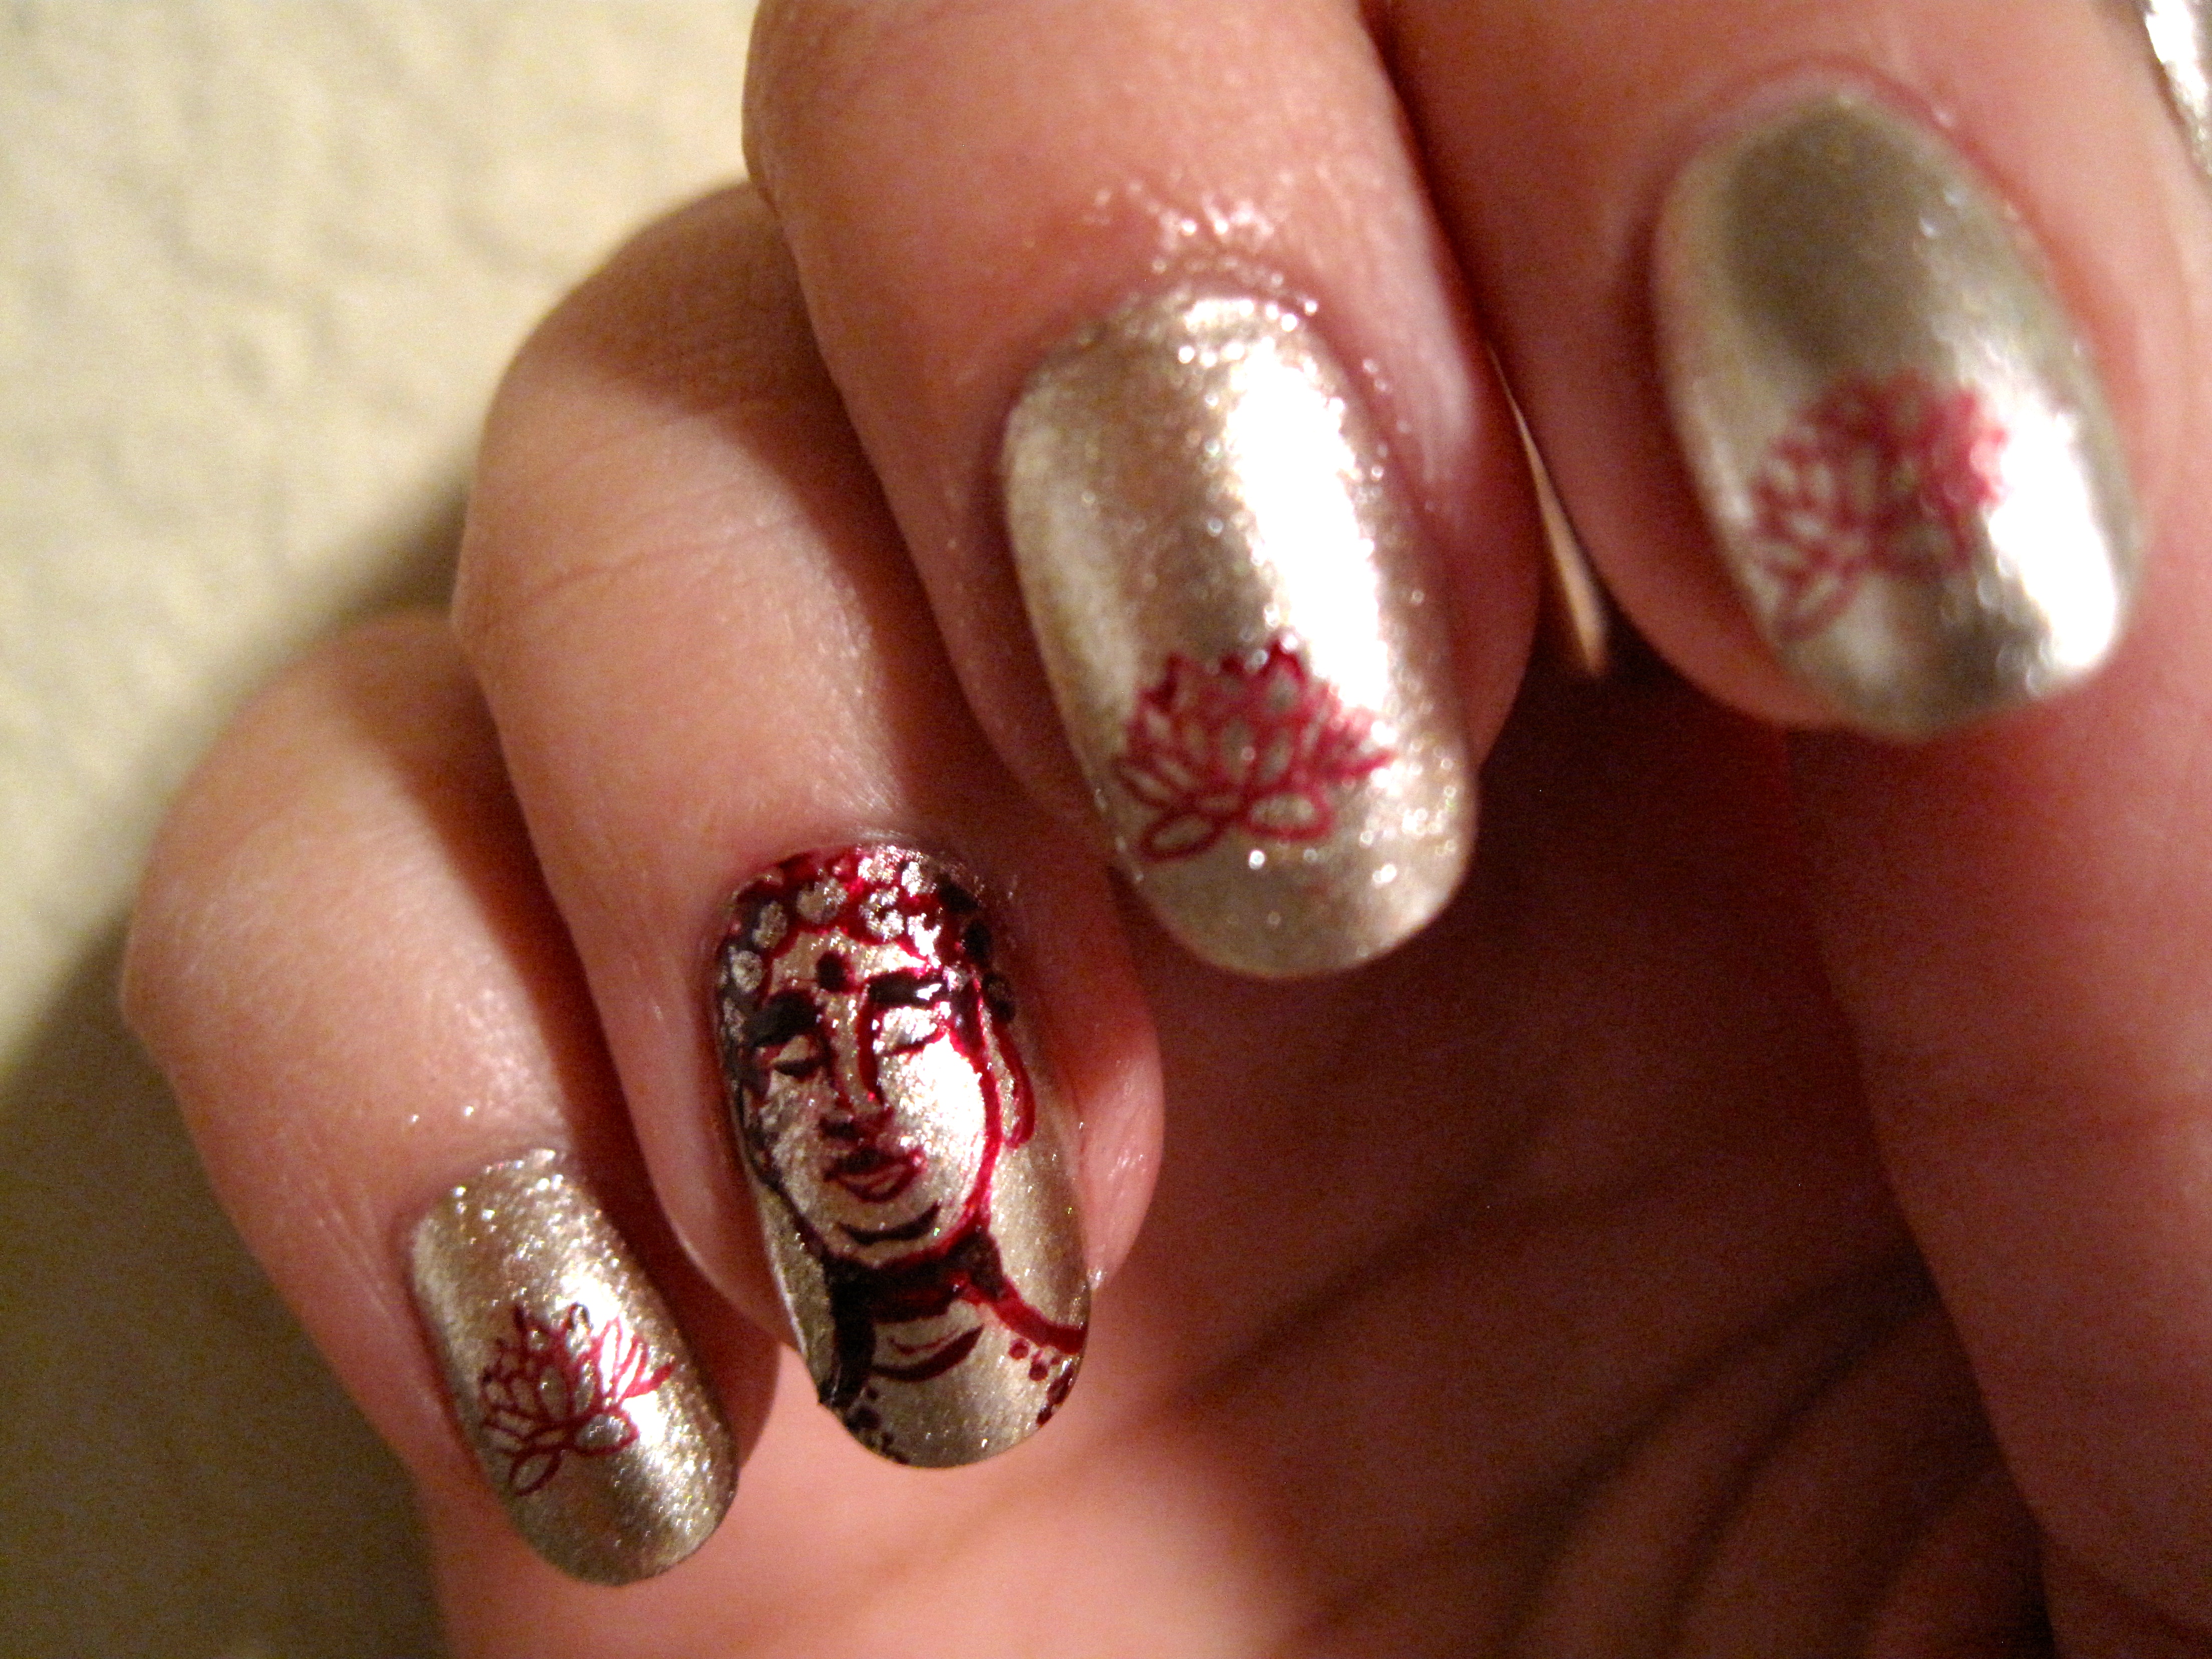
My father was a Buddhist for many years of his life, so to celebrate his life I hand painted Gautama Siddhārtha (aka Buddha) on my ring finger and stamped lotuses on the other nails. I used maroon and gold because maroon and golden yellow are the traditional colors for Tibetan monk’s robes.


He would often chant om mani padme hum when he passed this statue.
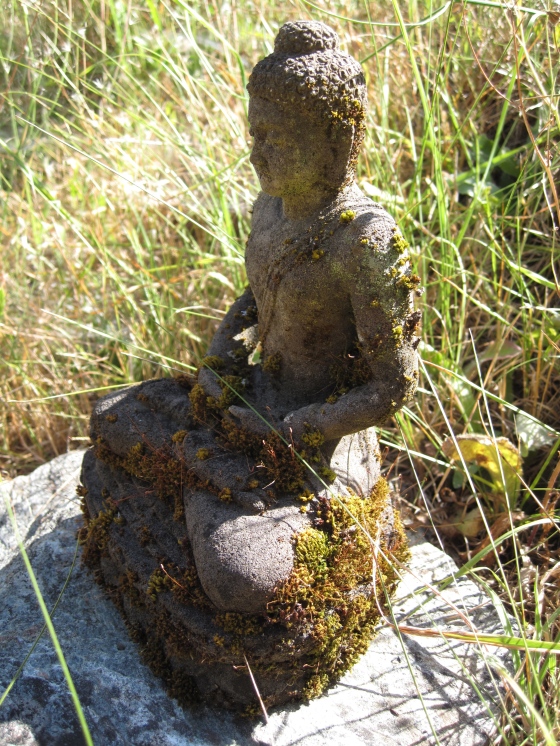
Small Buddha statue that resided outside my father’s home

Lotus floating in a lake on Salt Spring Island where my father lived and swam. The Pink Lotus is the supreme lotus, generally reserved for the highest deity. Thus naturally it is associated with the Great Buddha himself.
If you’ve ever wondered what is on Buddha’s head in all those statues, it’s snails. Here’s the story (copy from northcoastgardening.com).
“One day, the Buddha was on a walk and began thinking very deeply. He came to a tree and sat down in its shade to continue his meditation.
Hours passed, and the Buddha became so immersed in thought that he didn’t notice the sun moving across the sky. The sun beat down on his bare head, and still he sat thinking.
A snail was making its way along the ground, and he noticed the Buddha sitting there, thinking important thoughts. Snails are tough creatures, but they are made of moisture, and have to be very careful of drying out, so the snail saw right away that the Buddha’s head was soon going to become a painful distraction to his great thoughts.
As fast as it could, the snail made its way up the Buddha’s robe to his head, and sat there, with his mucous-y body cooling the Buddha’s smooth, bare skin. Other snails noticed and followed the first one, covering Buddha’s head in a neat cap of spiral shells and cool, damp bodies.
Hours passed, and the snails became parched and dry. When evening fell and Buddha stood, noticing his surroundings once more, he found he was wearing 108 snails, all of whom had given their lives to further Buddha’s path to enlightenment.
These snails are now honored as martyrs and are shown on many statues of the Buddha to remind us of their sacrifice.”
Read more: http://www.northcoastgardening.com/2010/08/buddhist-snail-martyrs/#ixzz2rpmu3wng
The lotus is one of the most poignant representations of Buddhist teaching.
The roots of a lotus are in the mud, the stem grows up through the water, and the heavily scented flower lies pristinely above the water, basking in the sunlight. This pattern of growth signifies the progress of the soul from the primeval mud of materialism, through the waters of experience, and into the bright sunshine of enlightenment.

My father gave me…
- An expanded vocabulary of authors and artists – he loved to read, and I’m a science fiction junky just like him.
- My strikingly good looks 🙂 Mom always said I looked the most like him between my brother, sister and I. He was certainly handsome when he was younger and apparently quite the flirt (I think I get that from him as well)! I always thought I looked more like her, but when I visited him last year he made a devilish smirk that was like looking in a mirror; I finally saw it!
- A love for “junking” – exploring yard sales and flee markets to find treasures or just appreciate relics from history…grandma helped with this one too!
- My artistic abilities – I can’t say whether this all came from his side of the family, because both sides of the family are creative, but my father was an artist and art lover and all of his children were blessed with creative interests. I know he and I both loved to draw people…also, naked people.
- Curiosity – I know this comes from both sides of the family, but I love that he was always thinking, investigating, pondering and meditating.
- My ability to procrastinate…look, they can’t all be positive things, I know I got my spacy put-things-offy side from this man!
- A reason to visit the small retreat of Salt Spring Island. He settled in the area over twenty years ago and it was always such a treat to visit him there. It always seemed like a haven of simple pleasures, swimming and berry picking in the summer, and somehow great food all around!
- See above, blackberry picking with my father is one of the fondest memories I have. I still try to go every year where I live now to enjoy the fruits of the land.
- An education on Buddhism – I don’t consider myself associated with any religious affiliation, but if I had to pick one I’d lean towards Buddhism. He provided me books that explored Buddhist tenants and stories and tried to live in accordance with his beliefs. I feel I am for the better because of it and appreciate the focus of compassion, kindness and acceptance in his life.
- My smile – well, mom paid for 4 years of braces to get these teeth straight, but after seeing him flash a smile I know I got my smile from him (crooked teeth and all).
I’m grateful for all these gifts and more.

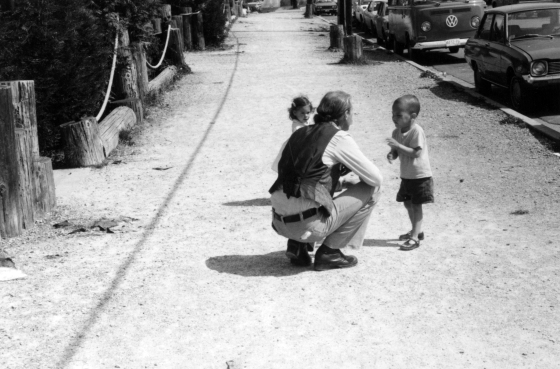
Basically one of the only photos I have with him as a baby
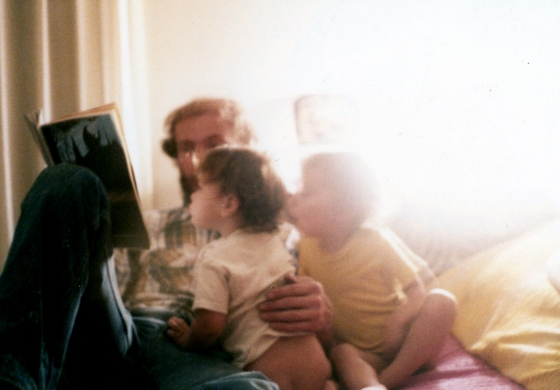
He and I both loved this photo after I took it. One of the last books he was reading was Lord of Light, and this photo makes me think of that title. It makes me think of the concept that we are all made of light and the stars.
May your journey continue to be enlightening!


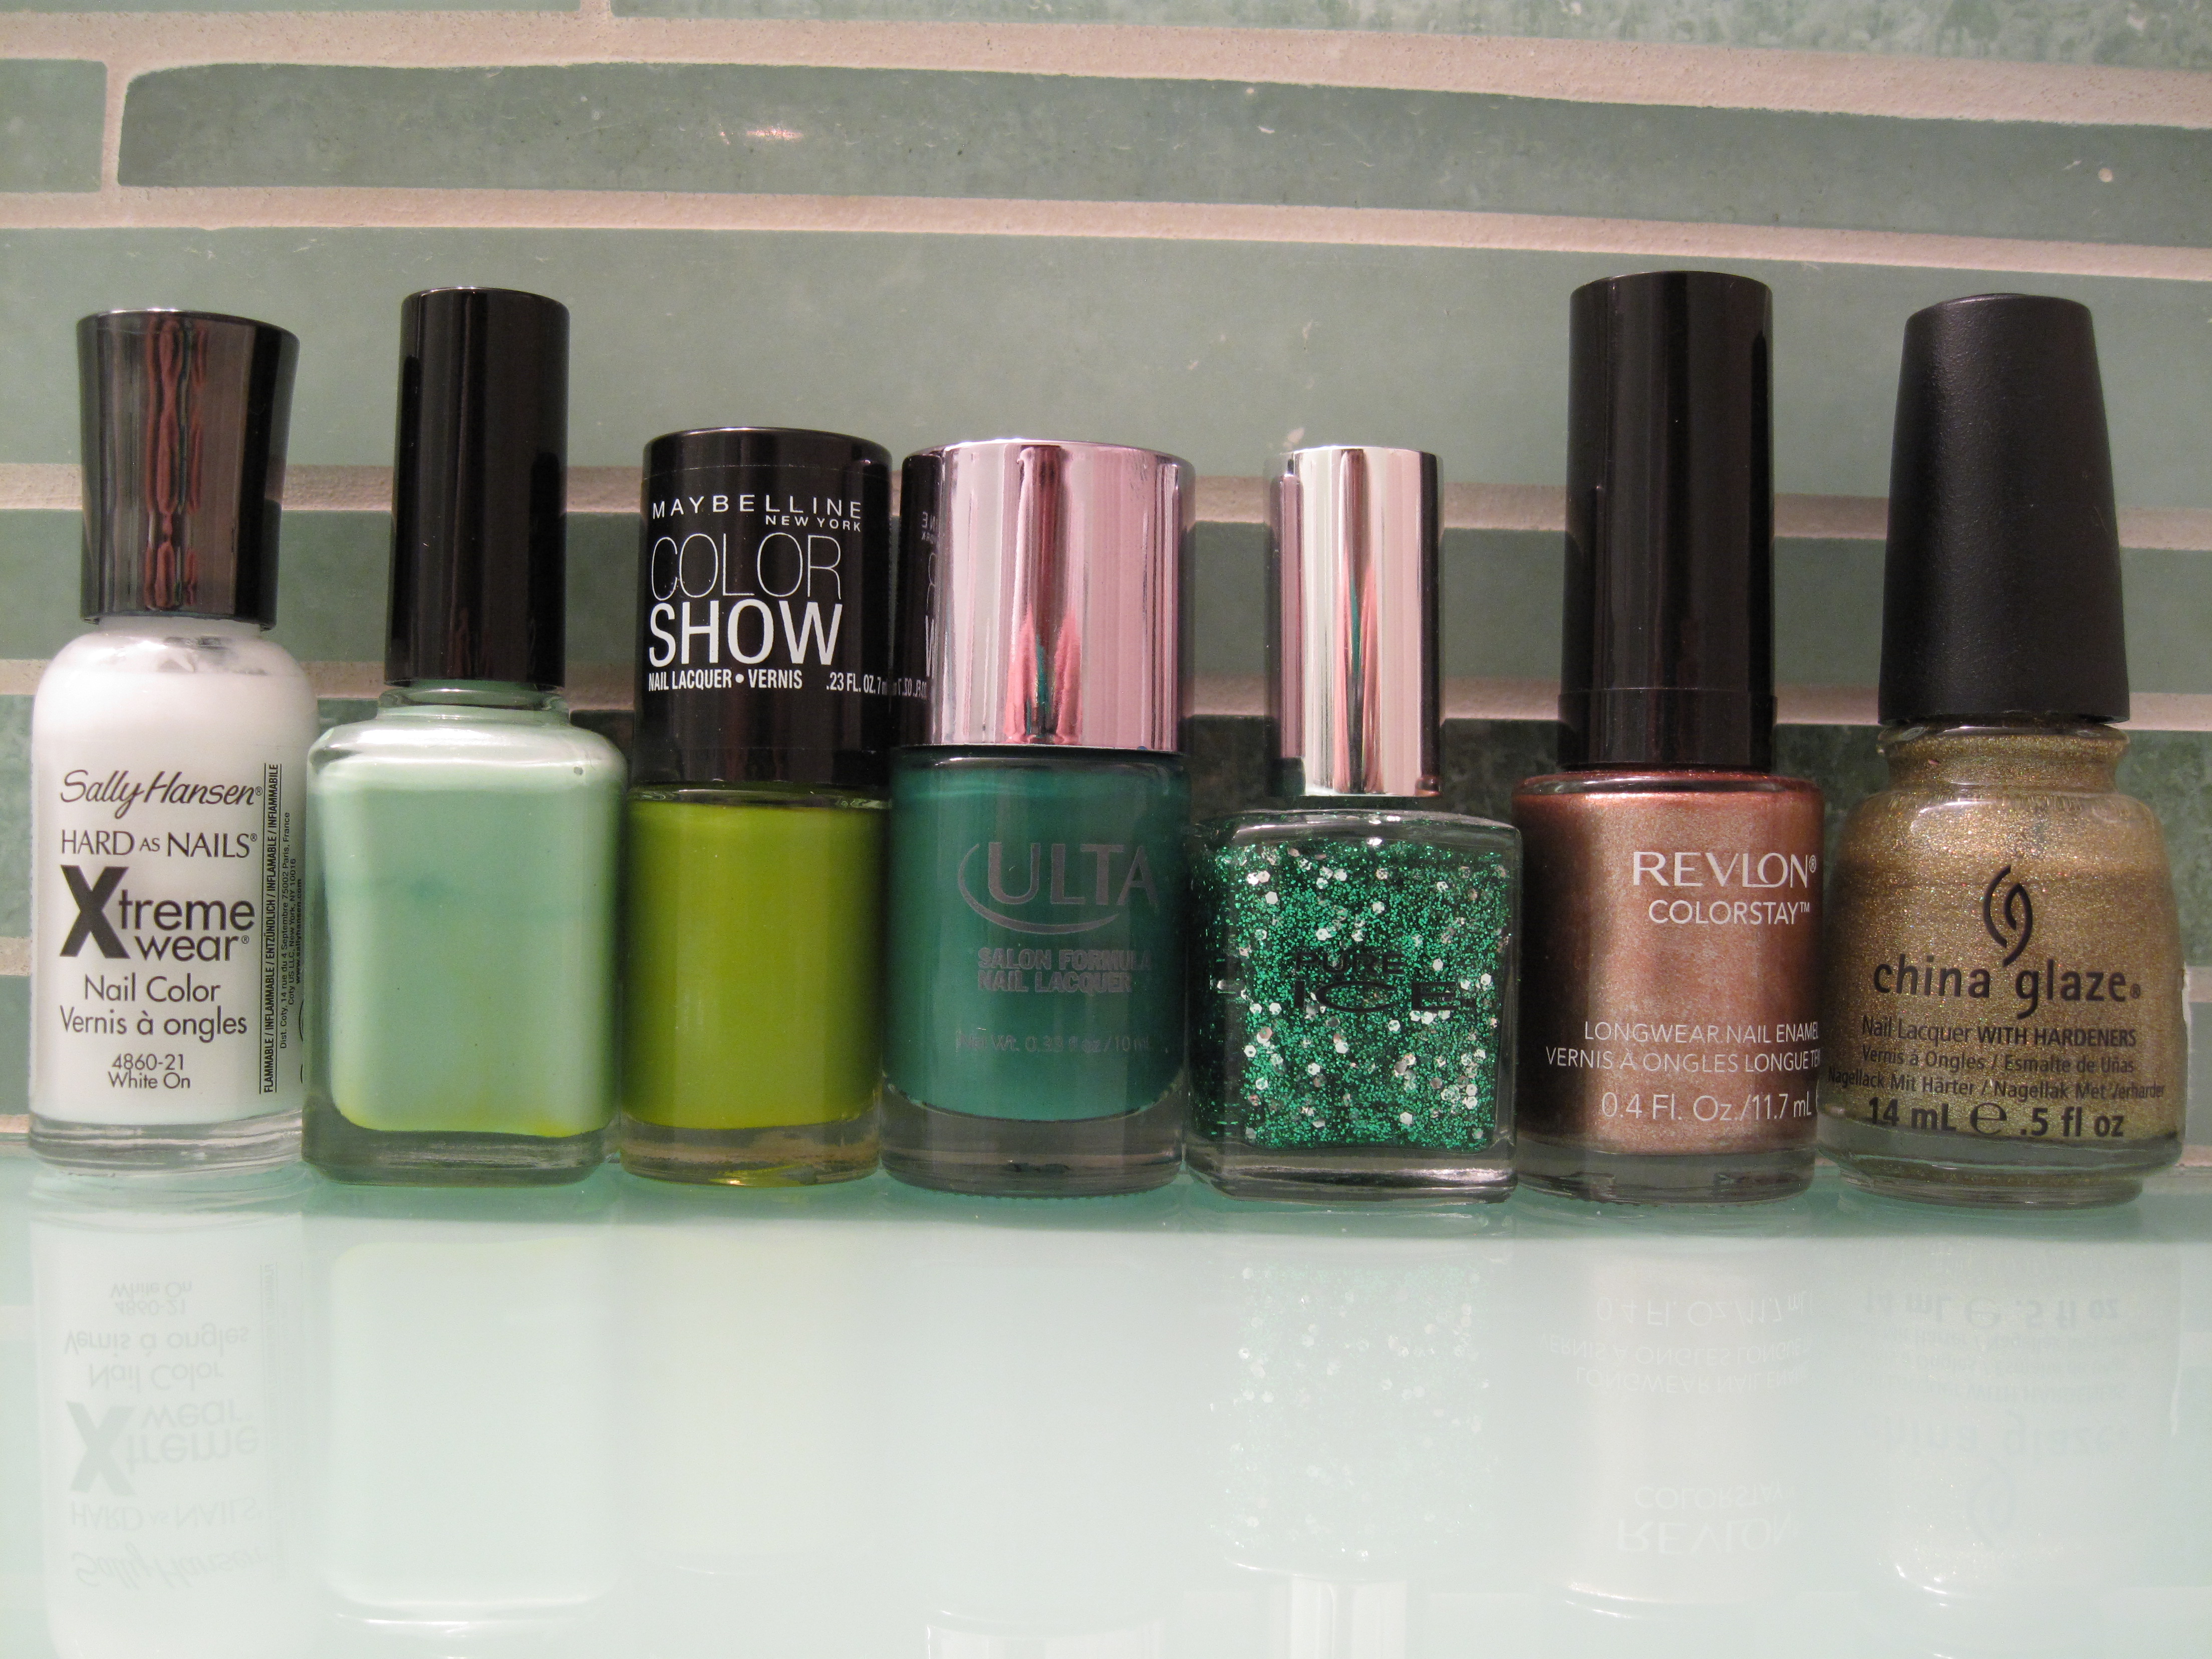


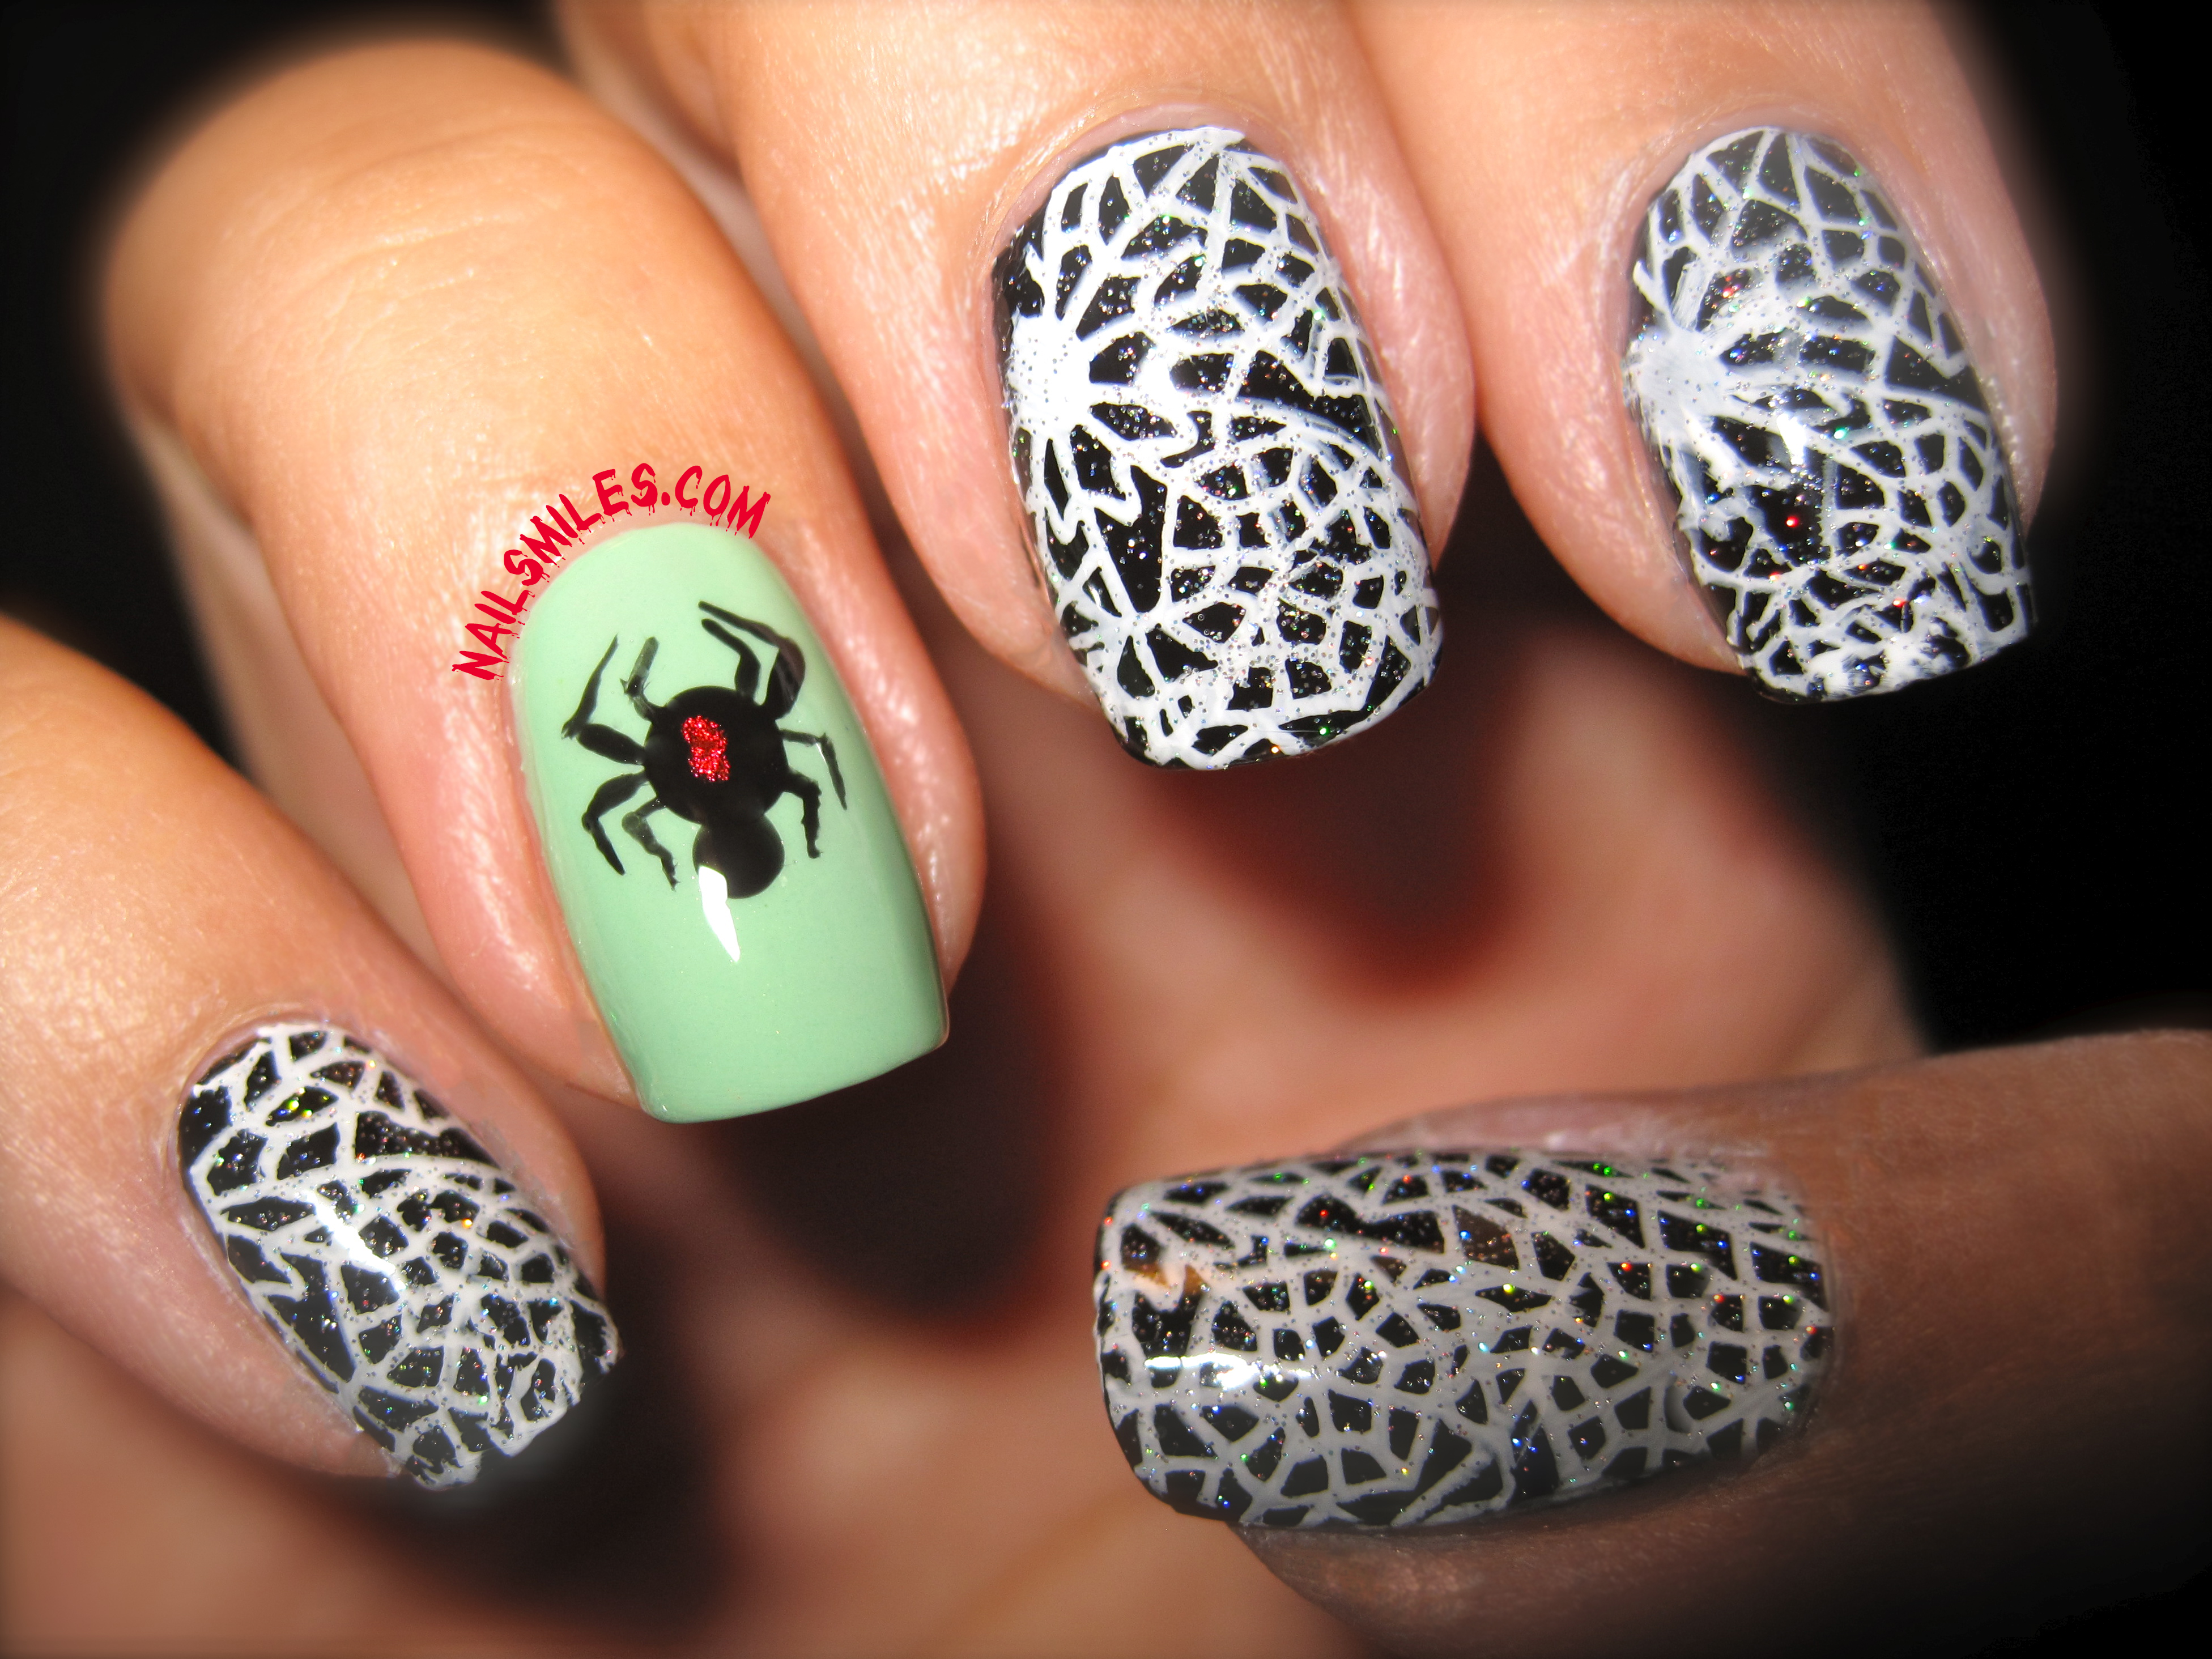
 I have to say there is something strangely comforting about wearing black and blood red nails. I think because it harkens back to my childhood days when my sister was goth and Elvira was on late night. Black nails were in 20 years ago and 20 years ago was a good time for me!