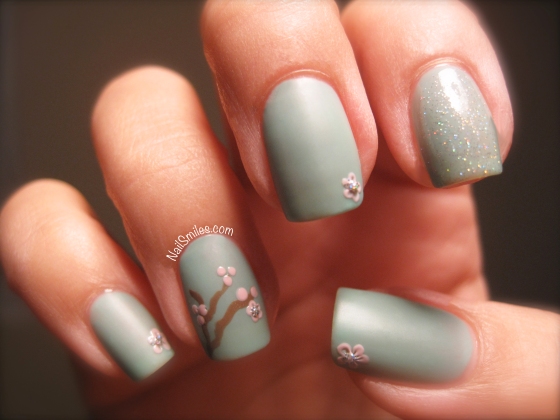
Happy Monday. I’m submitting this post a little out of order because after I wrote my draft I somehow didn’t save it properly so I have to reeeewwwrrrriiittteee it. Anyway, Arizona Iced Tea anyone? I can’t say this mani was inspired by the drink of my childhood, however, it definitely is reminiscent of their old can. I did also have someone tell me it reminded them of a porcelain teacup.

Polish Performance
This manicure was my first attempt at using a matte top coat as well as my first time using Sally Hansen’s Complete Salon Manicure line. I will say I now know why this line runs for around $8 versus the the $2-3 you’ll pay for their Xtremewear line. The brush is amazing! I had to do ZERO clean up on this manicure because I had so much control with the brush and polish. It’s very soft and it has a rounded shape that fit the curve of my cuticles perfectly.
I was quite surprised at how thin one coat of the polish is…so surprised that I took a photo.
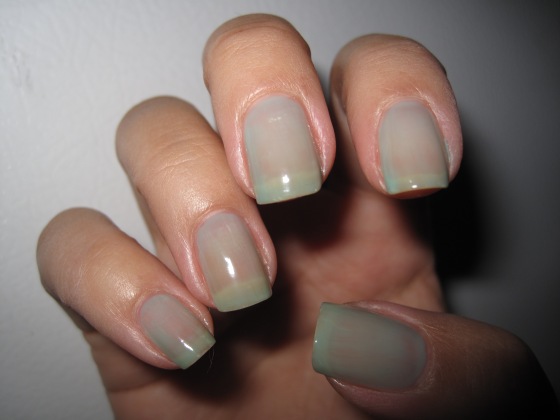
1 Coat of Sally Hansen Jaded
I used two coats, but really I think this polish would be best with 3 or 4 if you want full opacity. I definitely like the color of it too and I will say that these photos don’t do it justice (the pics look a little more grey and less green).
The matte topcoat did what it said, it turned super shiny polish into a smooth flat matte finish. I did notice some micro bubbles and I’m not sure whether it was from the top coat or from not letting the colored polish below dry long enough. I was on the fence about matte manicures for a long time, but this experiment has definitely changed my mind and I look forward to playing with more options!
Techniques:
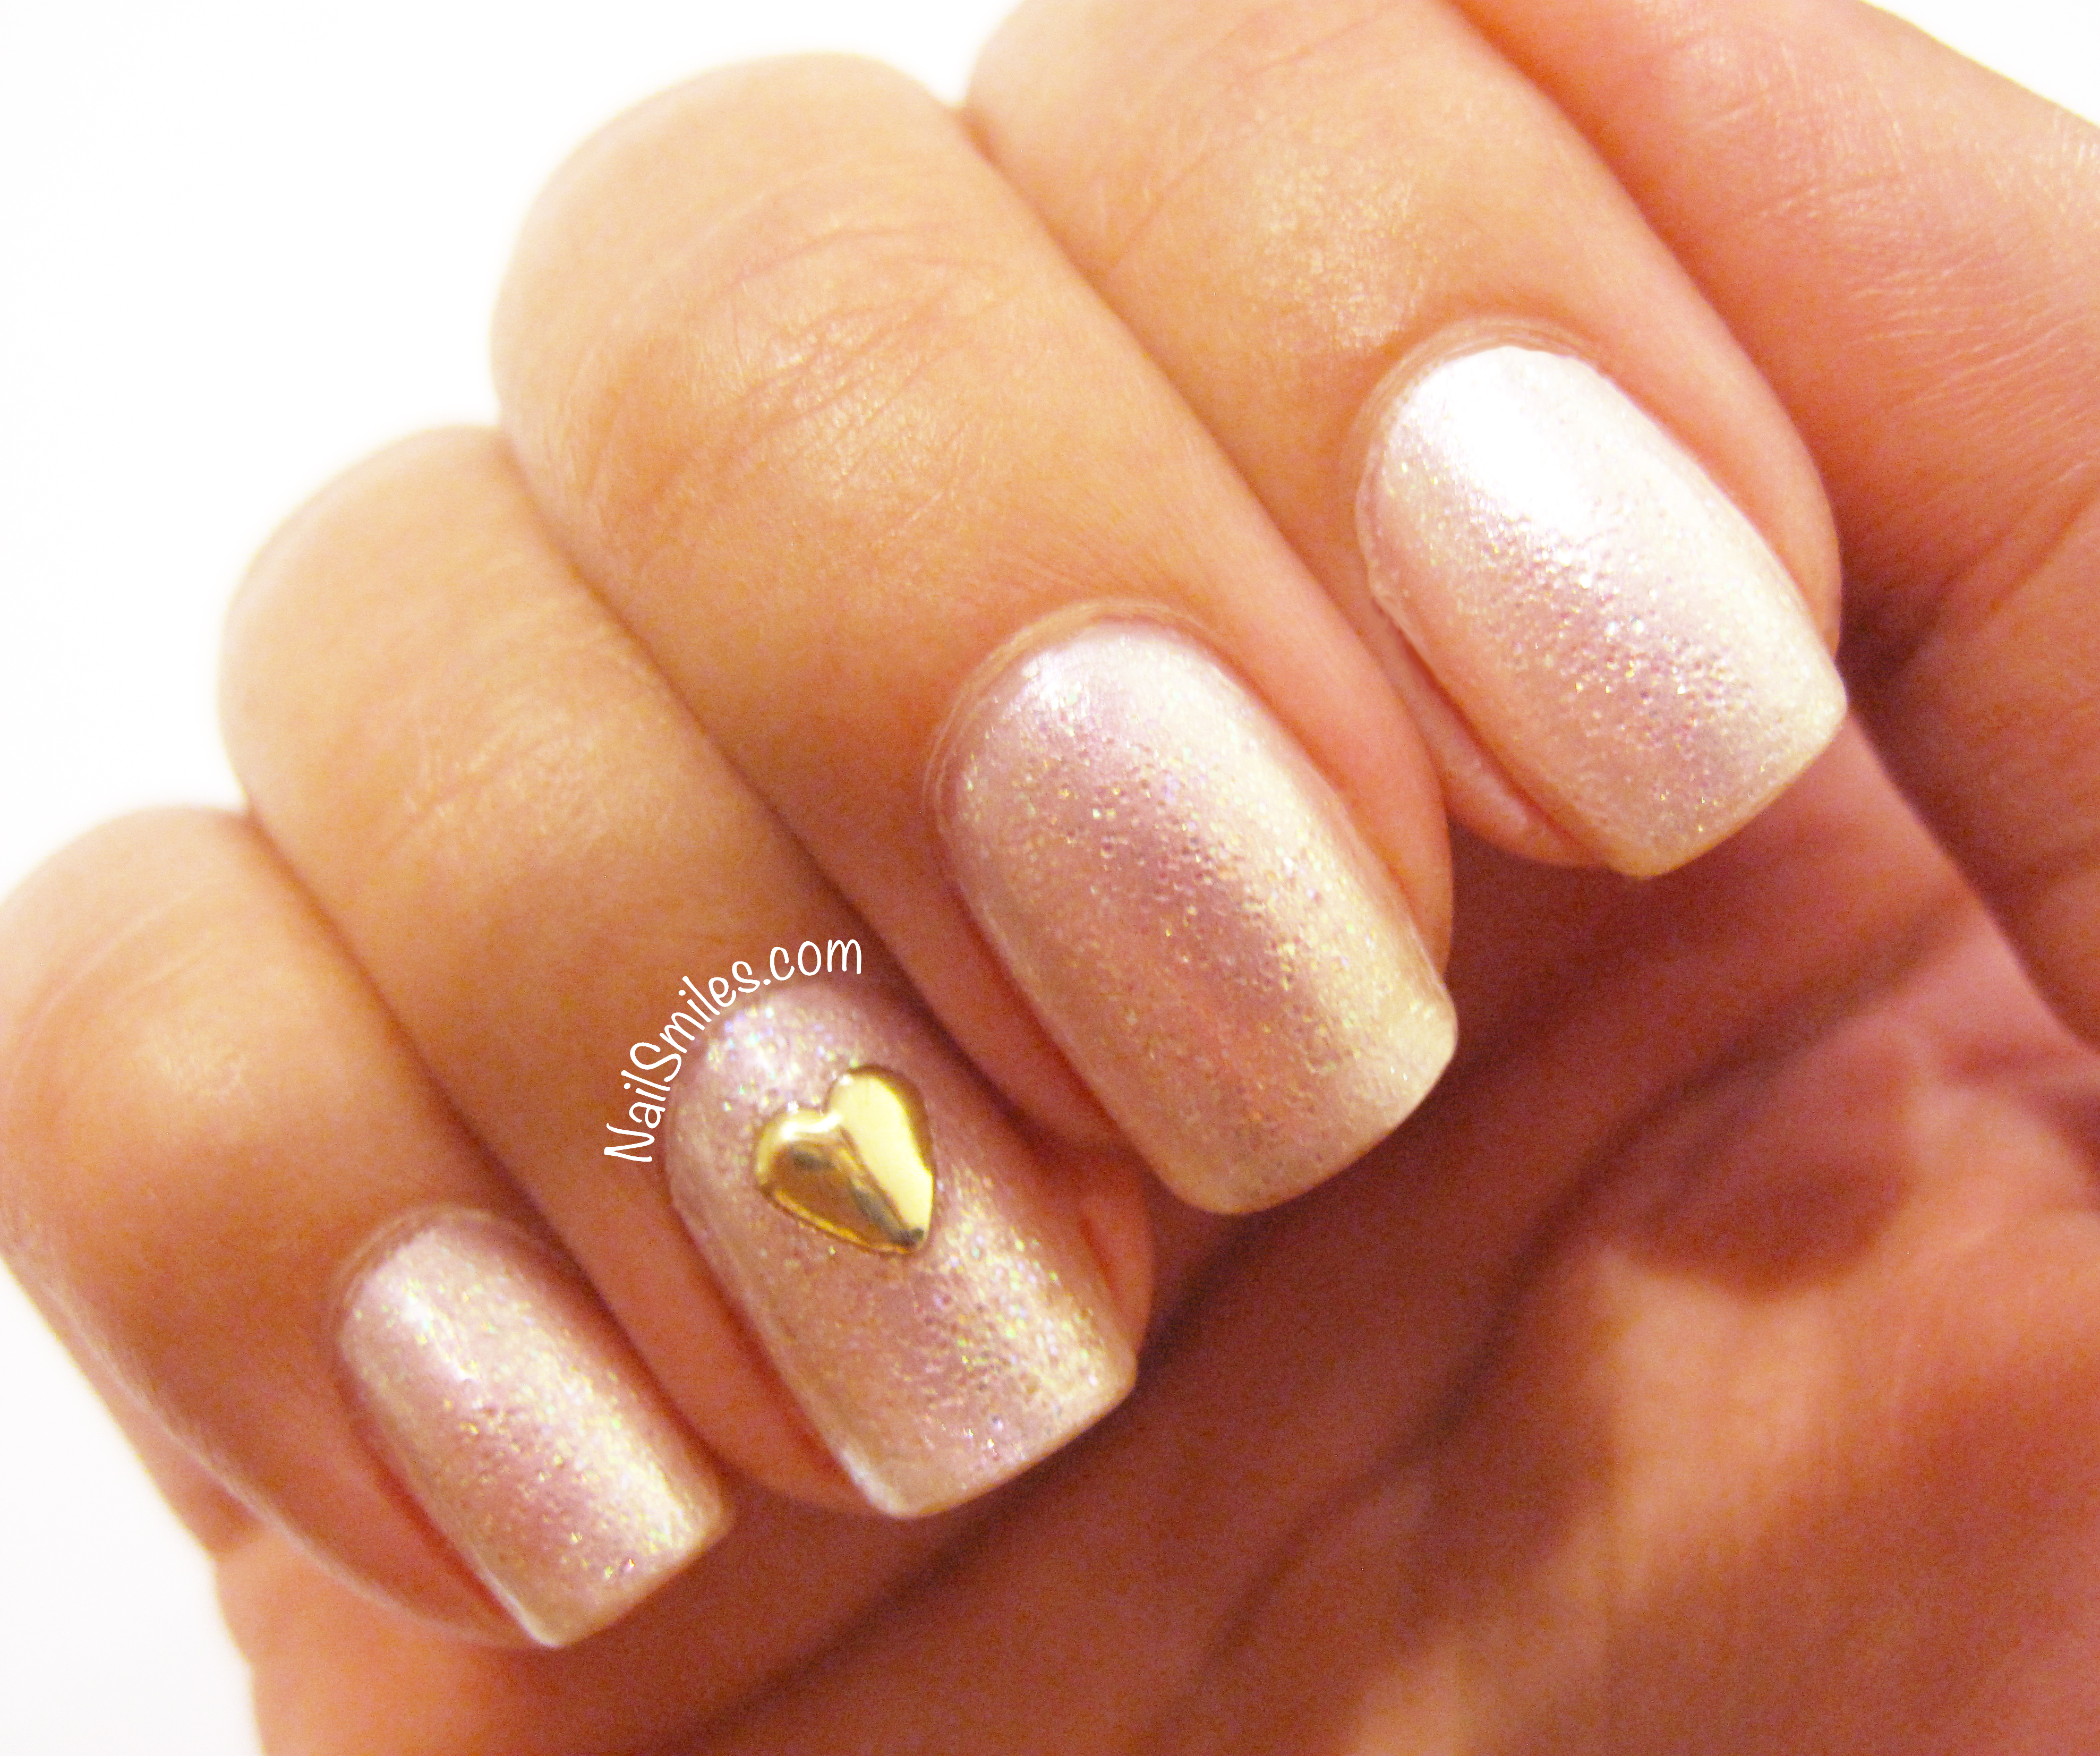
The branches were just a simple few lines drawn with a fine paint brush and the flowers involved using one of my jenky homemade dotting tools (read: a sewing needle stuck into the pink eraser of a pencil).
Place 5 dots of polish in a circle and then place the needle in the center of each circle and drag a line towards the center. This will create the look of dimensional petals. I put a dot of CG Fairy Dust in the center of each flower for extra pop. You can always use a different number of dots to get a variety of flower patterns.
Polishes Used:
- Seche Vite Base Coat
- Green Base – 2 coats Sally Hansen Complete Salon Manicure Jaded
- China Glaze Matte Magic Top Coat
- Branches – Ulta Taupe On A Rope
- Flowers – Essie Luscious Lips
- Flower center accents and forefinger – China Glaze Fairy Dust
What are your favorite polish colors to make matte?


 I have to say there is something strangely comforting about wearing black and blood red nails. I think because it harkens back to my childhood days when my sister was goth and Elvira was on late night. Black nails were in 20 years ago and 20 years ago was a good time for me!
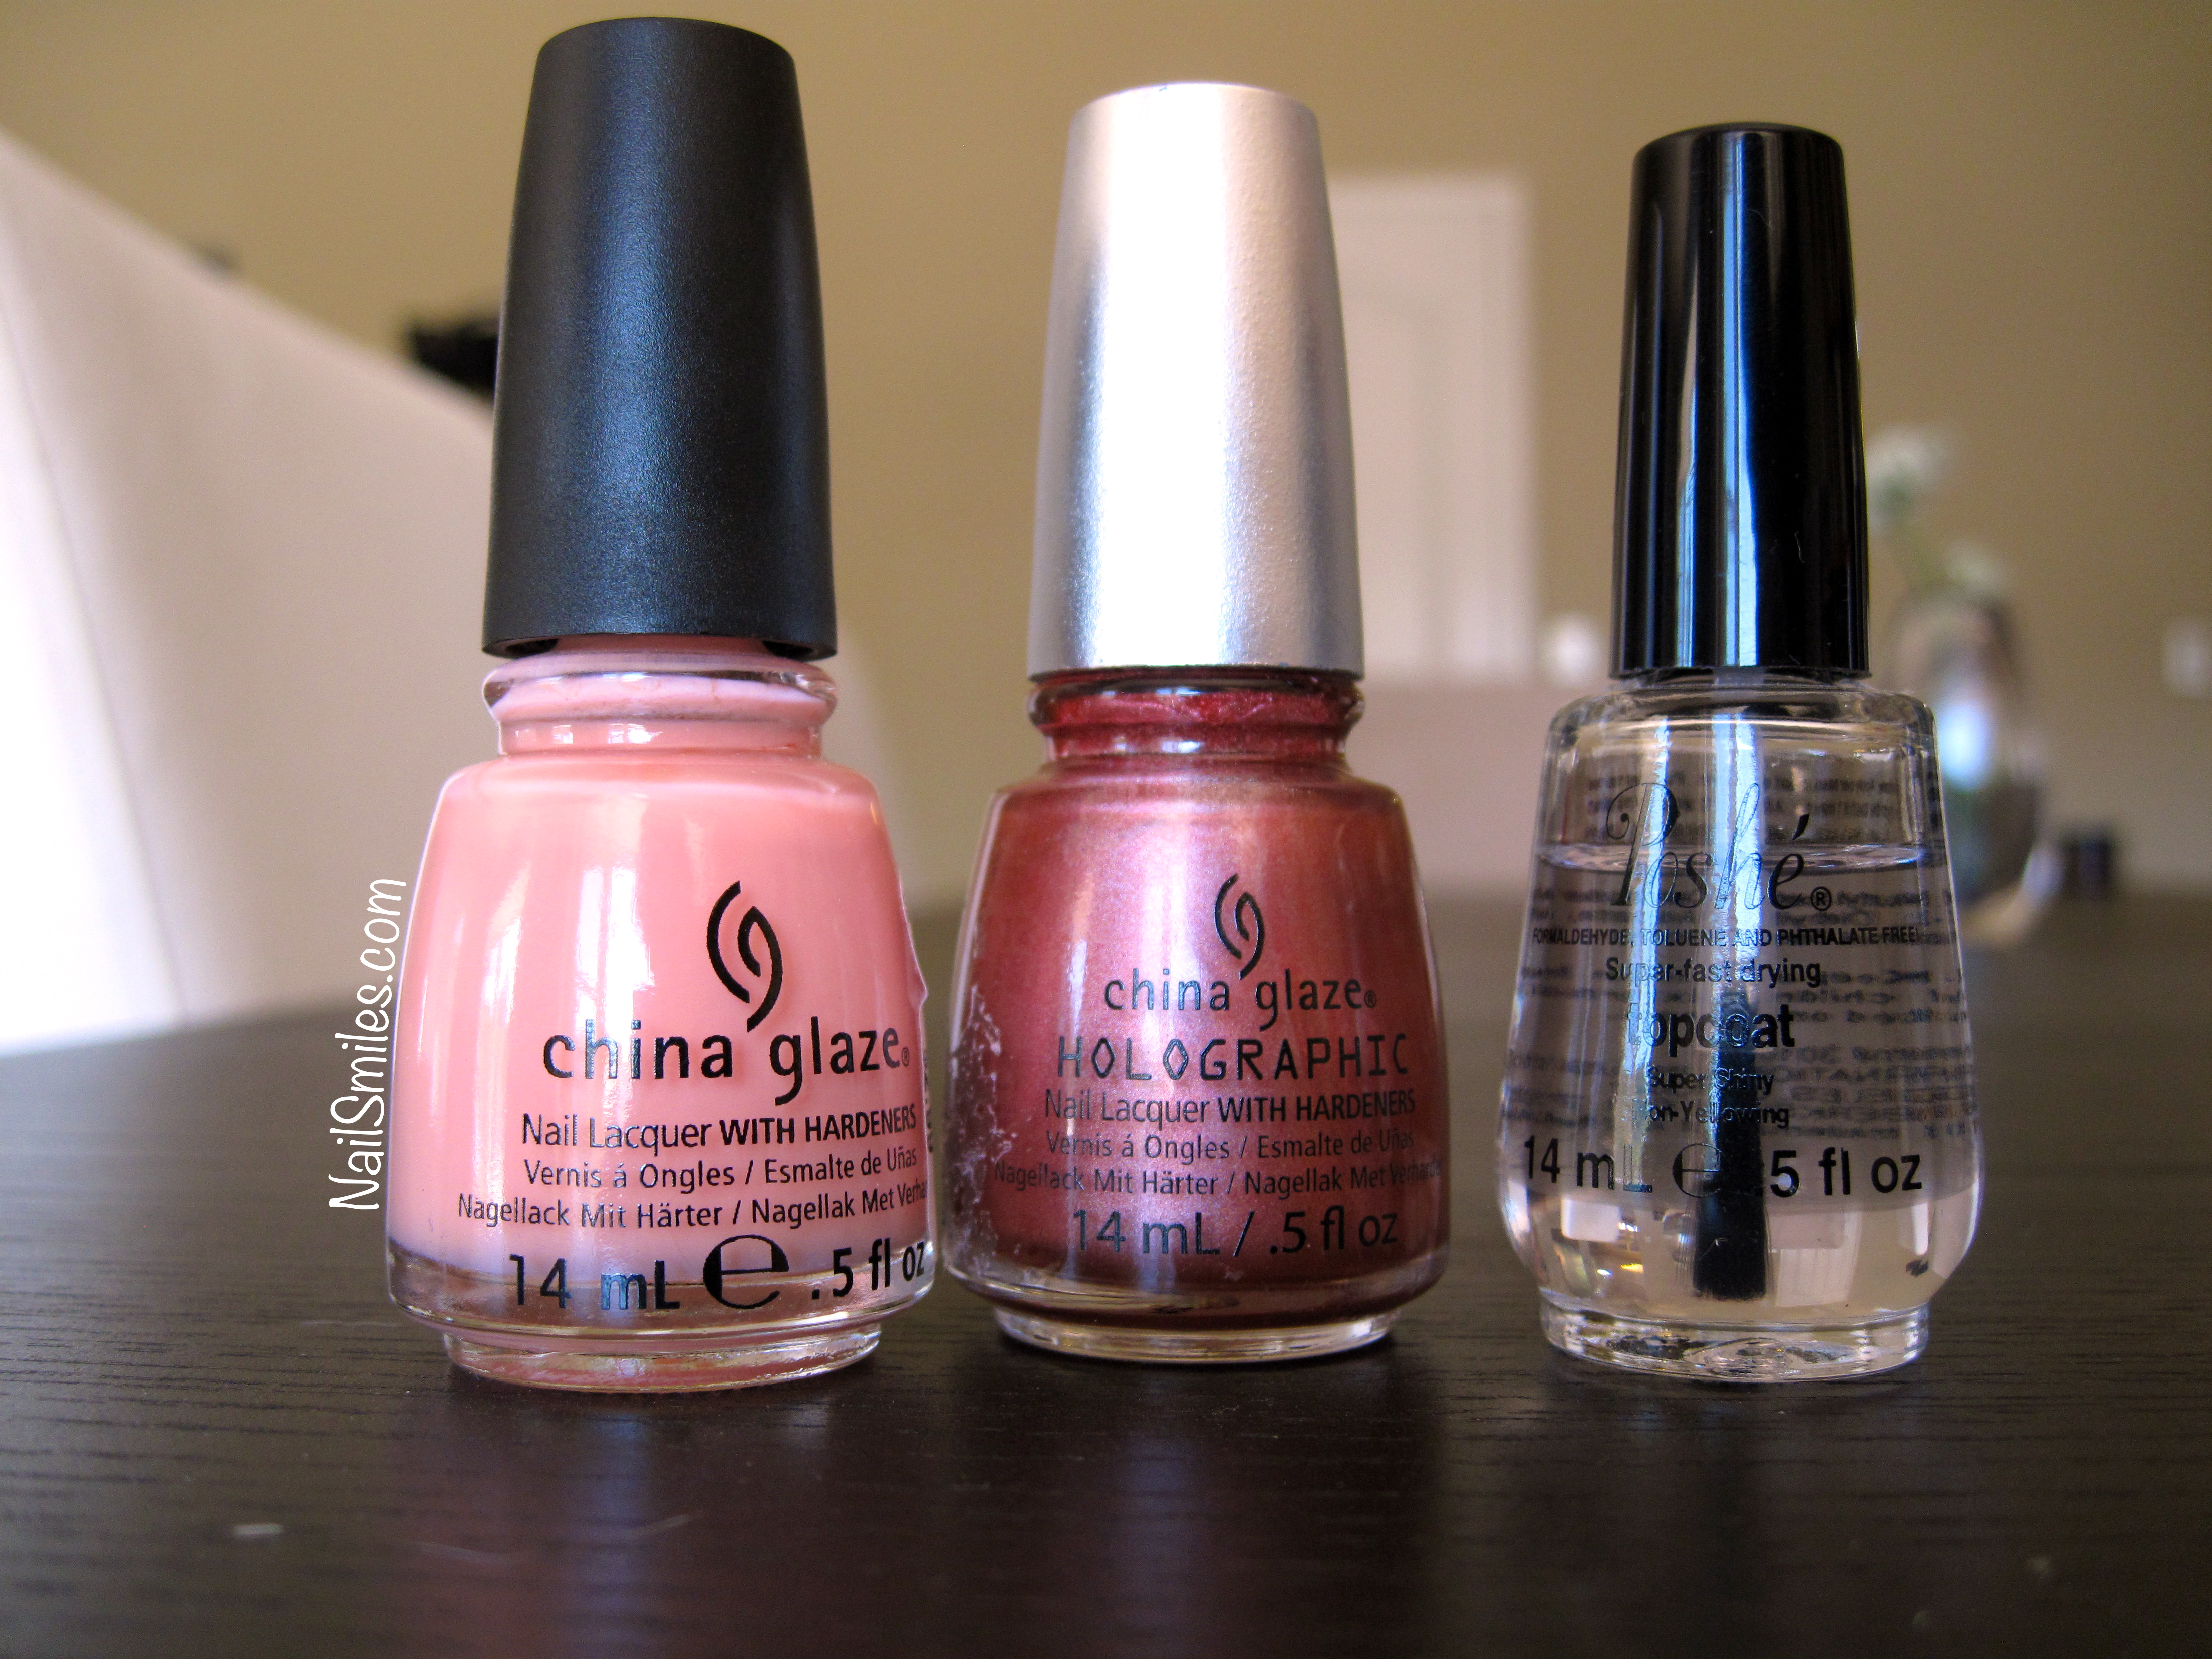
 For this manicure I used