I don’t want to type much today. Here are my purple witch nails. I put loose glitter on the non-accent nails that make me think of mermaids. Usually I match my right and left hand, but in this case I only did a witch on my right. I love the purple color by Ulta, but I was having some trouble with the brush and also this color responds strangely to topcoats. Enjoy!
After a lovely weekend of camping on the California Coast at Costanoa KOA my nails were tore up (literally I tore a couple nails) so I decided to just chop them all off. Even though they’re nubbins right now that doesn’t mean they can’t be cute!I have to say there is something strangely comforting about wearing black and blood red nails. I think because it harkens back to my childhood days when my sister was goth and Elvira was on late night. Black nails were in 20 years ago and 20 years ago was a good time for me!
I used a fine paint brush and my homemade dotting tools to accomplish the designs and I think this design has a lot of versatility; you could just do the face and paint the rest of your nails black or red for a simpler version.
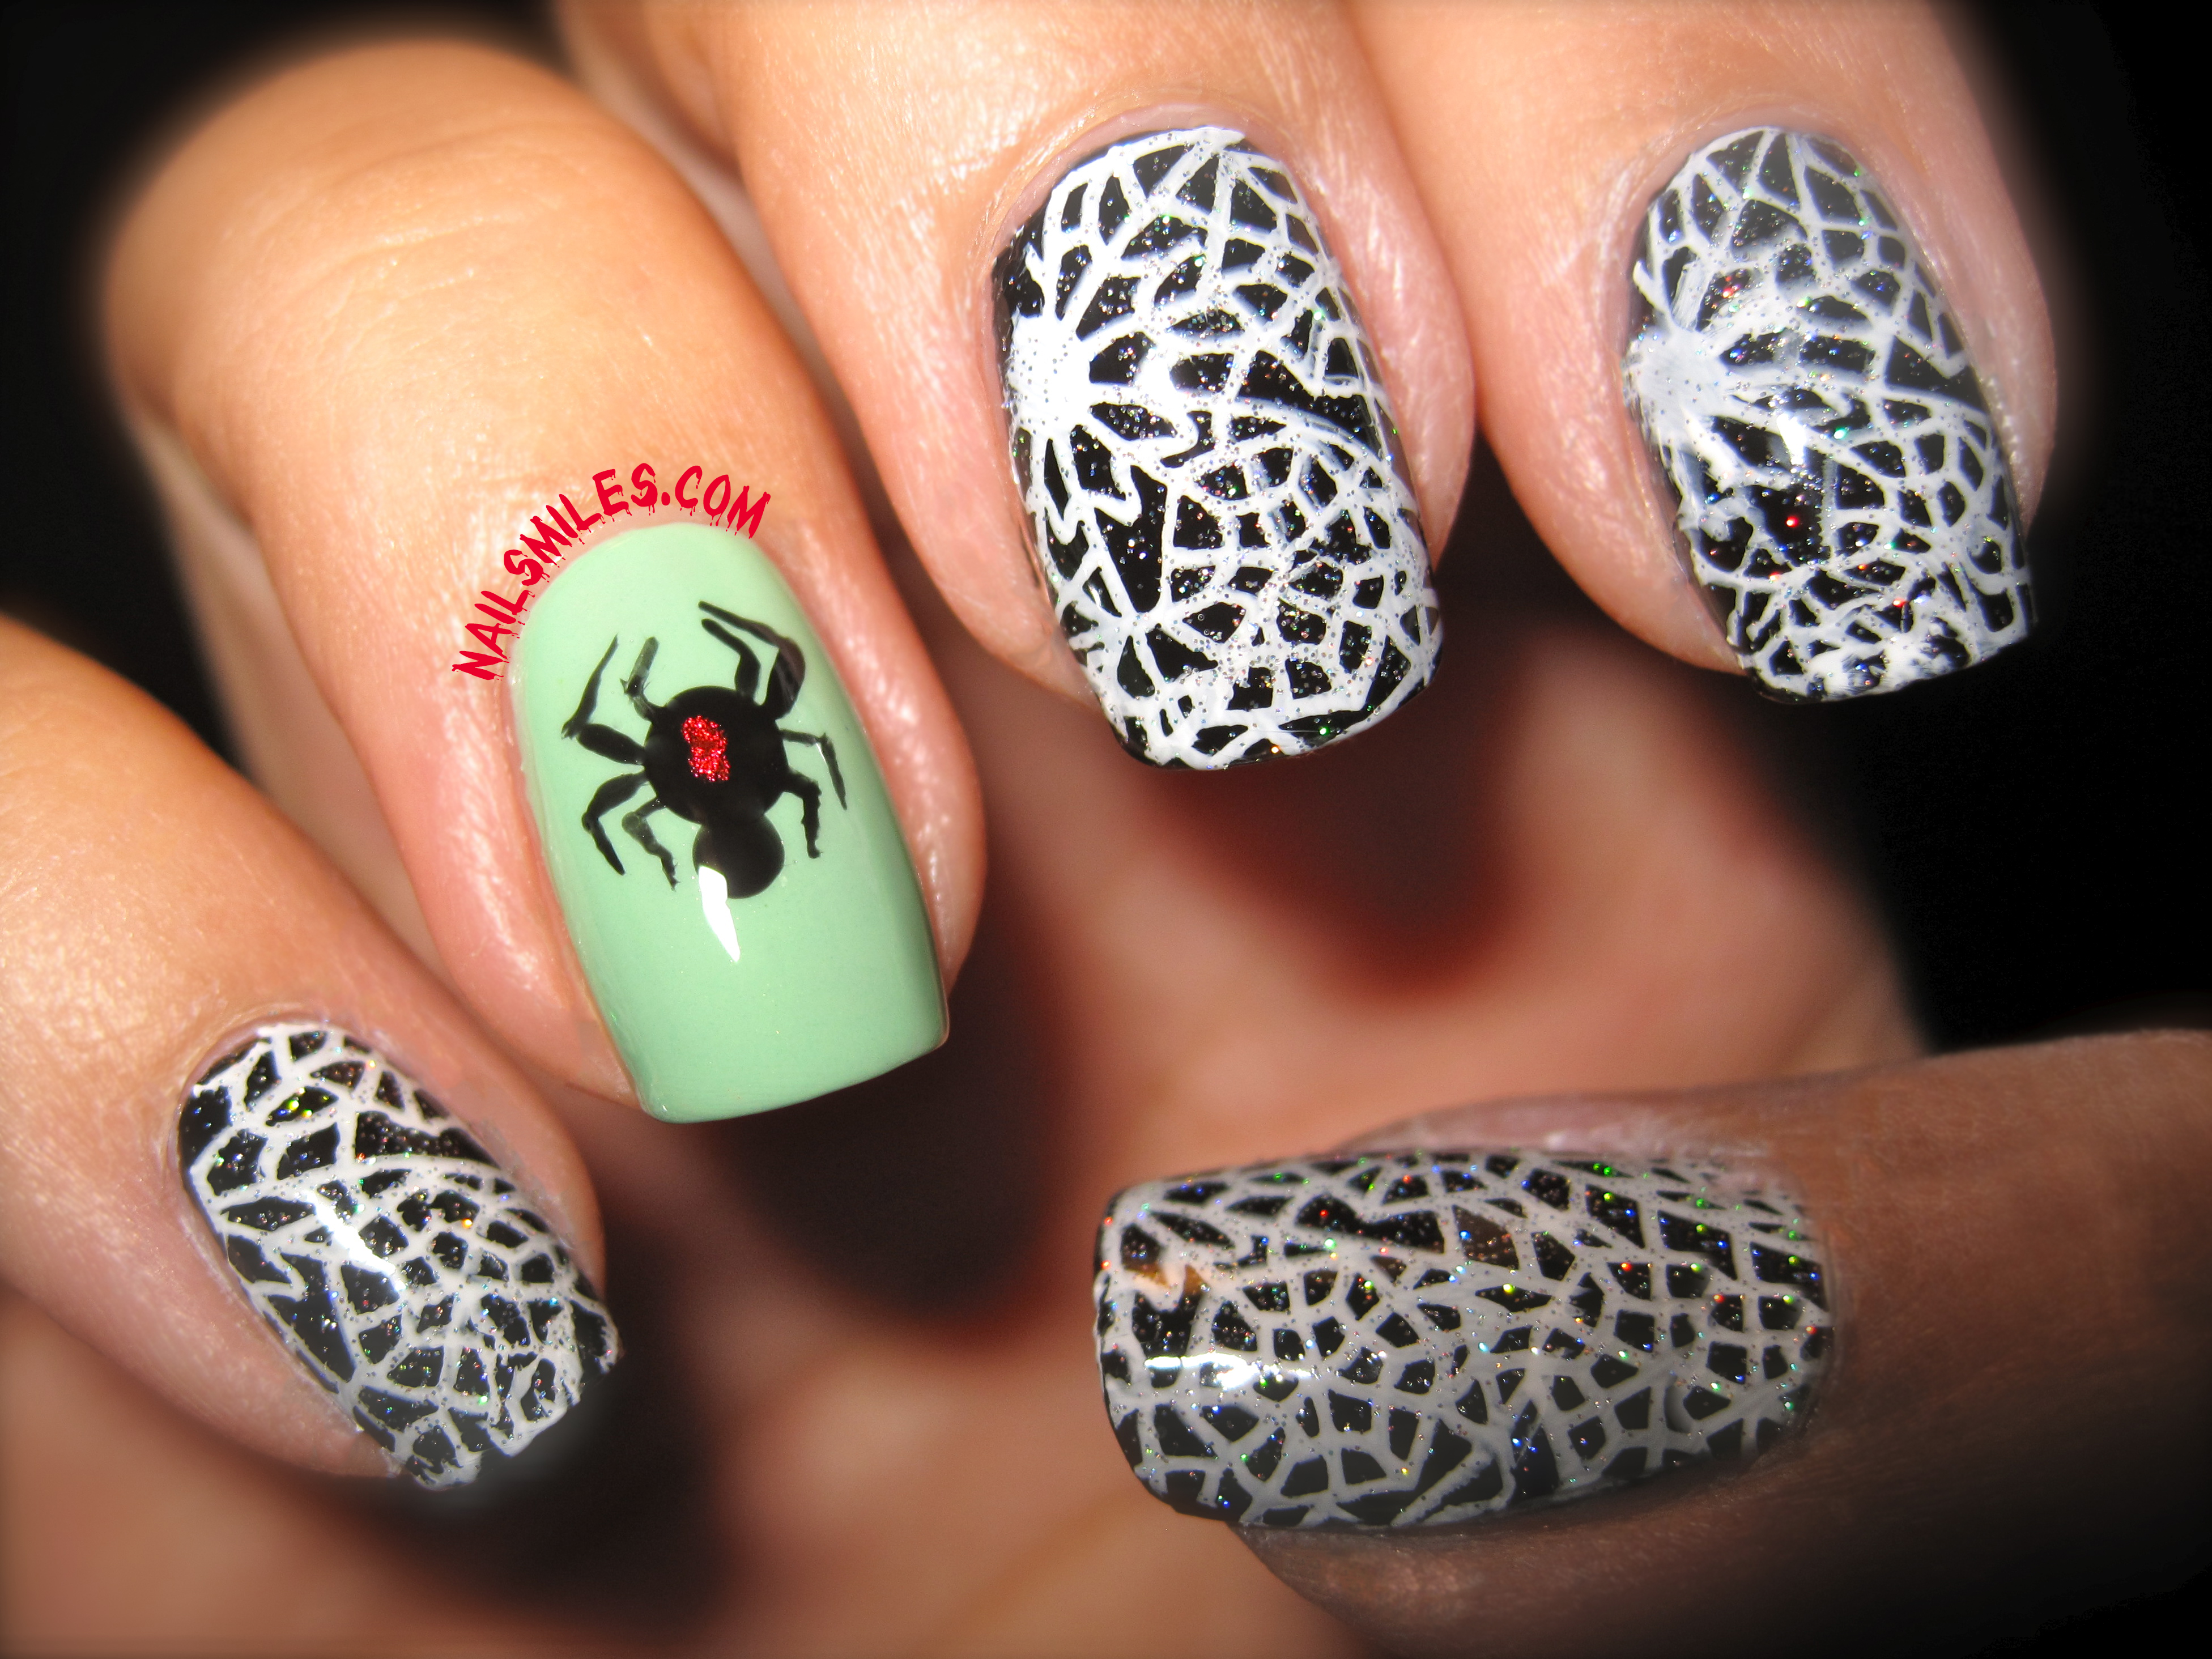
All weekend I was thinking about doing some kind of witch theme on my nails, but come Sunday evening I flip-flopped into designing a black widow spider and webs.
The spider is hand painted – first I made two dots to form the body and head, then used a fine paintbrush to do the legs and the distinctive red mark. The web design is from my stamping Cheeky Jumbo Plate A – it was initially a pattern I didn’t think I would use, but it is actually one that I gravitate towards the most and it was perfect to give the spider web vibe. I think a cute alternative to doing webs on each nail would be to do black and white stripes; still very Halloweeny.
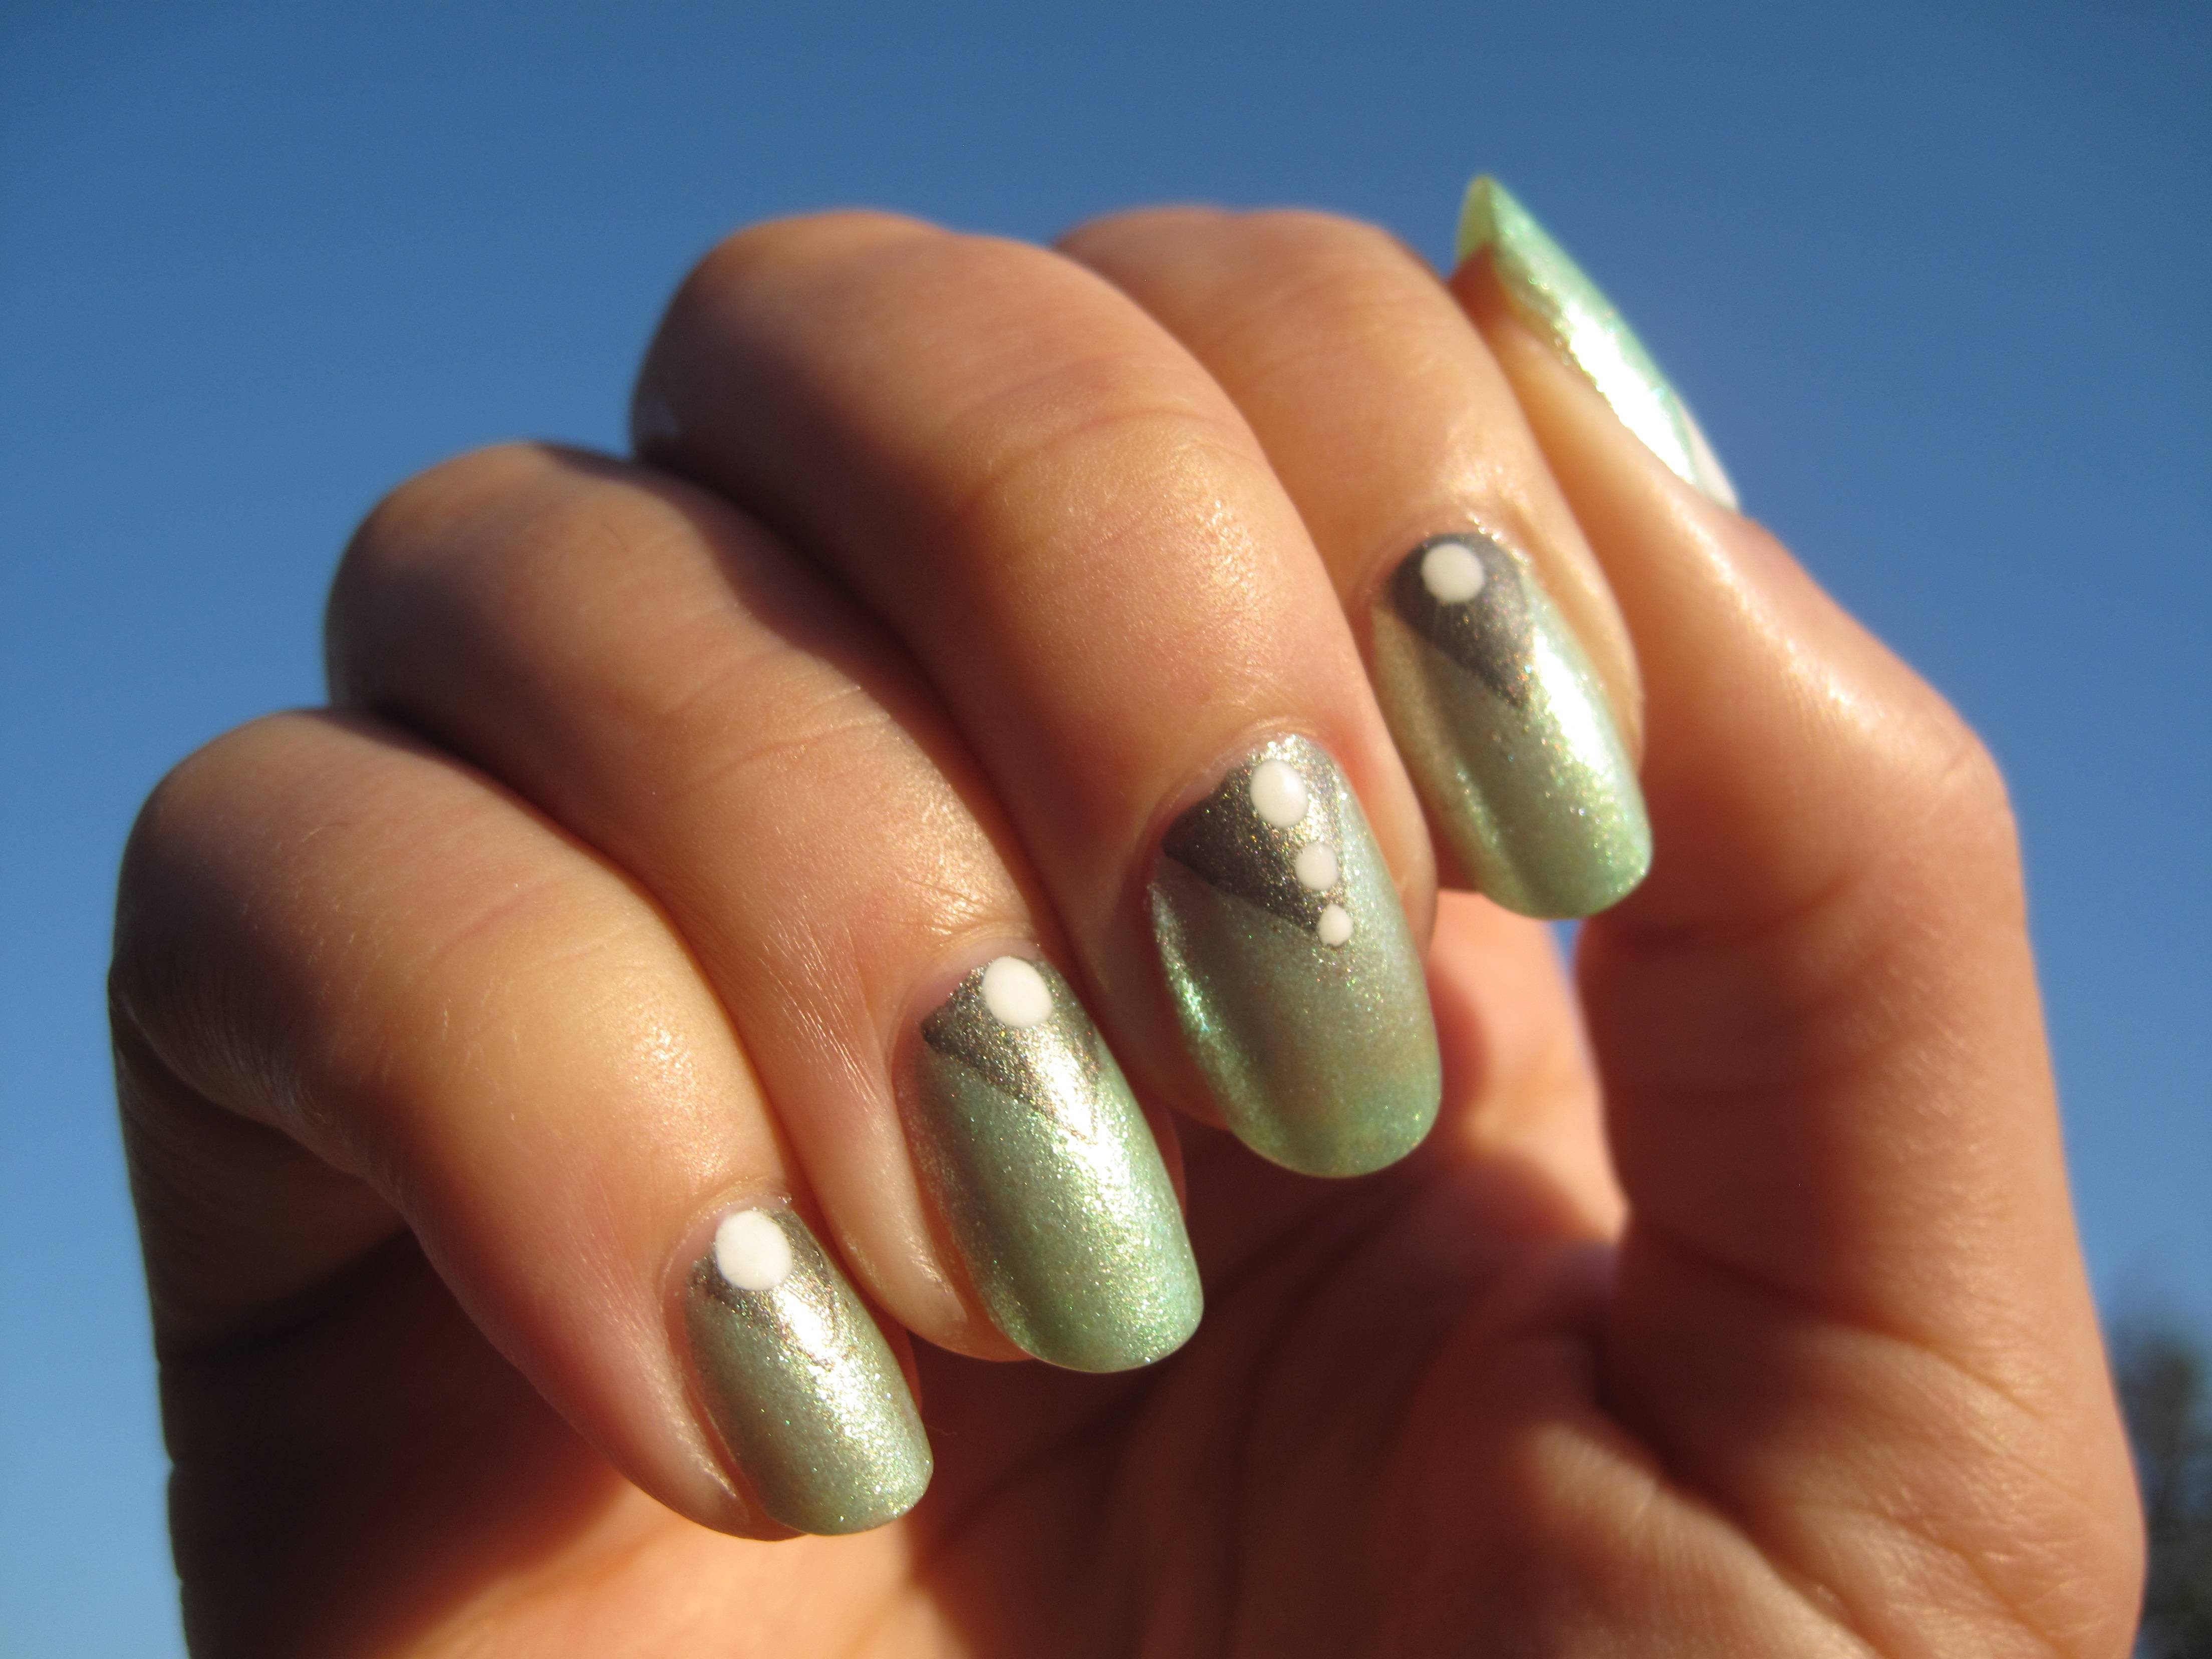
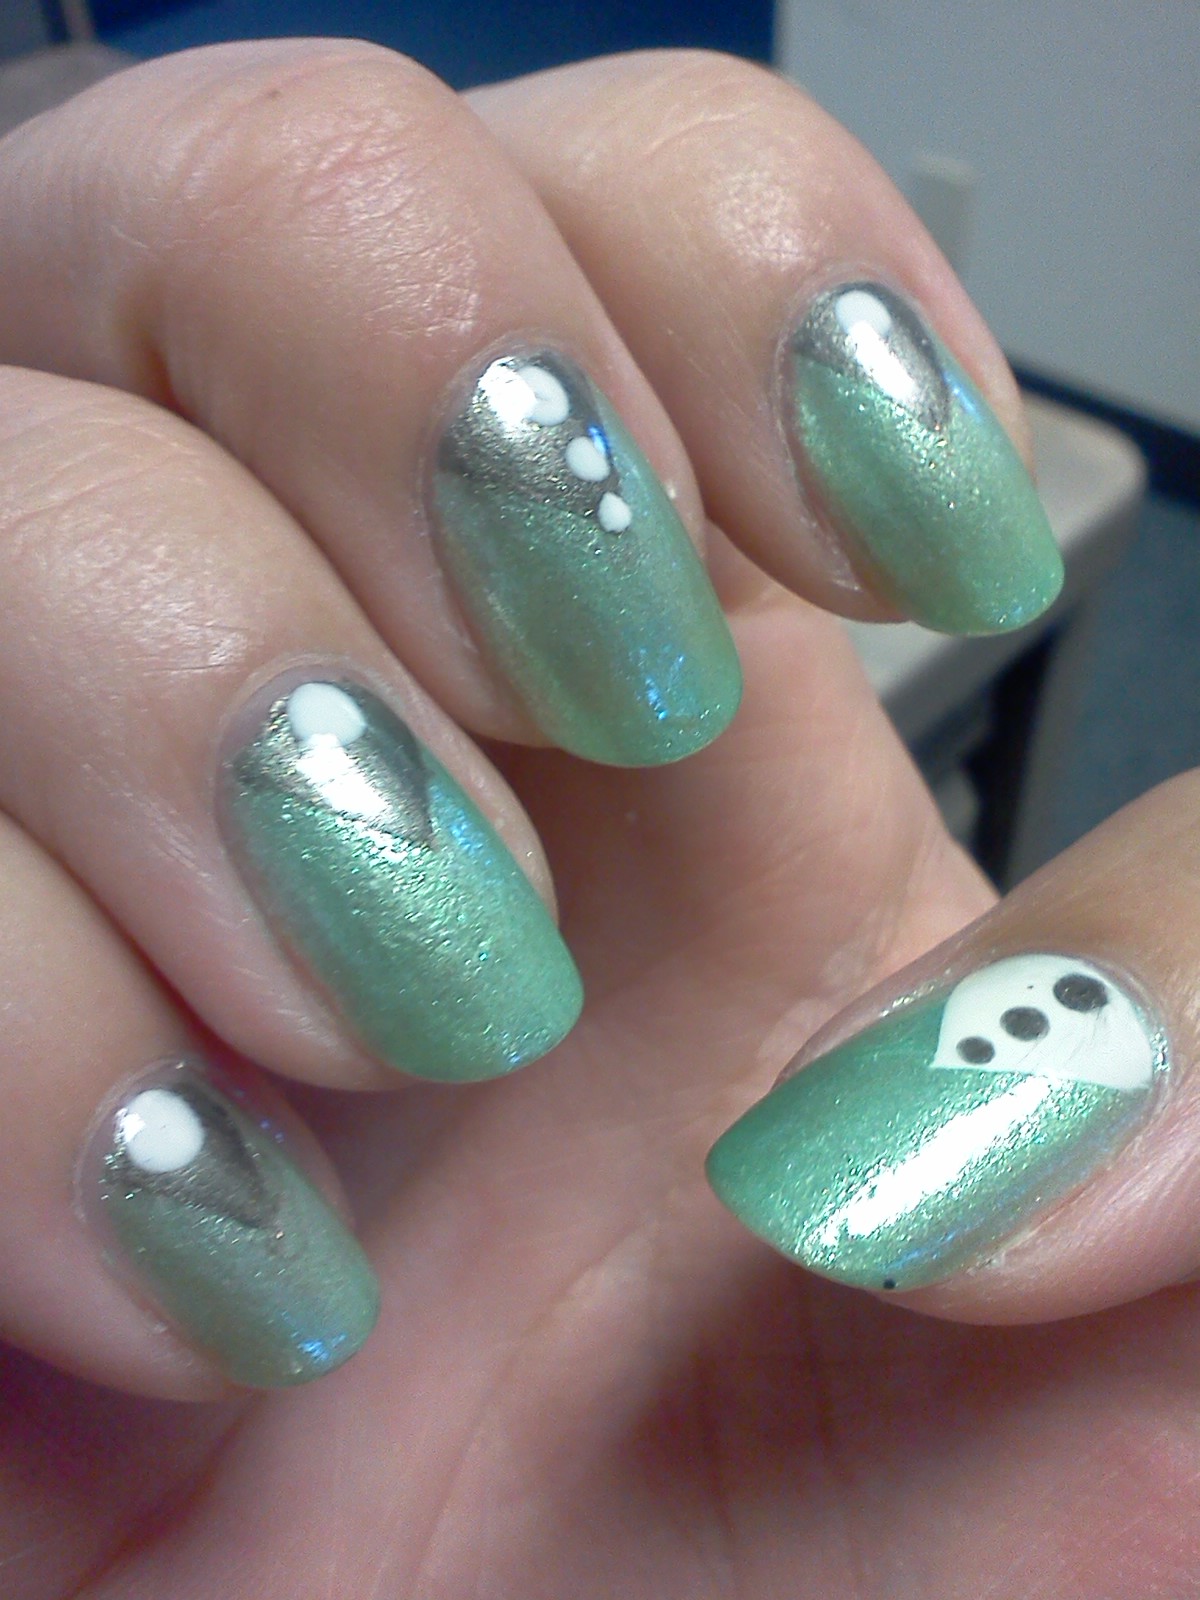
This was my first time using a mint Nailite polish that I got on clearance for a whopping 42 cents (directly from their website). It took two coats to be opaque, and although it seemed a little streaky when applying, the color became even after drying. The brush is pretty thin so you can’t cover your whole nail in one swipe, but nonetheless it turned out well.
This is three coats of each color. Basically I put gold at the base of each nail, then went back around and put green in the middle of each nail, then painted blue on the tip of each nail. Rinse and repeat two more times. These do not have a top coat currently, although I may add one on to see how it looks and to make the polish hold up.
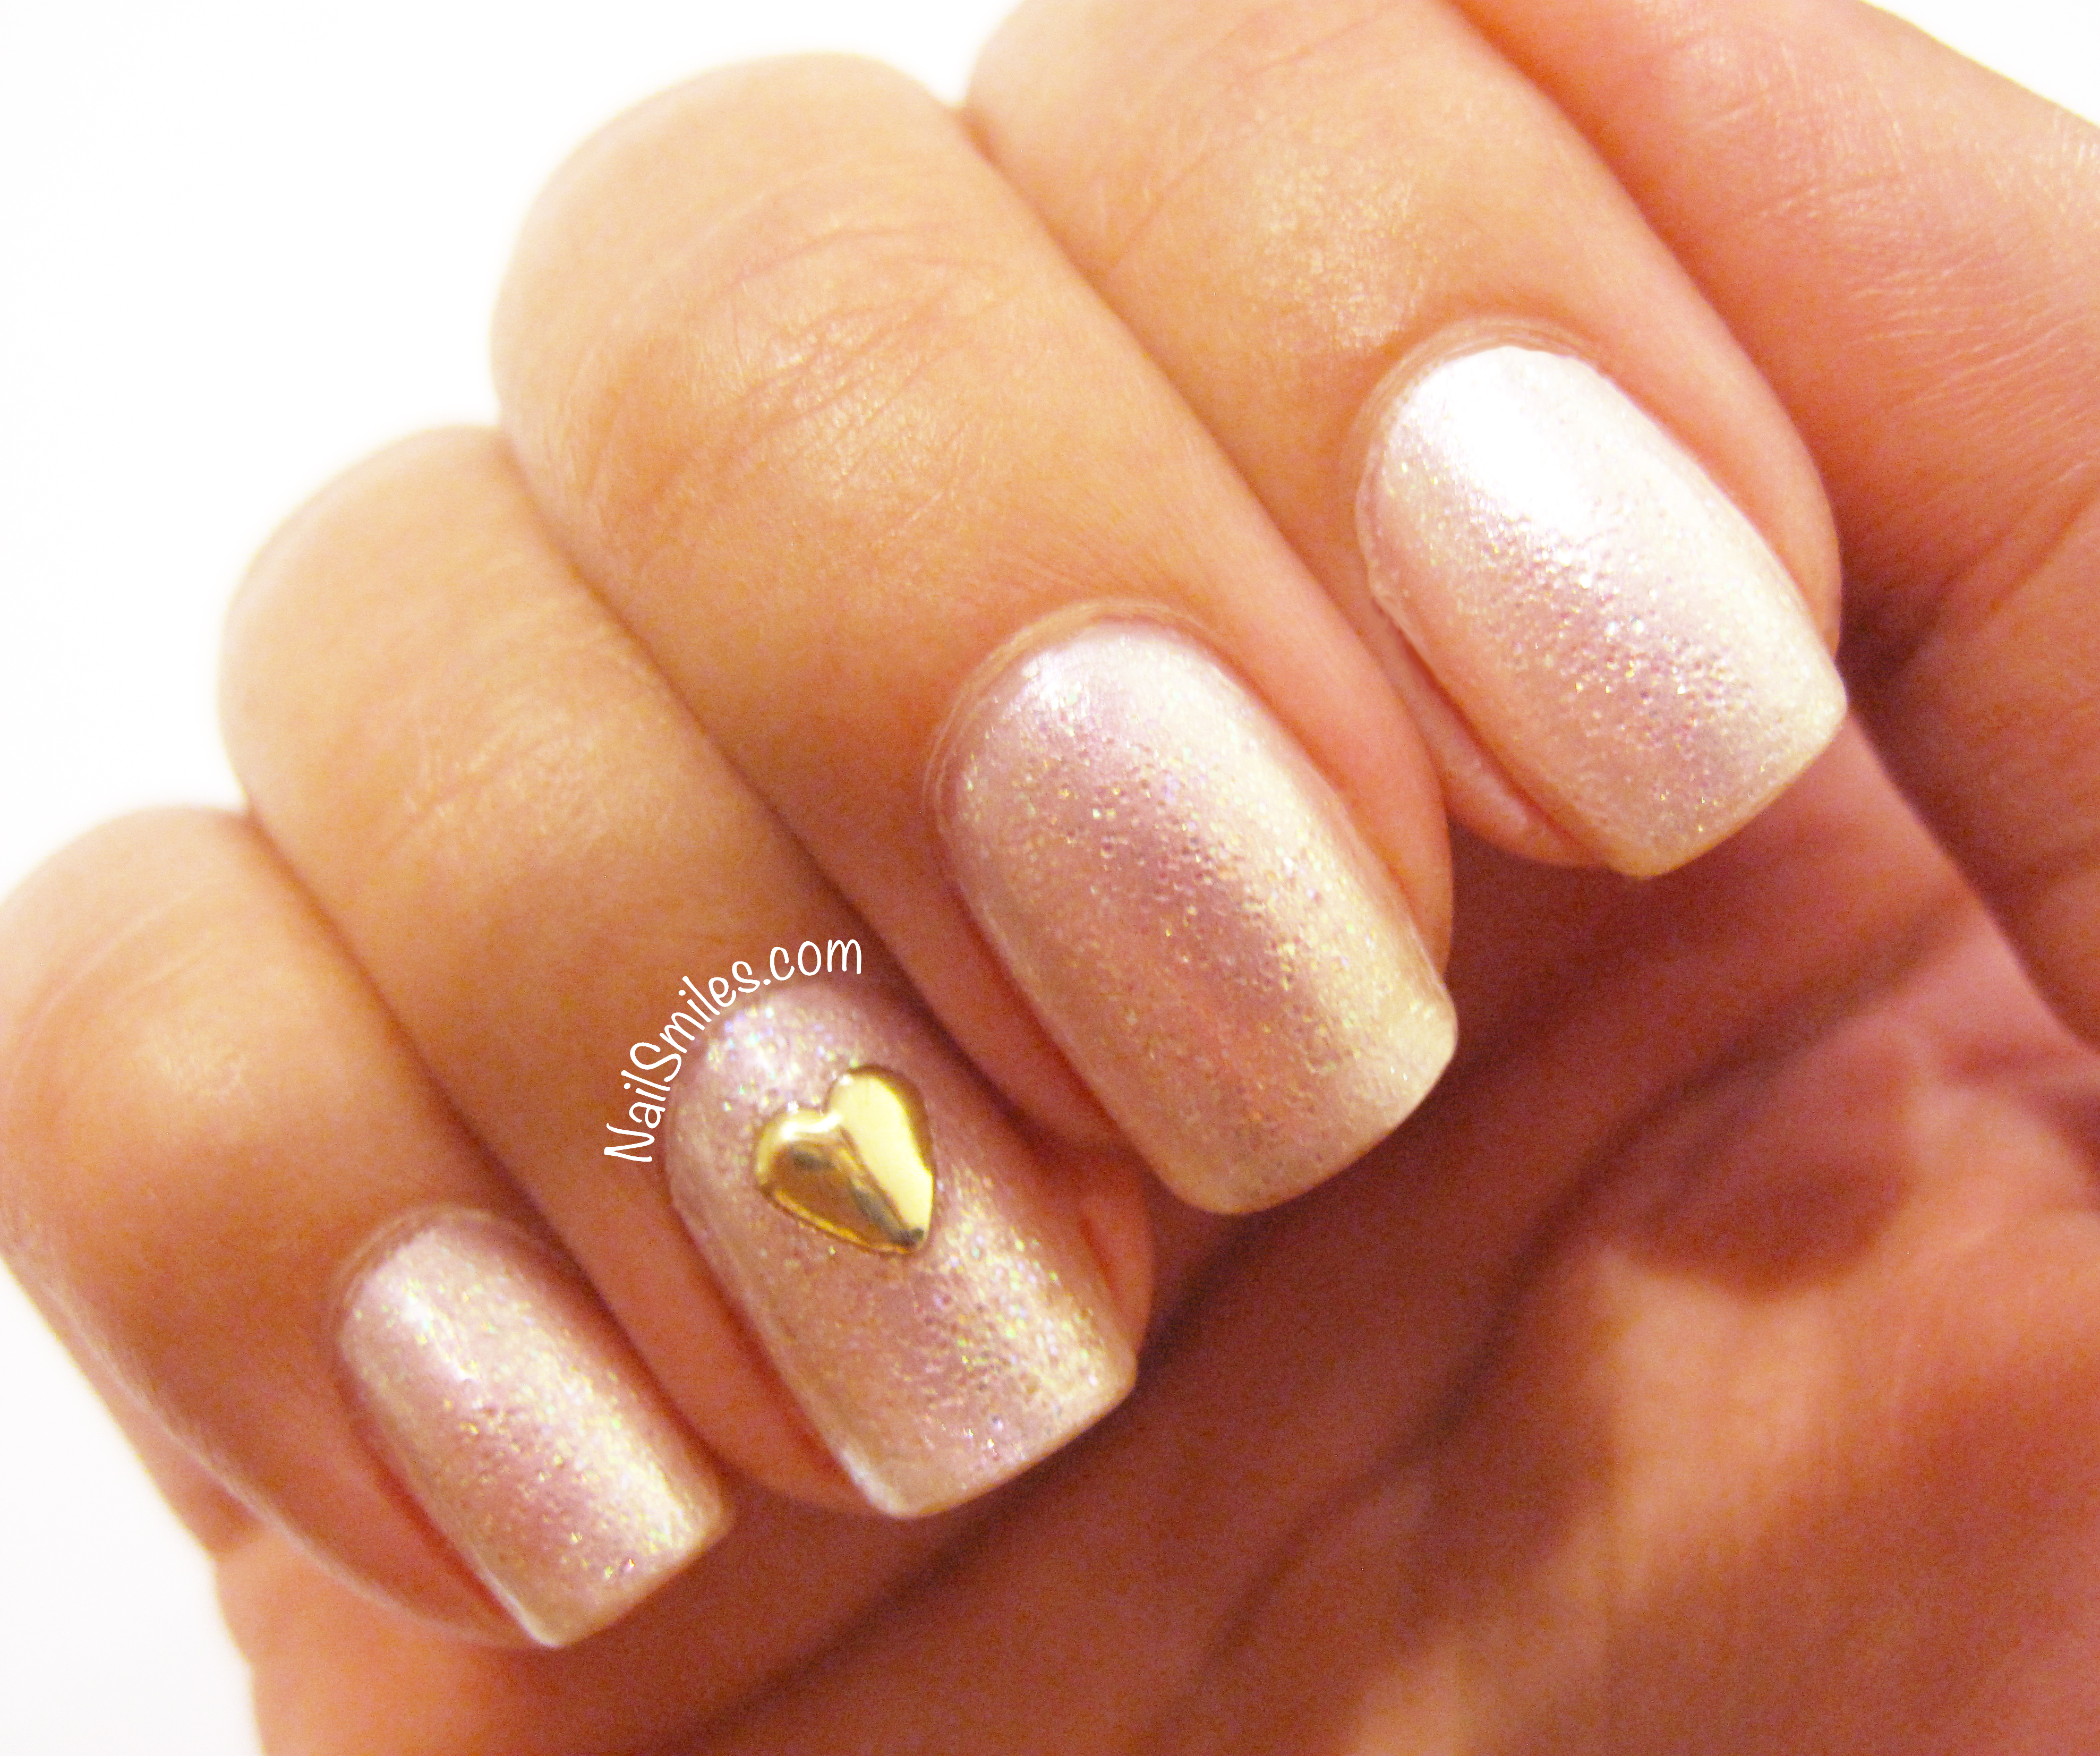
One of my friends all the way back from high school had her wedding reception this past weekend so I decided to do a simple white pearl manicure with heart accents to honor the festivities. I achieved the shimmery white by using one coat each of three different polishes listed below. The adorable gold hearts are from the stud set I previously spoke about from BornPrettyStore.com.
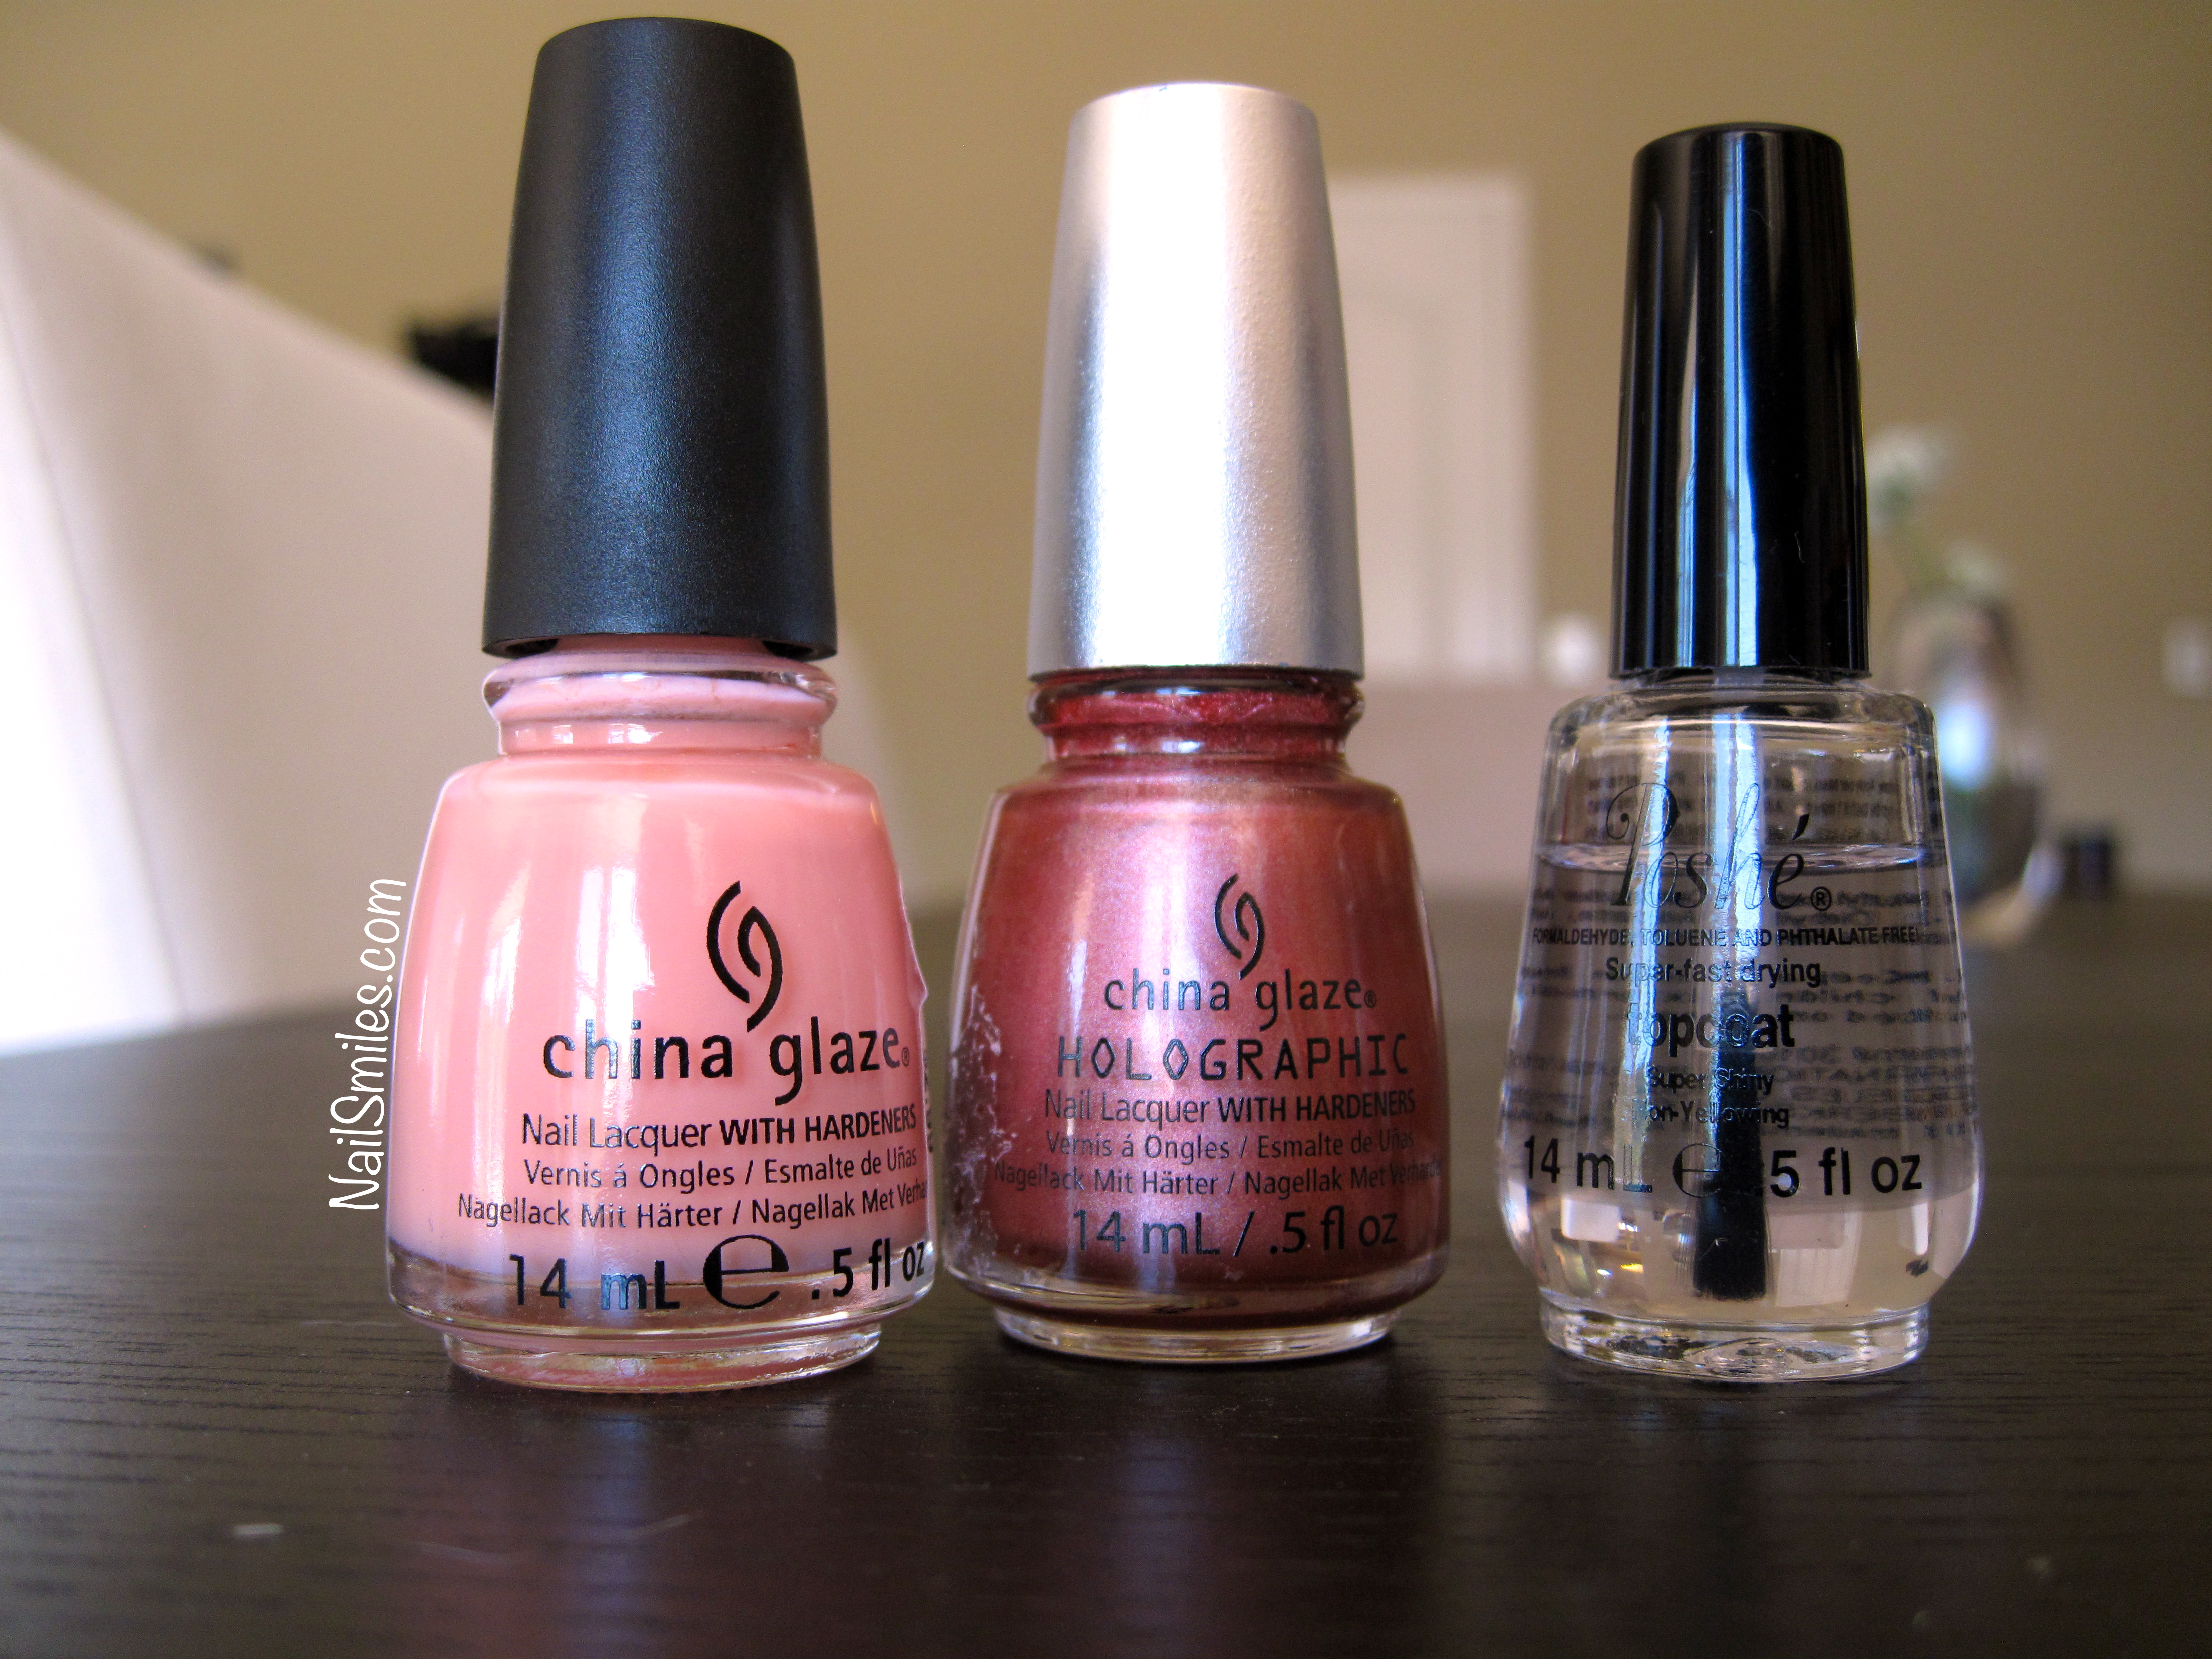
Halfway through the week I opted to refresh the manicure by painting different China Glaze polishes on each hand. The left hand got two coats of CG Seashell while the right hand got two coats of CG’s Holographic Not in This Galaxy. I love how Seashell looks; it is painted over the white so I’m not sure how that influenced the color, but it’s a “just right” color for me….and it’s very shiny.
The other CG polish has very fine holographic particles so it is quite subtle (not really noticeable indoors, sunlight really does the trick for this one). When inside, it looks more like a metallic polish, when outside you can see the full holo spectrum.
I have to say the consistency of both these polishes was great (not thick) and the brush was high quality and thin for accurate application. Even though it’s September I feel like I have February Valentine nails going this week!
Polishes Used:
Seche Vite Base Coat
Sally Hansen Satin Slipper (for the original white manicure)
Jesse’s Girl Firefly (for the original white manicure)
Ulta Diva (for the original white manicure)
China Glaze Seashell
China Glaze Holographic Not In This Galaxy
Poshe Top Coat
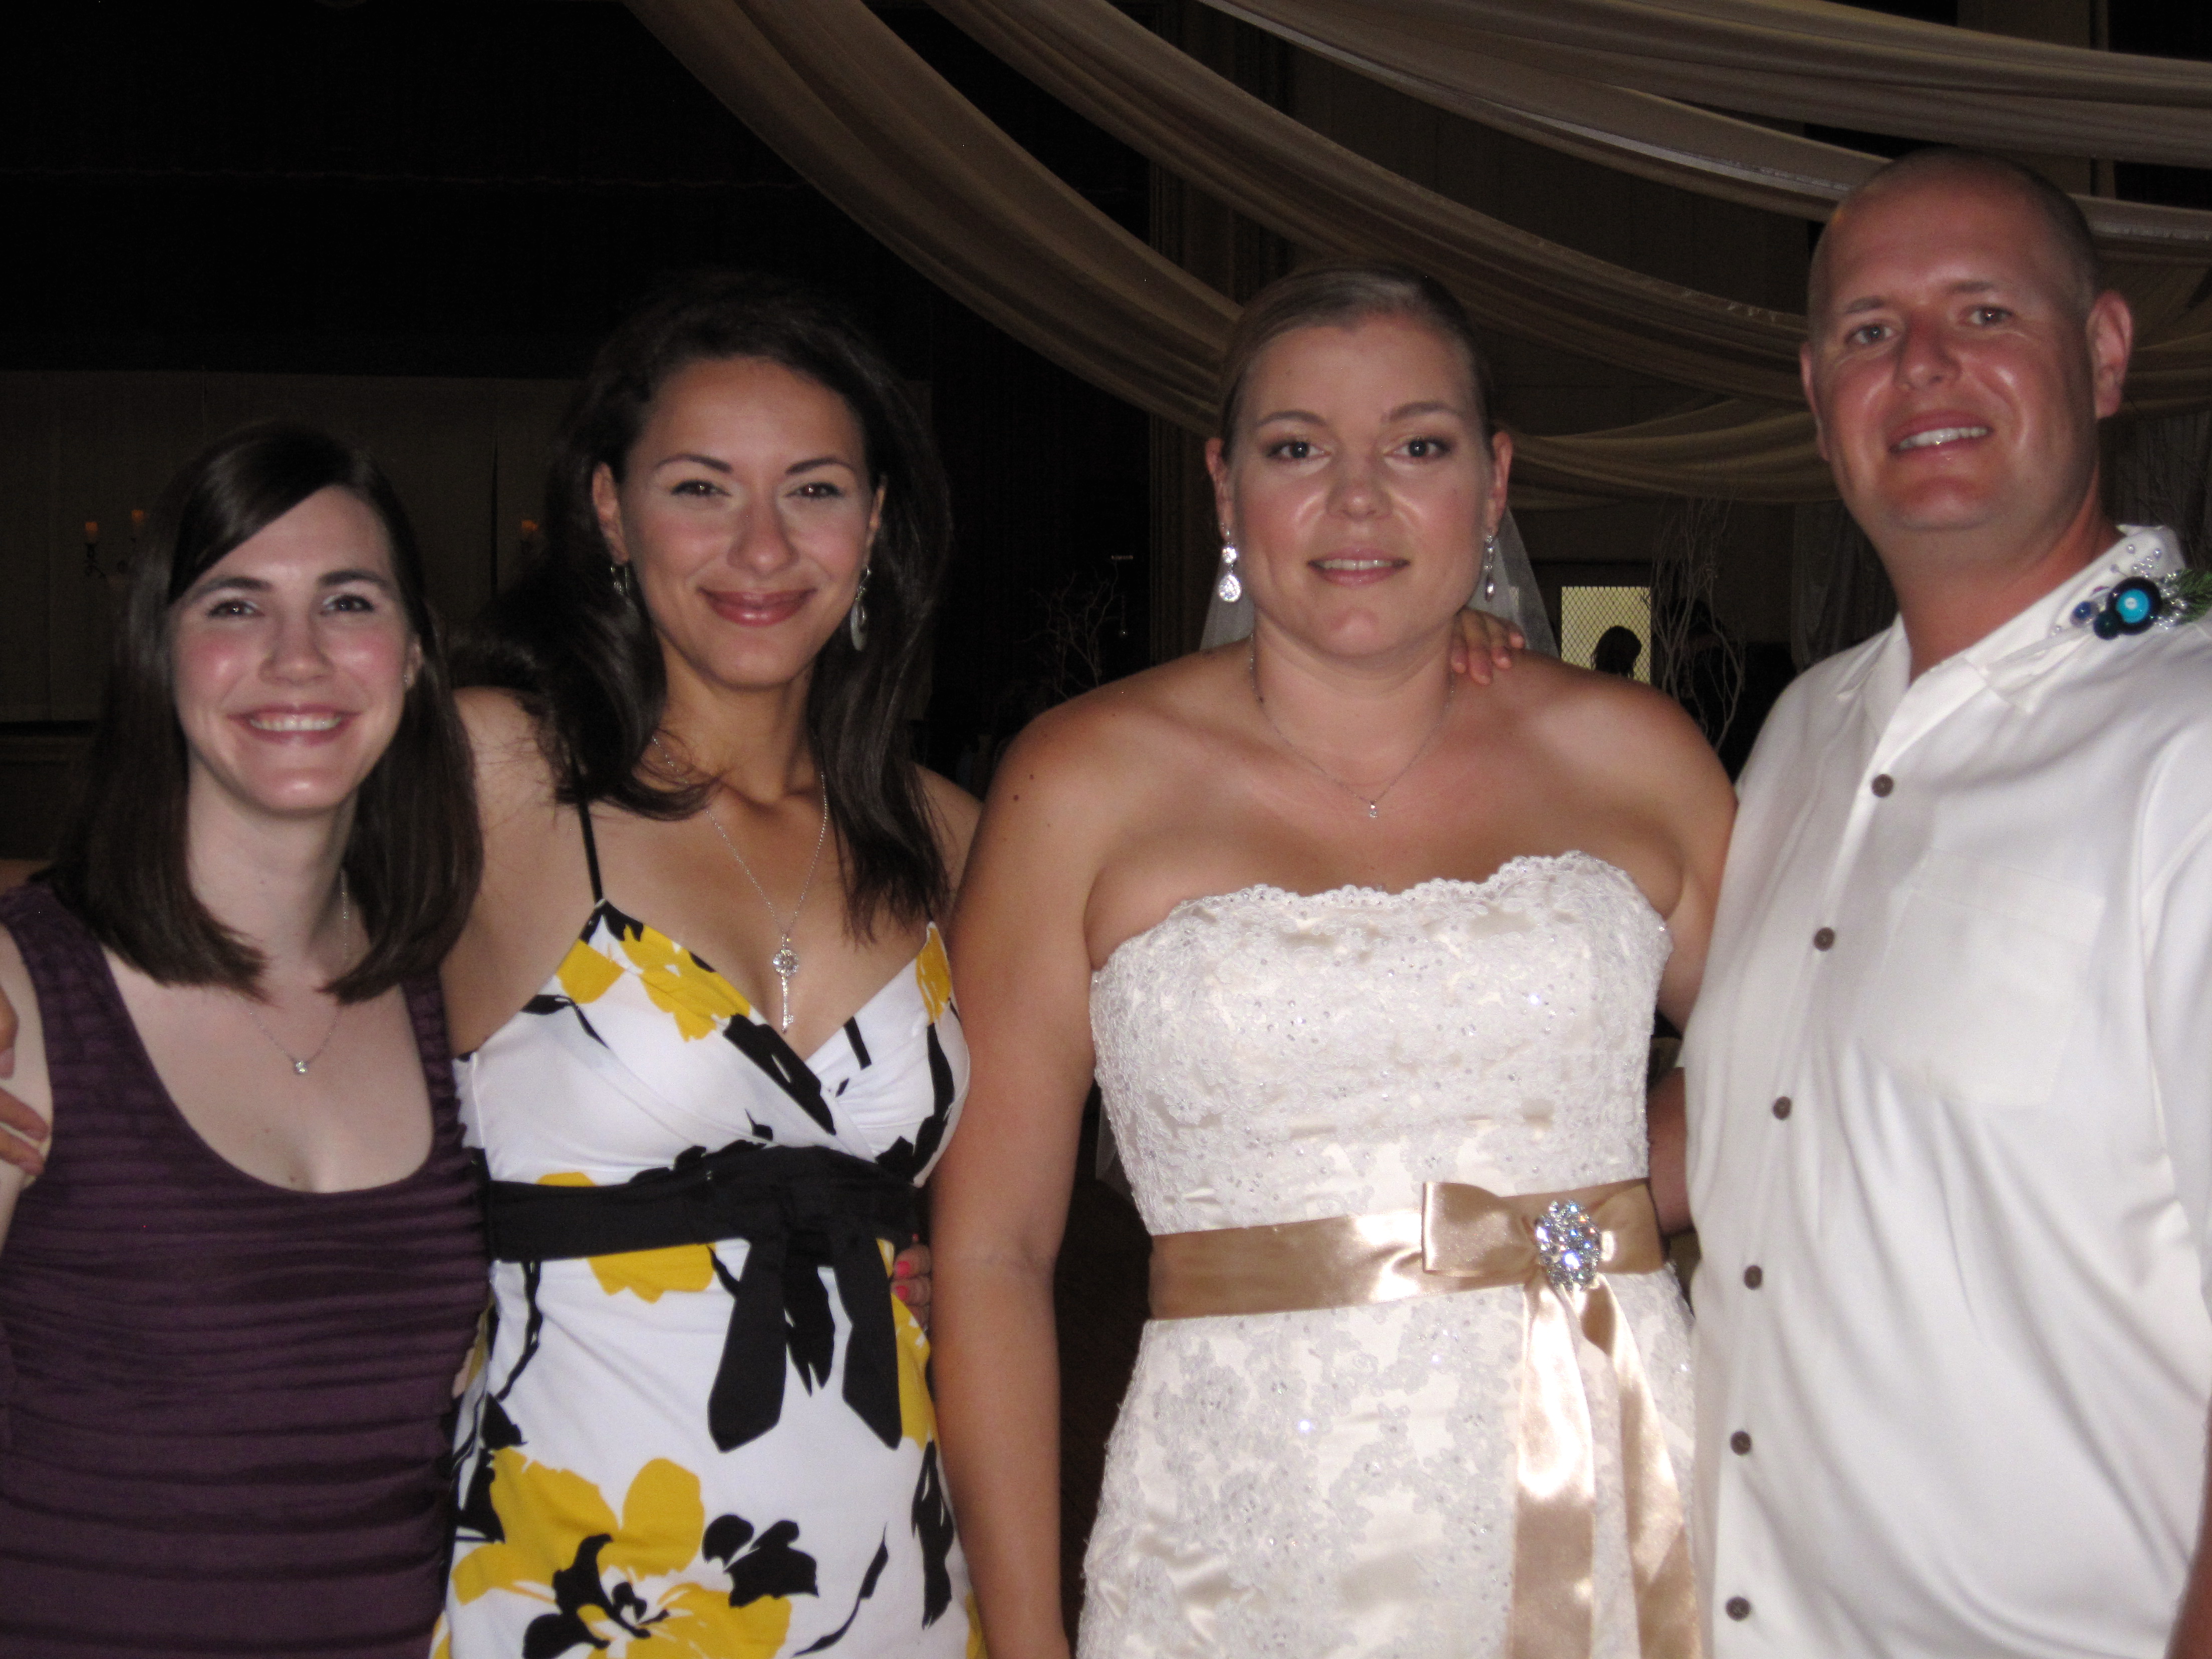
CONGRATULATIONS LIESA AND JOHN! I WISH YOU MANY YEARS OF JOY AND HAPPINESS…and beautiful nails 🙂
I have rainbows on my fingers; it’s a good day. This lovely shimmery manicure is made possible by BornPrettyStore.com’s Holographic Polish Effect #9, and it’s a big wowwy wah woo for me. (Reminder use code EAG10 for 10% discount on their site).
I did a different base color on each of my nails and then painted one and two coats of the holographic polish on top. I can’t decide how I like it more, because both styles are equally pretty. My thumb has a white base, pointer has gray, middle finger has black, ring finger has fuchsia and my pinky has no base, just the holo polish.
At one coat the base colors show through quite nicely; the black really makes the rainbow shimmer from the polish pop and the white really highlights the purple hue, but really every color I tried worked with this holographic polish. At two coats it is pretty opaque and only a bit of the base is even apparent. I didn’t try three coats, but I’m sure at three coats the bases would not show at all.
It’s a small bottle, but I’m sure it would still last and the brush was very flexible and soft, plus a good workable size. The polish itself is not thick, went on really smooth, and dried quickly. It also wasn’t very smelly, which is always a plus! I completely recommend this polish because I can’t stop staring at my nails!!
Polishes Used:
Seche Vite Base Coat
Sally Hansen White On Thumb + Holo
Sally Hansen Wet Cement Pointer + Holo
Sally Hansen Black Out Middle + Holo
Ulta Plum Perfect Ring Finger + Holo
Only Holographic Effect #9 on Pinky
Poshe Top Coat
Disclaimer: I received the holographic polish as a free promotion, however all opinions expressed are my own!
I feel like I should go drive a fast car right now! The original plan for this set was to do stamping on top of the colors, but I liked the simple look so much that I stopped while I was ahead. I feel like the racing stripe on the thumb really makes this manicure pop and I can’t stop staring!
Also, I’m officially in love with holographic nail polish and now I know I’m going to want more. I picked up this LA Splash “Sparkling Torpedo” at Bed Bath and Beyond on a whim to get my order up so I could use a $5 off coupon. It was fairly solid at 2 coats, but I did a third for good measure. Well worth the $3! The coral-reddish color is 3 coats of Milani “Just Peachy”, which I found at the dollar store – totally worth it, this color is fabulous. It’s super shimmery and applied really smooth (not thick), but doesn’t dry super glossy so use a topcoat for extra shine.
My Seche Vite topcoat is almost out so on the same trip I picked up Orly’s Sec ‘n Dry to see how it compares. I used Orly on most of my fingers, but the pinky’s got the dregs of the Seche. I think the Seche drys slightly faster, is also slightly glossier, but thicker so potentially more difficult to apply. The Orly polish is toulene free (it still smelled strong) and applied smoothly. I bumped a nail probably 10-20 minutes after application and got a small smudge, so for now I will say that I think Seche probably still does a better job. I’ll keep an open mind since I have only tried the Sec ‘n Dry once.
There are few things more frustrating than a beautifully painted set of nails that are chipped in less than 24 hours. In fact, at one point this was so frustrating that I just stopped painting my nails. Obviously gels or acrylics are a great way to extend the wear of your nail set, but for those times when you aren’t able to make it into the salon this can be your savior.
After research and experimentation I have down a tested nail prep ritual that’s guaranteed to give you nails that will last up to over a week! The steps below may look long, but it’s really only a few minutes worth of effort.
Longer Lasting Lacquer!
Clean – Thoroughly remove old nail polish color with acetone or polish remover.
Trim – Trim nails to the shape and length you prefer and file down any rough or uneven edges.
Push cuticles – Gently push back your cuticles with a tool or wooden stick. If you don’t have a tool you can use the nail on your alternate hand as a cuticle pusher! You do this step because if polish covers the cuticle you will have air pockets that will start to peel or chip.
Buff – Use a medium to fine grit buffer/file to slightly roughen the top of your nail. You should not have large scratches in the nail, just a nice matte finish. Work towards the base of the nail where new ridges and cuticle form. This is a critical step, but don’t spend too much time here because you don’t want to thin/weaken your nails.
Exfoliate – Apply a large dollop of exfoliant to your hands and scrub vigorously for a minute. I use a facial exfoliant I got that is fragranced to heavily for me to apply to my face; any basic scrub should do the trick. Make sure to focus on the cuticle area, you are removing dead skin and excess oils.; this will make your hands feel nice, but will also make the manicure look more professional and last. Rinse with water.
Scrub – Use a nail brush or toothbrush with soap on it to scrub around each nail, again, work around the cuticle area, but also underneath each nail tip so you’re extra clean! Rinse with water.
Moisturize – Optional Step: Apply a cuticle oil (I usually use Burt’s Bees or Argan Oil) and let soak in for 5-10 minutes. Follow by thoroughly washing with soap and water. Give your hands a few minutes to dry, the nails can absorb some of the water and change shape when they dry, which can affect how long your polish stays on.
Swipe – When your hands are dry swipe the top of each nail with either acetone or distilled white vinegar. This is critical to remove any oils, which can cause your polish to peel prematurely. Some polish removers have moisturizers that may have a similar effect so I recommend pure acetone or vinegar.
Base Coat – Apply a base coat – these are designed to hold the polish on your nail longer, prevent potential staining and they sometimes have nail strengthening properties. The brand I currently use and love is Seche Vite Crystal Base Coat, but some other highly recommended options include OPI’s Natural Nail Base Coat, Orly Bonder (In Style’s best base coat of 2012), CND Stickey, Essie’s First Base, and Posche Fast Drying Base Coat. Experiment to find what works best for you.
Color – Go to town with your favorite colors, but keep in mind that sometimes brands do make a difference. OPI, China Glaze, Orly, Essie and Sally Hansen have all been in the business for a long time and are reliable options, but don’t be afraid to try a different brand if you love the color. One coat is good, but if you really want your nails to last you should focus on two to three thin coats depending on the color. Glitter colors naturally adhere to your nail longer (sometimes too long!). The other important thing when painting is to “wrap the tips” – after painting the top of the nail swipe the color along the edge at the tip of the nail. This will prevent initial chipping on top of the nail.
Top Coat– Again, find a quality topcoat that works best for you. The top contenders include Seche Vite Top Coat (my current personal choice), Sally Hansen Insta-Dri Anti-Chip Top Coat, OPI RapiDry Top Coat, Deborah Lippmann Addicted to Speed Top Coat, Orly Sec’n Dry Top Coat, Posche Super Fast Drying Top Coat and Essie’s No Chips Ahead . I have to say that having a fast drying topcoat has changed my nail world and I can’t recommend the fast drying options enough!
Maintenance
Our hands get used a ton throughout the day so wear is unavoidable, but doing a few things like wearing gloves when you do the dishes or clean will make a huge difference. I love to cook and I’m notorious for washing my hands every two seconds while preparing food – great for sanitation, not so great for manis; to combat this use warm/cool water instead of scalding with a mild soap and dry hands immediately after washing versus letting the water sit on your hands. If you have the time, you can do a quick clear coat every couple of days to make the polish last and keep it shiny. If all else fails, get your partner to do everything around the house, that’ll save your nails for sure!
What do you do to make your mani last?
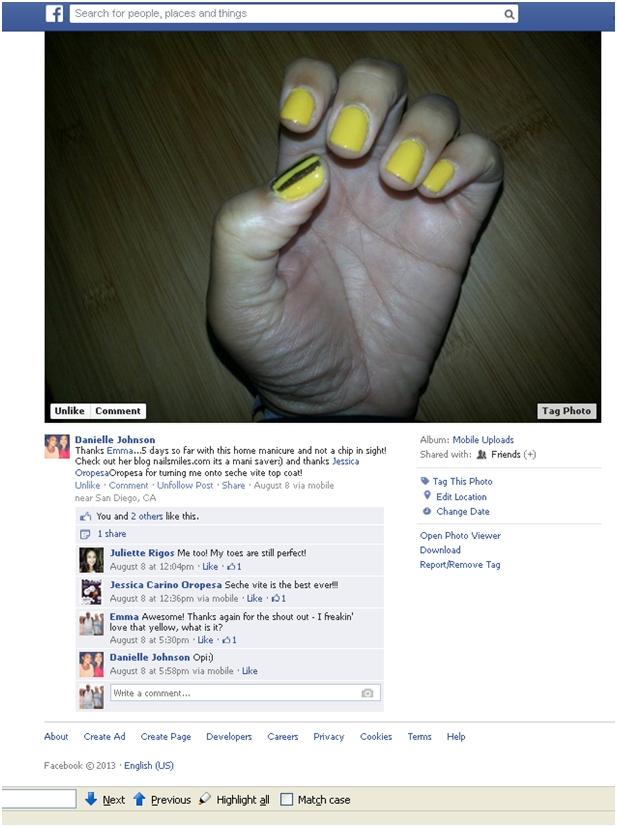
EDIT: Thanks to Danielle for the Facebook shout out about this post!


 I have to say there is something strangely comforting about wearing black and blood red nails. I think because it harkens back to my childhood days when my sister was goth and Elvira was on late night. Black nails were in 20 years ago and 20 years ago was a good time for me!